
CLIENT ADMINISTRATION
ACCESS CONTROL
FUND MANAGEMENT
In this section we will setup the Client Companies (Participating Employer, PayCentres and Branches).
From the HOMEPAGE select processes.
A new menu will be displayed – select contributions.
![]()
From the top menu select Payroll.
This will now display the Payroll menu bar. Click on Client Administration.
![]()
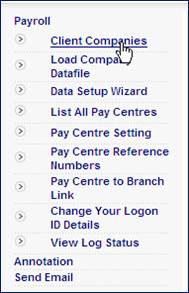
From the left menu – click on Client Companies.
Here we will add in the:
- Principal Employer
- Participating Employers
- Branches (physical location of the offices)
Note:
Use the same naming standards when adding Names & Codes as was added during the initial launch (corporate client – infrastructure).
On the centre of the screen – click on ADD a NEW TOP LEVEL STRUCTURE.

Add the name of the PRINCIPAL EMPLOYER and the relevant short code. (unless it already exists – example UNIPRV).
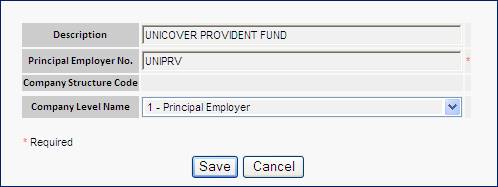
Click SAVE.
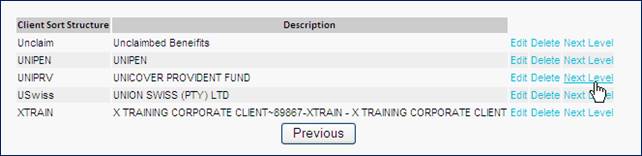
Once the record has been saved, it will be listed on the screen (Client Company).
On the hyperlink next to the Principal Employer, click on Next Level.
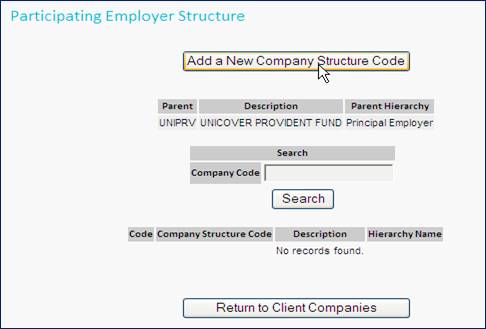
On the centre of the screen – click on the ADD a COMPANY STRUCTURE CODE.
This is to add the PARTICIPATING EMPLOYER.
Add the name of the PARTICIPATING EMPLOYER and the relevant short code.
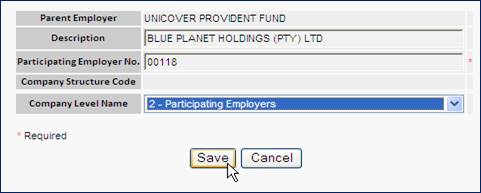
Click SAVE.
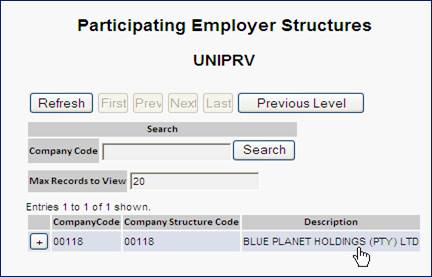
Once the record has been saved, it will be listed on the screen below (Participating Employer Structure).
On the hyperlink next to the Principal Employer – click on Next level.
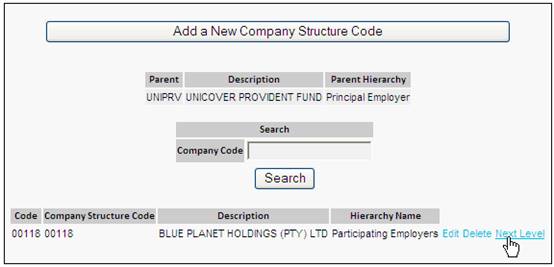
On the centre of the screen – click on the ADD a COMPANY STRUCTURE CODE.
This is to add the BRANCHES (Physical Location).

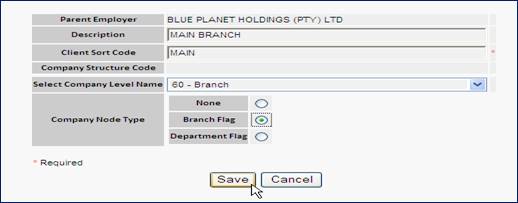
Complete the following details:
|
Description |
Name of Branch (location) |
|
Client Sort Code |
Eg. Main - Main Branch JHB CPT LON - London |
|
Company Level |
60 - Branch |
|
Company Node |
Branch Flag |
Repeat this step to add all the Branches (locations) applicable to the product.
From the menu on the left click on DATA SETUP WIZARD.
Change the Business System – IN.PENSIONS and click the NEXT button.

Type in the FUND CODE and the LAUNCH DATE of the product.
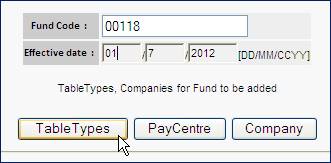
There are 3 tabs/buttons to select
- Table Types List all the Income Types linked to the product
- PayCentre PayCentres linked to the product
- Company Select the Principal and Participating Employers
Click the TABLE TYPES button and see that all the income types are displayed.
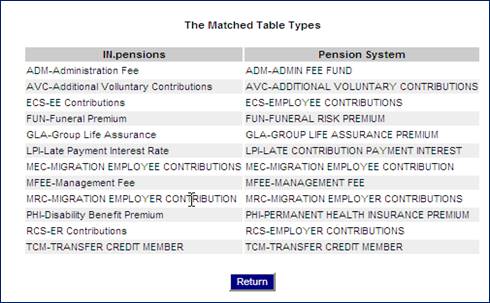
Click on RETURN button
Click on PAYCENTRE button and ensure that the correct PayCentre is displayed.
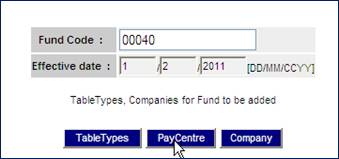
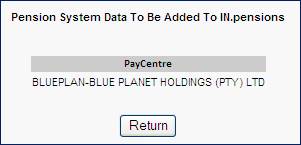
Click RETURN.
Select the COMPANY button.
![]()
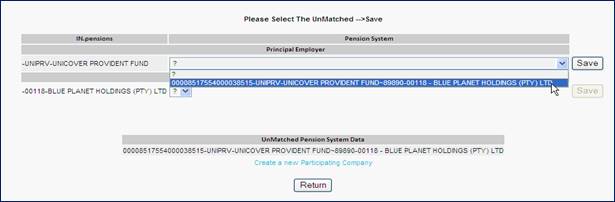
Select the PRINCIPAL EMPLOYER setup for this product.
![]()
From the drop down for the PRINCIPAL EMPLOYER – select the relevant option.
On the right side the SAVE button (next to the Principal Employer name) will be enabled – click it.
Do the same for your Participating Employers (if more than 1 exists – ignore the others, only select the Participating Employer for your product).
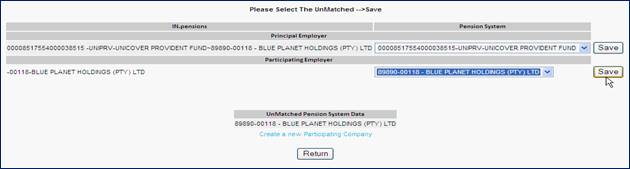
As you SAVE the list highlighted will lessen / clear completely.

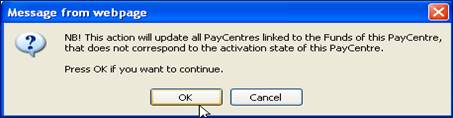
Click on GENERATE PAYCENTRE FUND LINKS – on Step 2


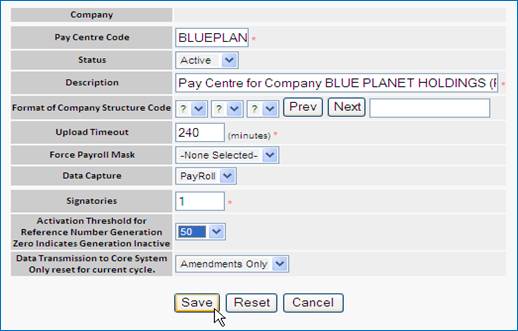
Once the message “Update Database OK – Check Logs” is displayed – it is time to EDIT PAYCENTRE.
Complete the following details:
|
Upload Time Out |
The length of time the system should process a file load |
|
Data Capture Method |
Manual To manually add / update / exit members Payroll Load members via a Payroll File Auto Specific to SAP |
|
Signatories |
The number of authorizers required |
|
Activation Threshold |
This will generate a reference number range. |
Step 3 of the DATA SETUP WIZARD is to link the Branches (Line of Business) to the product.
Click on LOB INITIAL DATA LOAD button.
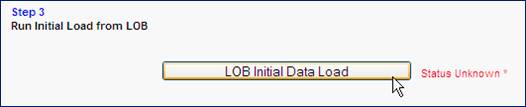
If successful a message will be displayed – see message in red below.

From the menu on the left select Pay Centre Reference Numbers.
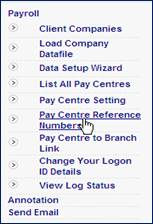
Select the COMPUTER SYSTEM: IN.PENSIONS and the applicable product.
Note:
EBFIC – For products that allow for members switching.
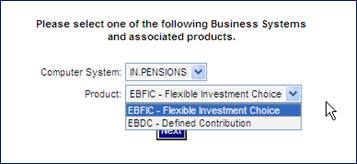
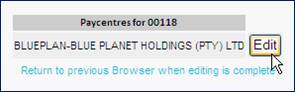
The new product and paycentre will be listed.
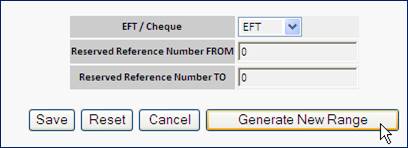
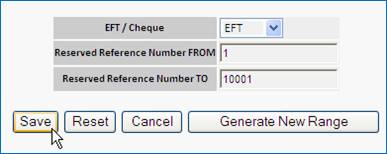
Click on the Edit hyperlink next to the paycentre.
![]()
Click the GENERATE NEW RANGE button and once the range has been created click SAVE.
From the menu of the left – select Pay Centre to Branch Link.
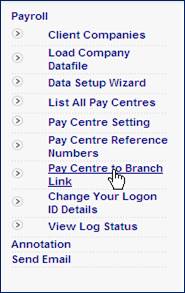
The screen listed is the PRINCIPAL EMPLOYER.
![]()
Click on NEXT LEVEL as the PayCentres are stored at the Participating Level.
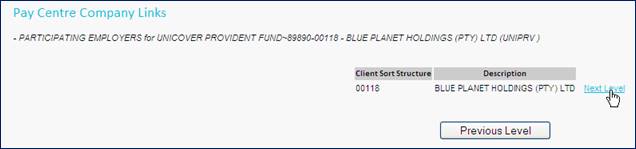
On the Partipating Employer level, click NEXT LEVEL. The Branches (locations) will be listed.
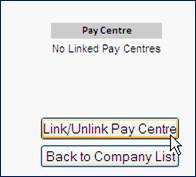
For each of them, click on LINKED PAYCENTRES.

A message will be displayed indicating No Linked Pay Centres.
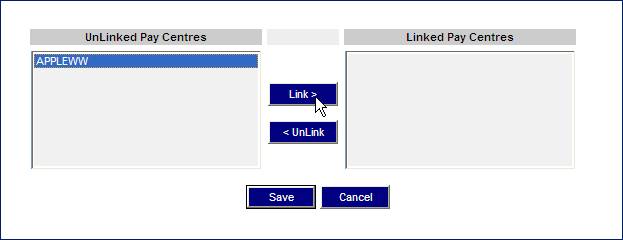
Click on the LINK/UNLINK PAY CENTRE button to link the PayCentre to the relevant Branch.
In this section the users need to be linked to the new products.
On the top menu, click on System Administration.
From the menu on the left click the plus sign (+) next to Access Control.
![]()
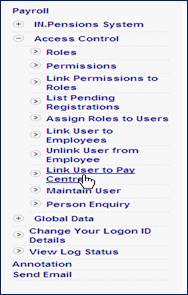
Either type in the name of the user or click on the LIST ALL button to view all the users.
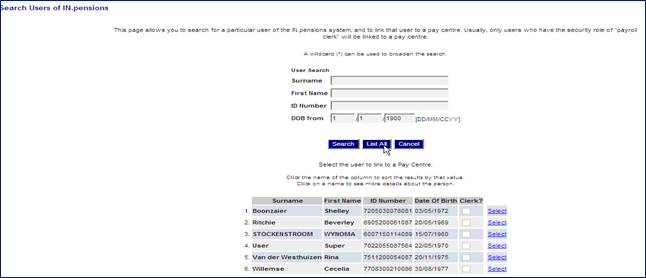
Click on the Select hyperlink next to the name of the user.
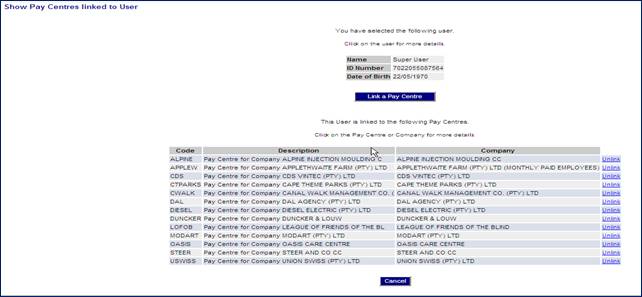
A list paycentres linked to the user will be displayed.
To add a new Pay Centre, click on the LINK A PAYCENTRE button.
Click on the (+) sign next to the PRINCIPAL EMPLOYER as the Pay Centres are linked to the Participating Employers.


On the Participating Employer, click on the Description.
A list of the PayCentres will be displayed. Tick the Paycentres that the user requires access to.
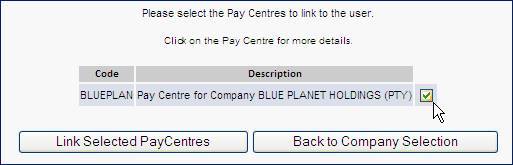
Click on the LINK SELECTED PAY CENTRES button.
The user is now linked to the paycentre
In this section the users links in the calculations and Income types applicable to the product.
On the top menu, click on Fund Management.
![]()
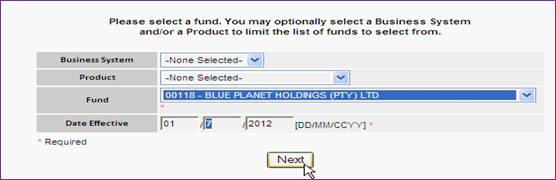
Select the new FUND.
Date Effective = Launch Date of the Product.
From the menu on the left, select Income and Expense Types.
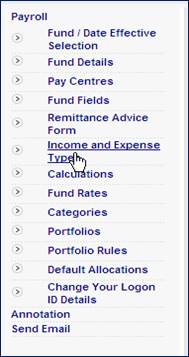
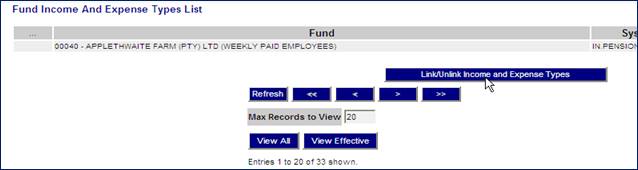
A list of Income Types will be displayed – derived from the Initial Product launch on the CORE SYSTEM.
In the middle of the screen – click on LINK/UNLINK INCOME AND EXPENSE TYPES.
Un-tick the INCOME and EXPENSE types that will NOT appear on your monthly schedule.
Example:
- Migration Employee Contributions
- Migration Employer Contributions
- Transfer Credit Member
- Transfer Credit Take-On
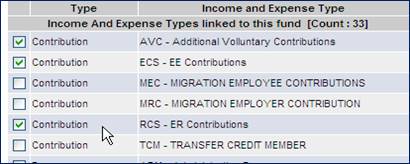
Tick (Add-In) the following Income and expense Types.
![]()
![]()
![]()
Click SAVE.

From the menu on the left select Calculations.

Link in the Calculations for the Income, Expense and Remittance types applicable.
Below is a sample.
|
SHORT CODE |
DESCRIPTION |
REMITTANCE TOTAL |
|
AVC |
Voluntary Contributions |
TAV |
|
ECS |
Employee Contributions |
ECT |
|
RCS |
Employer Contributions |
RCT |
|
ACT |
Pensionable Salary |
ATT |
|
ADM |
Admin Fee |
ADT |
|
MFEE |
Management Fee |
MFT |
|
GLA |
Group Life Assurance |
GLT |
|
PHI |
Permanent Health Insurance |
PHT |
|
DIS |
Disability |
DST |
|
DDB |
Dread Disease |
DDT |
|
FUN |
Funeral |
FUT |
|
SCM |
Amount Due – Inclusive Costs Amount Due – Exclusive Costs Amount Due – Funeral Exclusively Costed |
SCM |
|
SCT |
Total Amount Due |
SCT |

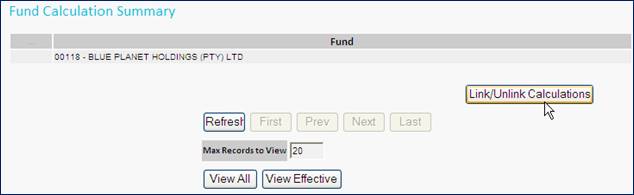
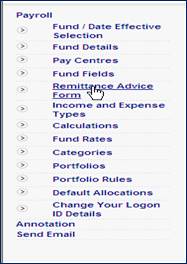
From the menu on the left – click on Remittance Advice Form.
If the Layout has any items in red – it means that calculations are missing.
If the Income Types are in GREEN – the remittance is complete and the Payroll Launch is complete.
