The benefit statement text editor enables you to create and edit the text that appears at the top, middle and bottom of the benefit statements. It also enables you to add text to the various sections of the benefit statement.
This option can be used in conjunction with the facility to add free-form text to benefit statements. Refer to
Auxiliary Activities
Document Customization
Customization
This facility enables you to set standard formatting options, e.g. font, font size, bold, underline, italics, etc.
The first time you access the editor, a blank text field will be presented. This field is used to input the text that must appear on the benefit statement. A preview facility is available for you to see the layout of the text.
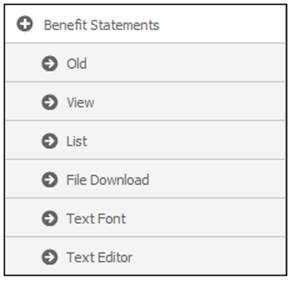
Click Text Editor below Benefit Statements.
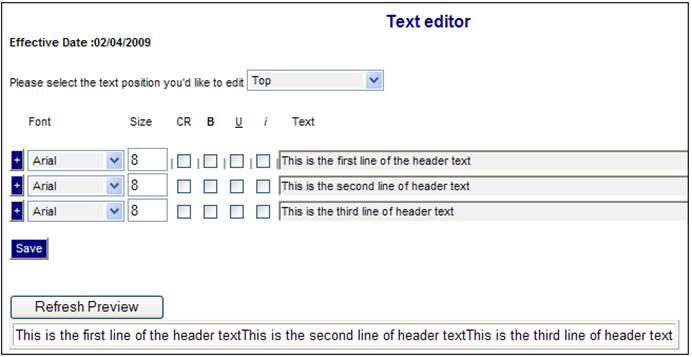
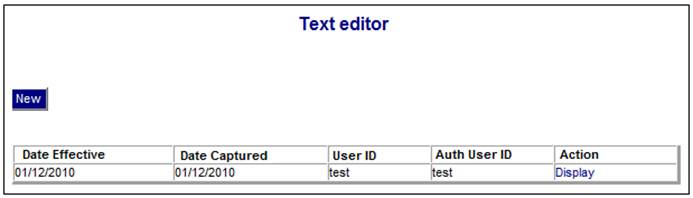
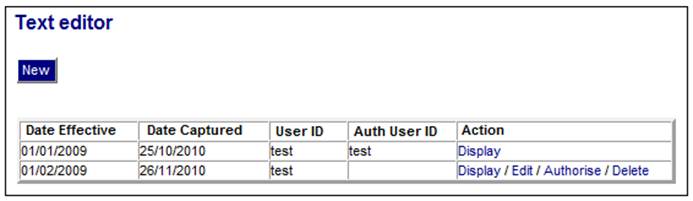
The Text editor screen will be displayed.
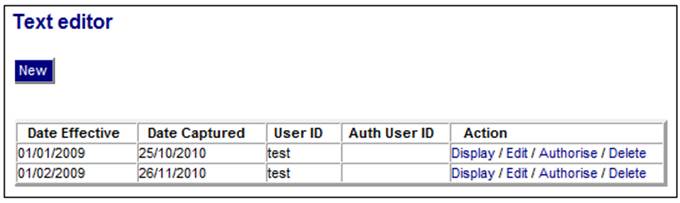
A summary of previous text created (if any) will be displayed.
The following columns are displayed:
- Date effective
- Date captured
- User ID
- Auth User ID
- Action
To add new text, click NEW. Date input boxes will be displayed.
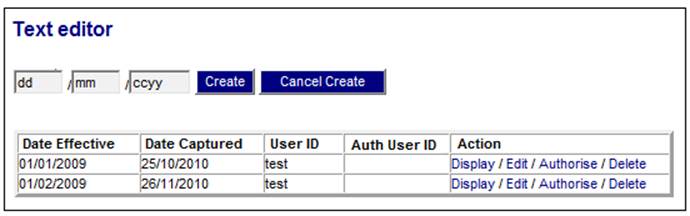
Enter the effective date of the benefit statement, then click CREATE. The Text Editor screen will be displayed, providing text input boxes.
Note:
If text is being created for the first time, the text input box will be blank.
If previous text exists, the text input box will display the text that exists for the effective date immediately prior to the effective date now being created.
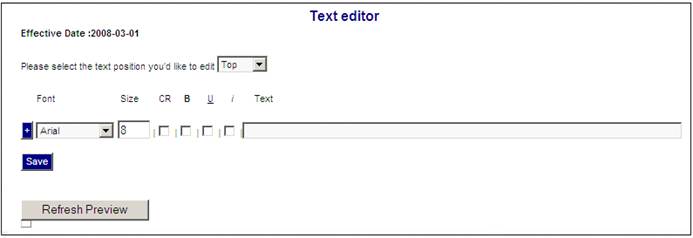
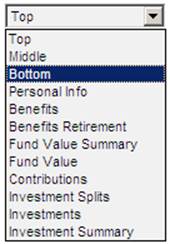
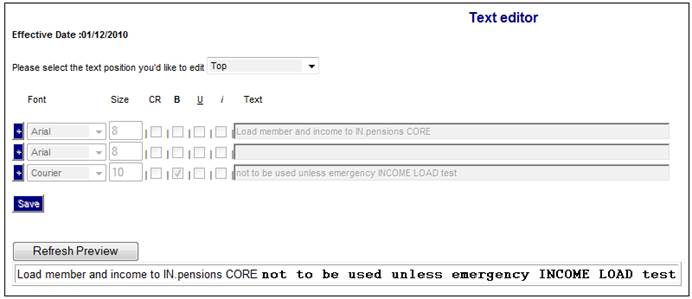
Use the drop-down list at the top to select the section of the benefit statement for which the text is being created or edited.
Whether or not the options available appear on the benefit statement are determined by the configuration of the benefit statement format. Refer to
Product Launch Requirements
Additional Menu Options
Formats
The layout and format of the text is controlled by the options to the left of the text field.
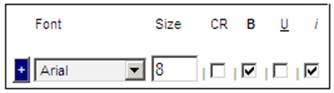
Use the FONT drop-down list to select the required font, and enter the font size in the SIZE box alongside.
Place a tick in the CR box if you want the text to start on a new line.
Place a tick in any or all of the B, U and i boxes to set the font as bold (B), underlined (U) or italic (i).
Click ![]() to open another text field.
to open another text field.
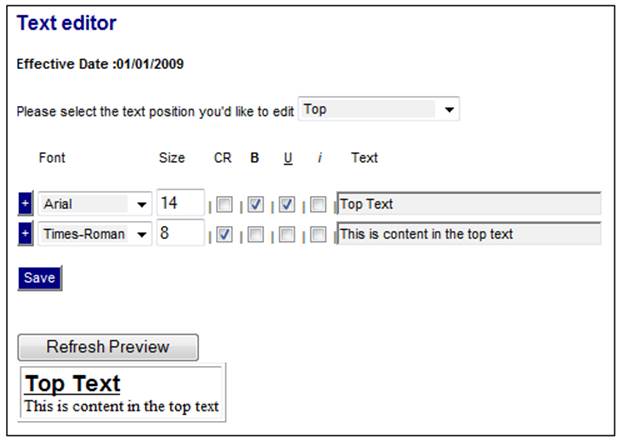
Type the first line of text, then click REFRESH PREVIEW. The text, with all formatting options applied, will be displayed in a window below.
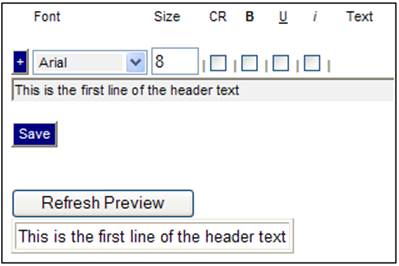
All formatting within the text field must be the same, but different formatting can be applied to each line.
To save the text, click SAVE.
To delete lines of text, highlight the text, then press the DELETE button on the keyboard. Click SAVE. Text fields that are completely blank will be removed from the screen. One blank text field will always remain on the screen.
Existing text can be displayed, edited and deleted. There is a facility to authorize text, and once authorized, it cannot be edited or deleted.
These actions are all initiated from the Text editor screen.
To display text previously added, click Display in the Action column for the required effective date. The Text editor screen will be displayed.
This is for viewing only, and no updating can be done on this screen.
To edit text previously added, click Edit in the Action column for the required effective date. The Text editor screen will be displayed.
For details on editing this screen, refer to the Add new text section above.
To authorise text previously added, click Authorise in the Action column for the required effective date. The following message will be displayed:
You are about to authorise the text for effective date (dd/mm/ccyy). Once authorised, no further editing will be allowed to this text. Click OK to confirm.
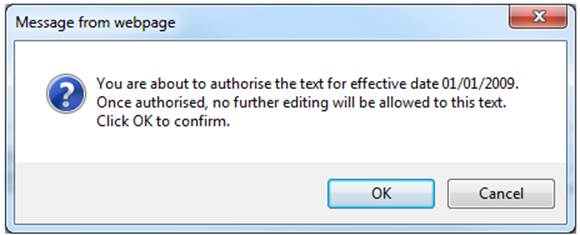
Click OK to remove the message and confirm the authorisation.
The User ID of the Authorisor will be displayed in the Auth User ID column and the Edit, Authorise and Delete hyperlinks will be removed for selection.
To delete text previously added, click delete in the Action column for the required effective date. The following message will be displayed:
You are about to delete the text for effective date (dd/mm/ccyy). Once deleted, the previously created text will be used within PDF documents if any. Click OK to confirm.
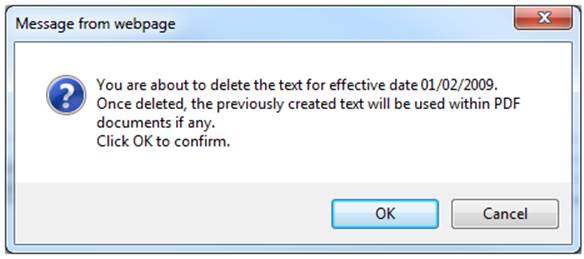
Click OK to remove the message and confirm the deletion.
The text will be removed from the screen.