
Log in to the system from the Logon page.
Click security.
The Welcome screen will be displayed.
From the main menu on top, select Team Definition.
The JU4AT Team List screen will be displayed.
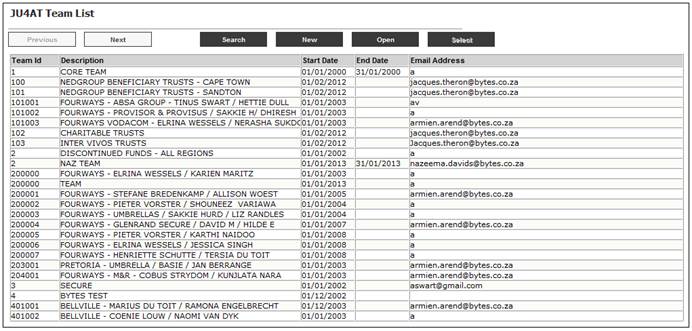
This screen displays a list of all teams that have been set up on the system.
A sub-menu will be displayed on the left.
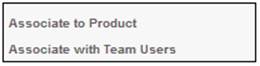
To associate a team to a product, highlight the required team that you want to link to your product, then select Associate to Product from the sub-menu on the left.
The JU4AU Team / Product Association screen will be displayed.
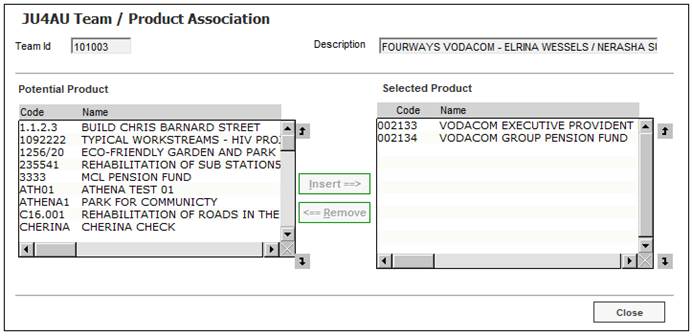
The Potential Product list (on the left of the screen) displays a list of all products that have a status of ACCEPTED PROPOSAL within the system, and that have not been linked to any other team.
Select the products that you want to link a team to from the Potential Product list, and click on it. The system will enable INSERT in the middle of the screen.
The list on the right represents products that have already been associated with the selected team.
Click INSERT to move the product that you have selected to the Selected Product list (on the right of the screen). The product will now be displayed under the Selected Product list.
The persons connected to the team selected will now be able to process updates on the new product linked to their team. Refer to Linking users to a Product under
Product Launch Requirements
Product Launch
Also refer to
Supplements
Processes
Discontinuing Products
To associate a user to a team, highlight the required team, then select Associate with Team Users from the sub-menu on the left.
The JU4AV Team / User Association screen will be displayed.
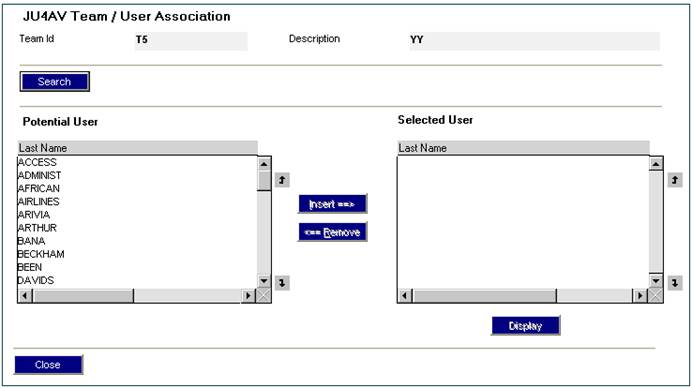
To add a user to the selected team, select a user in the Potential User column and click INSERT. The JU4AV Team / Team User Relationship Details screen will be displayed.
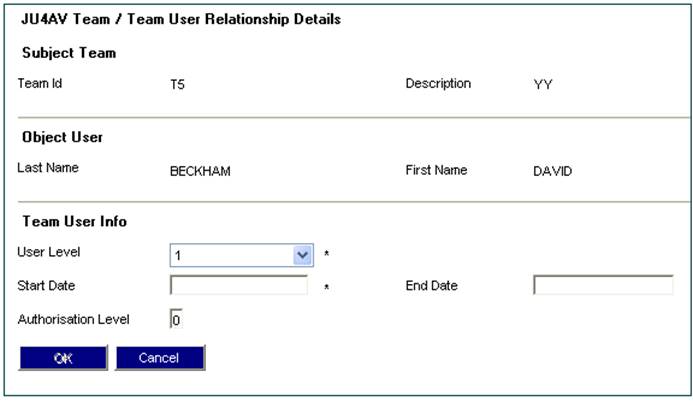
Descriptions of the input fields on this screen appear below:
|
Team User Info |
|
|
|
User Level |
Currently not in use. |
|
|
Start Date |
The effective date that the user is associated to the team. |
|
|
End Date |
The date that the user's association to the team is ended. |
|
|
Authorisation Level |
If Level 1 applies, a value of 1 must be captured. Any other value means Level 1 is not applicable. For more information, refer to Authorisation Rules under Infrastructure System Rules |
|
Complete the required information, then click OK. The selected user will be moved from the Potential User column to the Selected User column.
The user has now been associated with a team.
To remove a user from the selected team, select the user in the Selected User column and click REMOVE. The selected user will be moved from the Selected User column to the Potential User column.
To maintain details, from the JU4AT Team List screen select the required team, then click OPEN.
The JU4AT Team Maintain screen will be displayed.
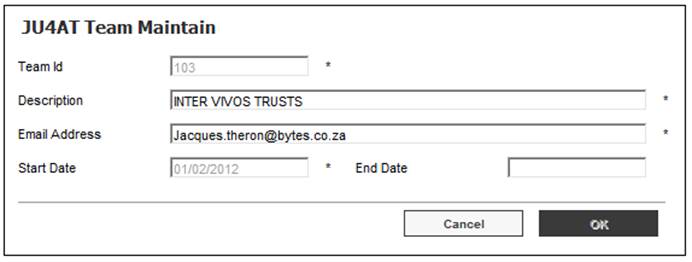
Descriptions of the input fields on this screen appear below:
|
Details |
|
|
Description |
A description for the team. |
|
Email Address |
The e-mail address of the person to whom team e-mails must be sent (e.g. benefit payment notifications).
Note: When a benefit payment is authorized for a product within the team, this person will receive an e-mail detailing the product, member name, reference number, event and exit date. Refer to Processes Benefits Benefit Payment Update Type Benefit payment Authorization Authorise Payment (Standard Benefit Rules) Authorise Payment (Flexible Benefit Rules) |