Note:
The switching process described here can be done by the member on the member web site, or by using the My Work functionality or it can be done by the administrator under this section.
For more information on My Work functionality, refer to
My Work
Process SR
Switching
If the member captures switches or changes in allocation (or both), on the Member Website, an email will automatically be sent to the Team Address for the Administration Manager to arrange for the change(s) in the Investment portfolio(s) to be made. Refer to the Switches and allocations captured on the Member Website section below.
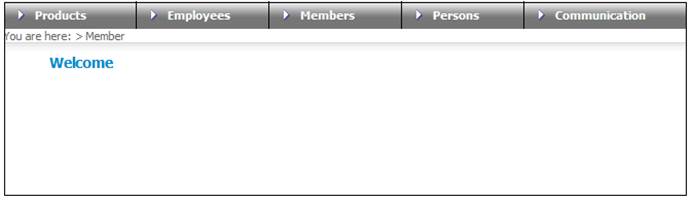
Click clients.
The Welcome screen will be displayed.
From the main menu on top, click Products.
The Product Selection screen will be displayed.
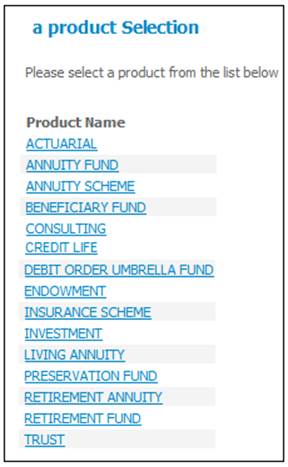
Click RETIREMENT FUND.
The Selection screen will be displayed.
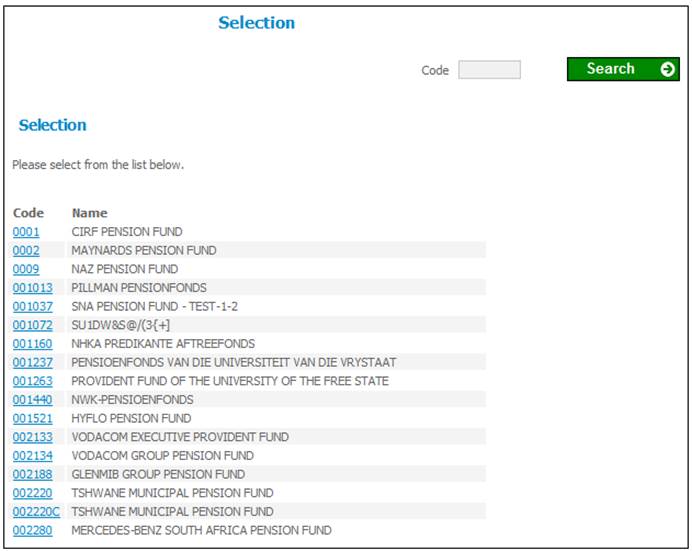
Select the required product by clicking the hyperlinked code in the Code column.
Note:
To view more codes, click Next. To find a specific product, insert the code (in full or partly) and click SEARCH.
The selected product will appear on the top of the list.
Select the code.
The selected product will be displayed.
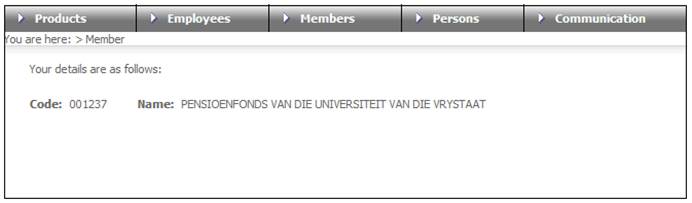
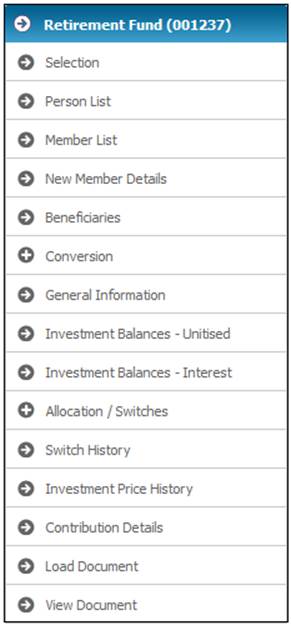
A sub-menu will be displayed on the left.
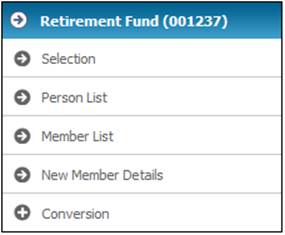
To select a person, select Person List from the sub-menu on the left.
The JU1BA Search Criteria screen will be displayed.
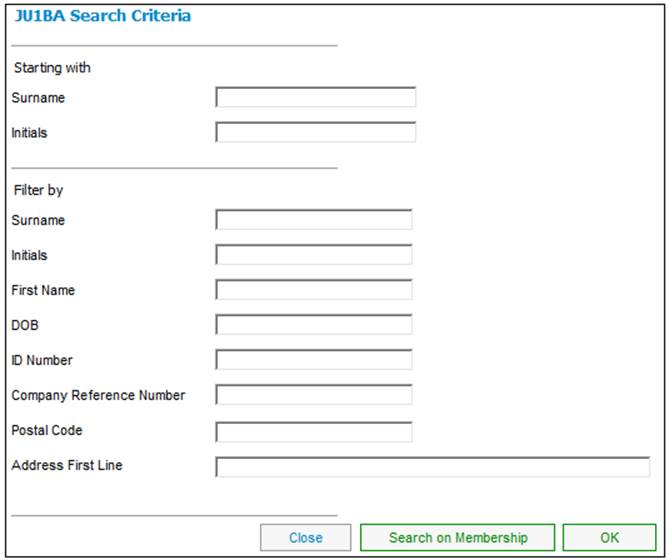
Capture data as follows to search for a person:
|
Starting with |
To find all persons from a specific starting point, enter the surname (or part thereof). |
|
Filter by |
To find a specific person, enter the surname. The following person details can also be entered to further refine the search: - - Surname - - Initials - - First Name - - Date of Birth (DOB) - - ID Number - - Company Reference Number - - Postal Code - - Address First Line |
Click OK. The JU1BA Client List screen will display the results of the search.

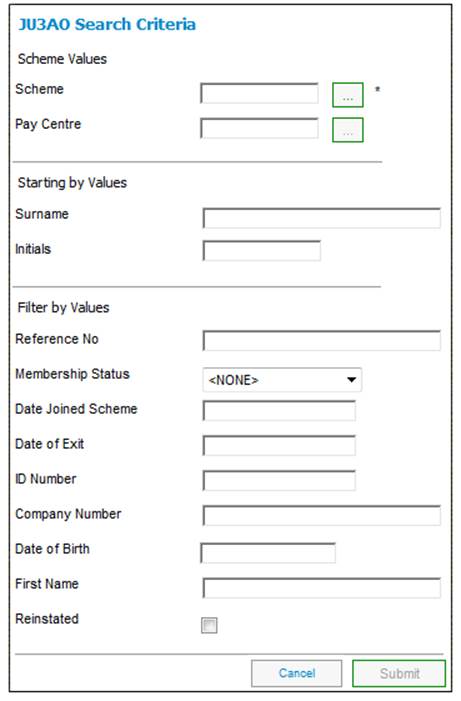
To search on a membership, click SEARCH ON MEMBERSHIP on the JU1BA Search Criteria screen.
The JU3AO Search Criteria screen will be displayed.
For more information on using this screen refer to
Clients
Finding Members
To add a new member for the product, select New Member Details from the sub-menu on the left.
The Member Details screen will be displayed.
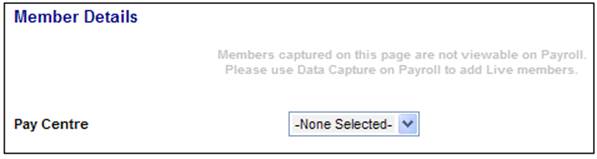
Select a pay centre from the drop-down list. The screen will expand to display a blank Member Details screen.
For more information on New Membership Details, refer to
Products
Retirement Fund
New Member Details
In order to load files, select Conversion from the sub-menu on the left.
For more information on Conversion, refer to
Products
Retirement Fund
Conversion
To amend member investment allocations or switches, select Member List from the sub-menu on the left.
The Member List screen will be displayed.
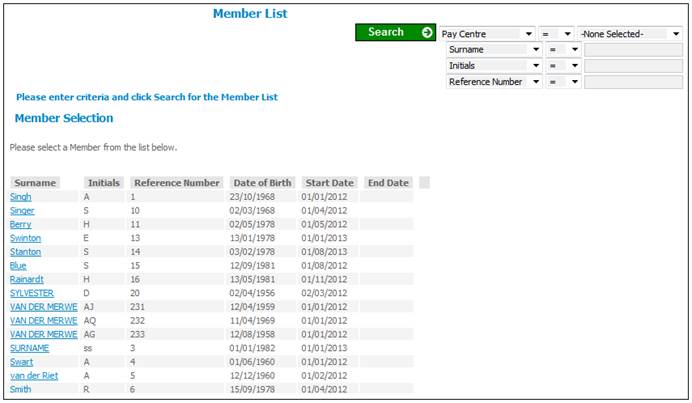
You can search for specific members. For more information on using the search criteria, refer to
Reports
Searching for Records
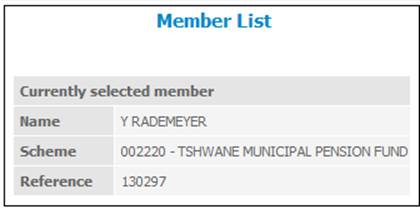
Select the required member by clicking the hyperlinked surname.
The Member List screen will be displayed, showing the selected member.
Additional options will be displayed on the sub-menu on the left.
You can view investment information at any time. Before you are able to allocate or switch investments (refer to Allocation / switches below) you will need to acknowledge that you have read this information.
The following types of information may be stored here:
- Investment guidelines
- Investment strategies
- Rules pertaining to specific investment portfolios
- General information regarding each investment portfolio
Click General Information on the sub-menu on the left.
The General Information screen will be displayed.
Click the required hyperlinked file name to open the document. A screen displaying information of general interest will be displayed.
Note:
If the member has a balance in one type of portfolio only (e.g. unitised), the menu option displayed on the left menu bar is ![]() .
.
If the member has balances in both unitised and bonus (interest) portfolios, separate menu options will be available for each of these portfolios, viz. ![]() and
and ![]() .
.
Unitised portfolio
Click ![]() (or
(or ![]() ) on the sub-menu on the left.
) on the sub-menu on the left.
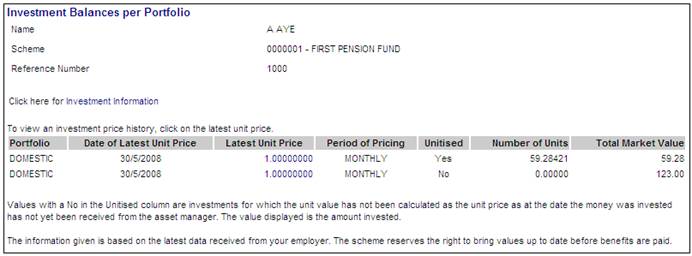
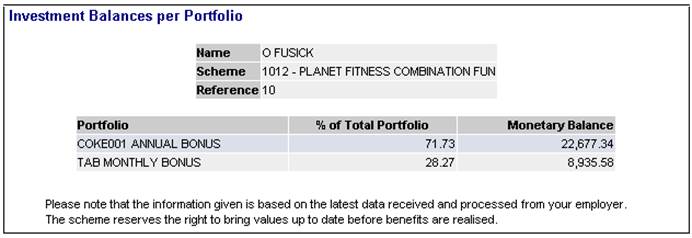
The Investment Balances per Portfolio screen will be displayed.
Investment Balances
Investment Balances - Unitised
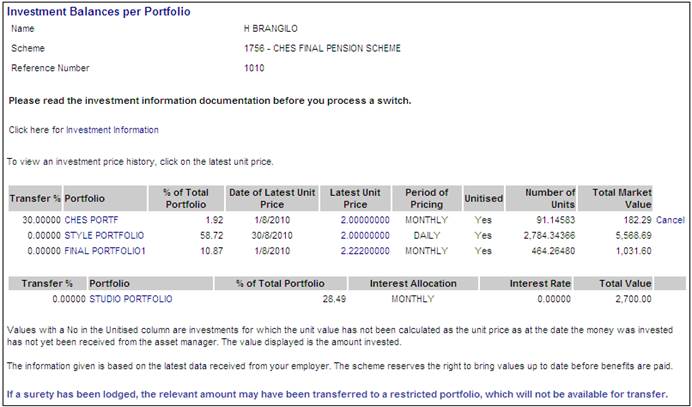
This screen displays the portfolios in which the member has invested, the percentages that have been allocated to each portfolio, and the market value of the investment in each portfolio.
In addition, the total market value, as well as the portion of the total market value that is not yet unitised, is displayed.
Note:
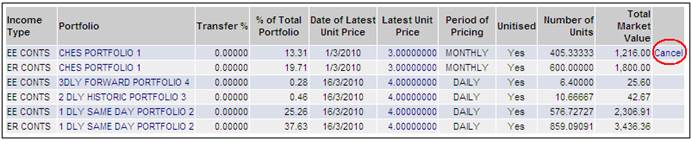
If the scheme has Investment Choice at Income Type Level, the Investment Balances per Portfolio screen will be displayed with the Income Type.
Note:
To access the relevant investment information, click Investment Information. The General Information screen will be displayed. Refer to Investment information above.
You can view the investment price history for each of the portfolios in which the member has invested. Click the hyperlinked figure in the Latest Unit Price column. The Investment Price History screen will be displayed for the selected investment medium.
Note:
Investment price history can also be selected from the sub-menu on the left (refer to Investment price history below).
Interest portfolio
Click ![]() (or
(or ![]() ) on the sub-menu on the left.
) on the sub-menu on the left.
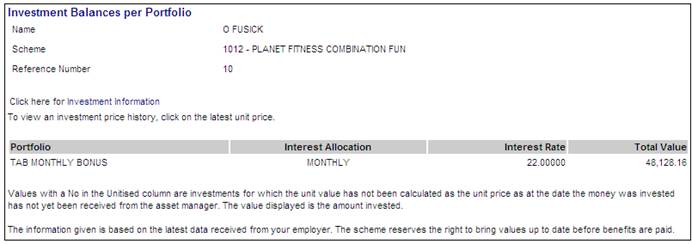
The Investment Balances screen will be displayed.
This screen displays the portfolios in which the member has invested, the percentages that have been allocated to each portfolio, and the market value of the investment in each portfolio.
Click ![]() on the left menu bar.
on the left menu bar.
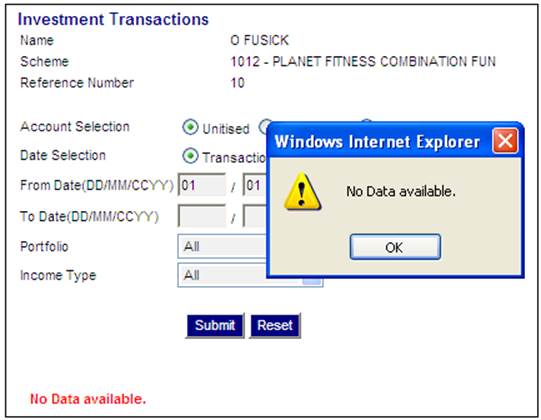
The Investment Transactions screen will be displayed.
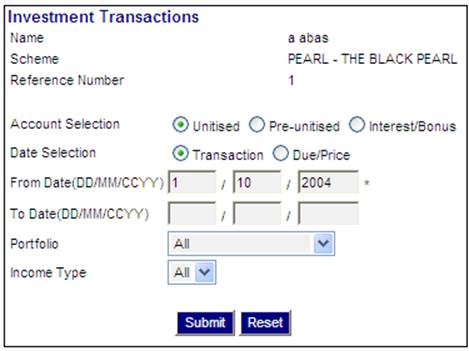
You can select investment transactions for a specified date or range of dates, and you can specify the type of account, portfolio and income type for selection.
Click ![]() if you wish to see a list of investment transactions in transaction date order for the specified range of dates.
if you wish to see a list of investment transactions in transaction date order for the specified range of dates.
Click ![]() if you wish to see a list of investment transactions in due date order for the specified range of dates.
if you wish to see a list of investment transactions in due date order for the specified range of dates.
Select the required account by clicking the radio button on the left of the account name.
|
From Date |
This is the date from which you want to see investment transactions. |
|
To Date |
This is the date up to which you want to see investment transactions. If no date is entered, investment transactions up to the current date will be displayed. |
|
Portfolio |
This lists the various portfolios applicable to the scheme. Click Select ALL if you want to see investment transactions in respect of all portfolios. |
|
Income Type |
This lists the various types of income applicable to the scheme. Click Select ALL if you want to see investment transactions in respect of all income types. |
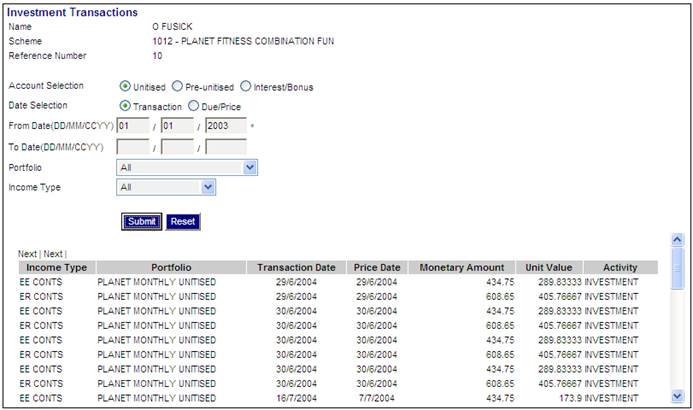
Click SUBMIT. Investment transactions matching the search criteria will be displayed on the lower part of the screen.
Note:
If the account selection was Interest/Bonus, the display of certain columns will differ.
If no investment transactions are found, a message will be displayed.
You can change the allocation of future contributions between portfolios, and you can switch units between portfolios in which the member has already invested. You can also view the status of allocations and switches that have been initiated.
When allocating future contributions, you can select a set of default or life cycle allocations. Default and life cycle investment allocations represent the Trustees' recommended investments for all of the members, or for specific groups of members. If no individual choice has been selected, or is not applicable, then the scheme default allocation will be applied or, where applicable, the default for the membership group will be applied.
Click ![]() alongside
alongside ![]() on the sub-menu on the left. Additional options will be displayed.
on the sub-menu on the left. Additional options will be displayed.
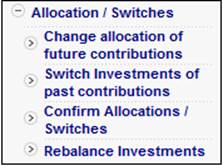
Change allocation of future contributions
To change the allocation of future contributions, click ![]() or
or ![]() below
below ![]() .
.
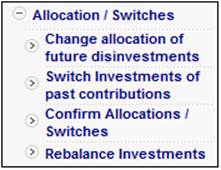
Note:
If the member is a Living Annuitant, the Change allocation of future disinvestments menu item will be displayed for selection. Selecting this menu item will allow the portfolio from which the disinvestment must be made to be changed in order to realize the money required to cover the monthly annuity.
The Investment Allocations screen will be displayed.
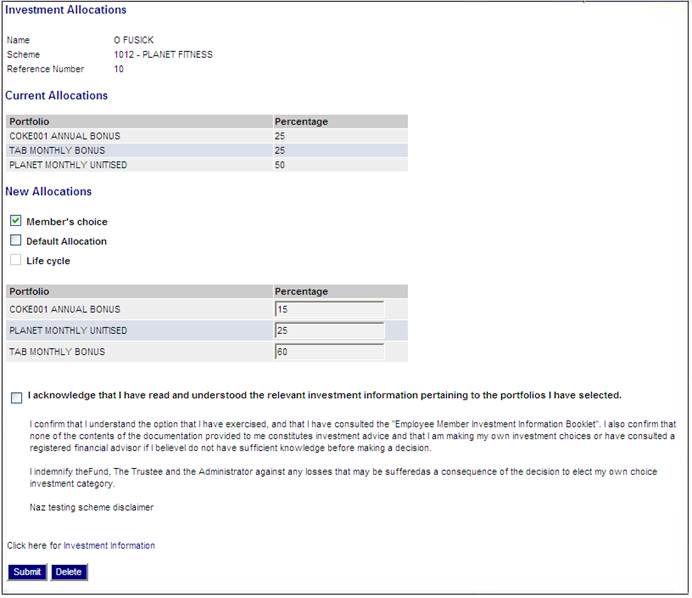
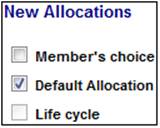
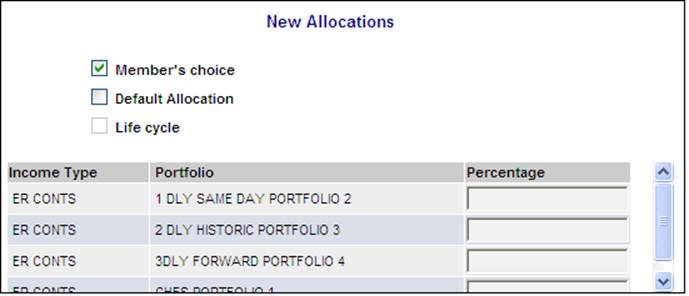
Tick the appropriate box below New Allocations.
Note:
If the member is a Living Annuitant, the Life Cycle option will be disabled for selection.
If Member's choice has been selected, enter a percentage for each portfolio in which the money should be invested, by entering a figure in the Percentage box alongside the applicable portfolio. You may choose to invest in more than one portfolio.
Before updating the allocations, you must acknowledge that you have read the relevant investment information pertaining to the portfolios you have selected, by ticking the check box.
The System will not enable a Portfolio to be selected if the value for the Closed From Date field on the JU1BV Scheme Portfolio Details screen is less than or equal to the Effective Date of the Scheme Update.
Note:
The system will read the value for Fixed Term Investment on the Investment Linked to each Portfolio selected. If it is Y, the unit balance on the Member’s INVSTMEMUNIT account will be retrieved if the Earning Allocation Basis on the Investment Medium is UNITISED or on the Member’s INVESTMEMB account if the Earning Allocation Basis is BONUS. If the balance is zero the system will check if there is a Switch Buy in process for the Portfolio. If not, the following error message will be displayed:
You may only select this Portfolio if you have money invested in it. If you want to invest future contributions in this Portfolio please transfer money into it by capturing a switch.
Note:
If the scheme has Investment Choice at Income Type Level, the Income Type Investment Allocations screen will be displayed with the Income Type.
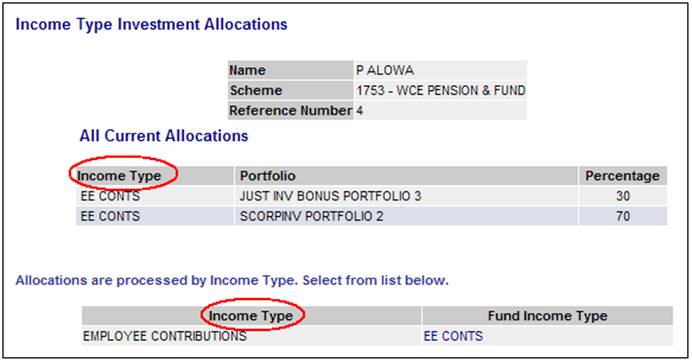
Click on a hyperlinked value in the Fund Income Type column. The screen will display a New Allocations section on the screen.
Note:
An error message will be displayed if the income type on the fund is defined as FUND INCOME TYPE MEMBER CHOICE = YES, but it is not on payroll.
Member’s Choice
If the Member’s Choice check box under New Allocations is selected, a list of the Income Types for which there is an Income Rule linked to the Contribution Membership Group to which the Member is linked and for which the value for Member Investment Choice is Y will be displayed.
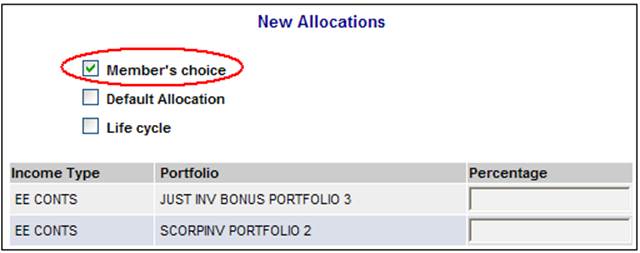
The relevant allocation percentage(s) may be captured in the Percentage column.
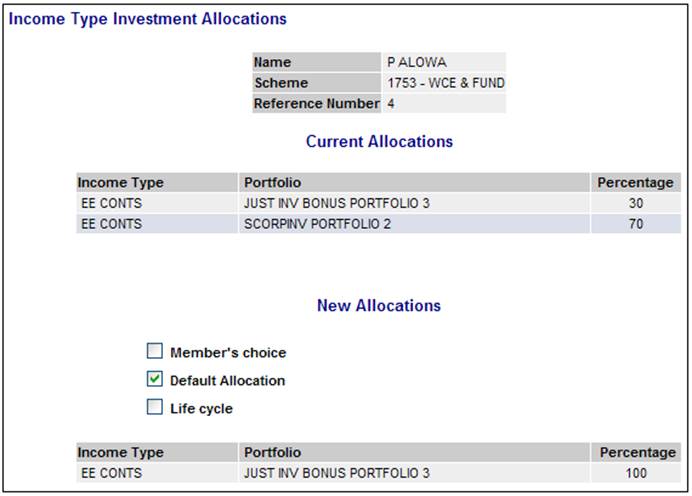
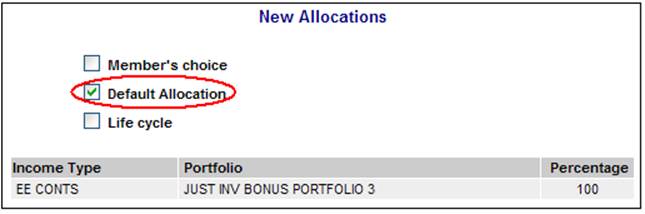
Default Allocation
If the Default Allocation check box is selected, the system will display the following:
- All of the Income Types for which there is an Income Rule linked to the Contribution Membership Group to which the Member is linked with the Portfolios and Percentages for each Income Type as per the default Scheme investment allocation.
- if the Member is linked to an Investment Membership Group, the default investment allocation for the Investment Membership Group to which the Member is linked, and for which the value for Member Investment Choice is Y.
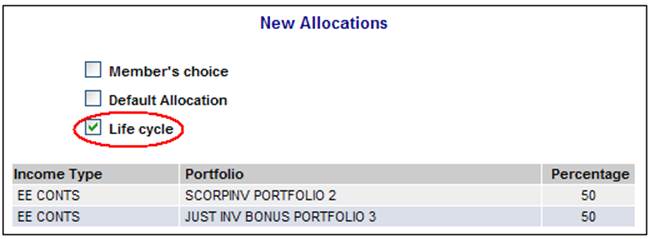
Life Cycle
If the Life Cycle check box is selected, the system will display all of the Income Types for which there is an Income Rule linked to the Contribution Membership Group to which the Member is linked with the Portfolios and Percentages for each Income Type as per the investment allocation for the Investment Membership Group matching the Member’s age or number of years to normal retirement date, and for which the value for Member Investment Choice is Y.
Note:
To access the relevant investment information, click Investment Information. The General Information screen will be displayed. Refer to Investment information above.
Click SUBMIT.
The sum of your allocations must add up to 100%. If not, an error message will be displayed.
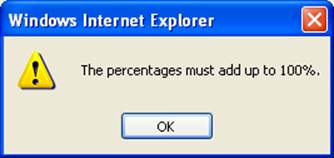
Click OK and change the percentages so that they total 100%.
If the scheme rules provide for switching on a specific date only, a message will be displayed.
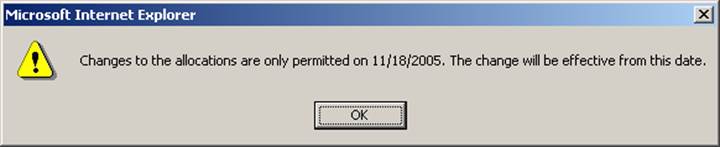
Click OK to continue.
Click SUBMIT.
If you haven't ticked the check box, an error message will be displayed.
Click OK, then tick the check box.
Click SUBMIT.
A confirmation message will be displayed.
Click OK.
Once you have updated the screen, the Investment Allocations screen will be re-displayed, showing the new allocation and a confirmation message. Refer to Confirm allocation / switches below).
To delete the allocations made, click DELETE. A confirmation message will be displayed if the check box has not been ticked.
Click OK to remove the message. A confirmation message will be displayed.
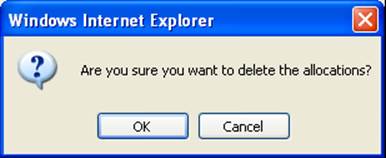
Click CANCEL to cancel the deletion or OK to confirm that the allocations must be deleted. The allocations previously captured will be removed from the New Allocations screen.
Switch Investments of past contributions
To switch investments of past contributions, click ![]() below
below ![]() .
.
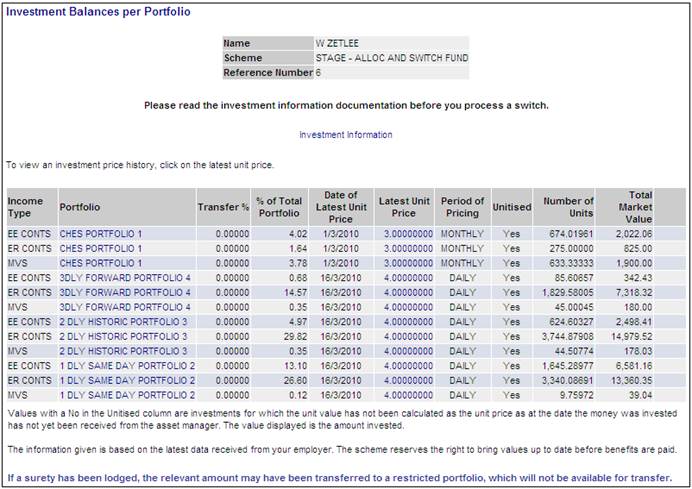
The Investment Balances per Portfolio screen will be displayed.
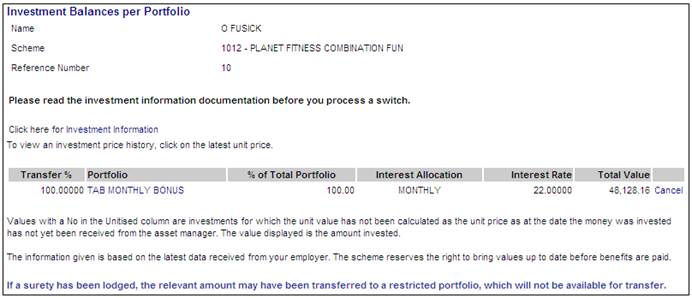
This screen displays both the unitised and non-unitised portfolios in which the member has invested, the percentages that have been allocated to each portfolio, and the market value of the investment in each portfolio.
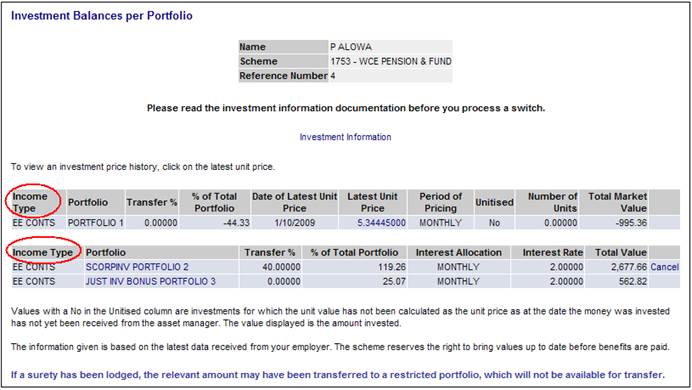
Note:
If the scheme has Investment Choice at Income Type Level, the Investment Balances per Portfolio screen will be displayed with the Income Type.
Note:
To access the relevant investment information, click Investment Information. The General Information screen will be displayed. Refer to Investment information above.
You can view the investment price history for each of the portfolios in which the member has invested. Click the hyperlinked figure in the Latest Unit Price column. The Investment Price History screen will be displayed for the selected investment medium.
Click the hyperlinked here to return to the Investment Balances per Portfolio screen.
To perform a switch, click on the hyperlinked investment medium name in the Portfolio column.
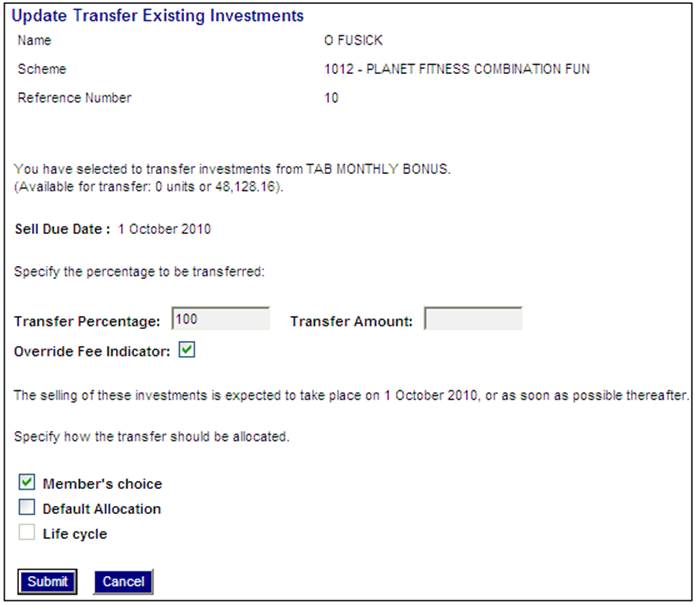
The Update Transfer Existing Investments screen will be displayed.
Notes:
If Life cycle was selected on the Investment Allocations screen, the Life cycle box will be ticked, and cannot be changed here. The Transfer Percentage will default to 100.
Note:
If the member is a Living Annuitant, the Life Cycle option will be disabled for selection.
To use the default investment allocation, tick the box alongside Default Allocation.
To specify a different percentage or amount, tick the box alongside Member's choice.
Either capture a percentage in the Transfer Percentage field or capture an amount in the Transfer Amount field.
Note:
Whichever one is used, the system will default the value of the other to 0 as only one or the other may be captured.
If there are any fees charged to the member defined on the scheme rules, tick the Override Fee Indicator box.
If no switching fees are defined on the scheme Rules, no text regarding switching fee will be displayed on the Transfer to Available Investments screen.
Click SUBMIT.
The Transfer to Available Investments screen will be displayed.
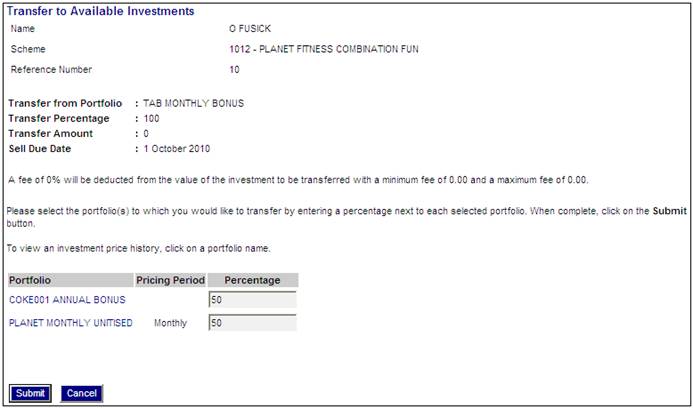
You can view the investment price history for each of the available portfolios. Click the hyperlinked name in the Portfolio column. The Investment Price History screen will be displayed for the selected investment medium.
Enter a percentage for the portfolio(s) in which you would like the money invested, by entering a figure in the Percentage box alongside the applicable portfolio. You may choose to invest in more than one portfolio.
The System will not enable a Portfolio to be selected if the value for the Closed From Date field on the JU1BV Scheme Portfolio Details screen is less than or equal to the Effective Date of the Scheme Update.
Note:
The system will read the value for Fixed Term Investment on the Investment Linked to each Portfolio selected. If it is Y, the unit balance on the Member’s INVSTMEMUNIT account will be retrieved if the Earning Allocation Basis on the Investment Medium is UNITISED or on the Member’s INVESTMEMB account if the Earning Allocation Basis is BONUS. If the balance is zero, the system will check if the Portfolio is included in the Member’s investment allocation. If it is, the following error message will be displayed:
If you want to cancel this switch then you must remove the Portfolio from the allocation of your future contributions that you have captured.
Click SUBMIT.
The sum of your switch percentage must add up to 100%. If not, an error message will be displayed.
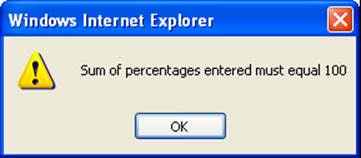
Click OK and change the percentages so that they total 100%.
The Transfer Existing Investments screen will be re-displayed.
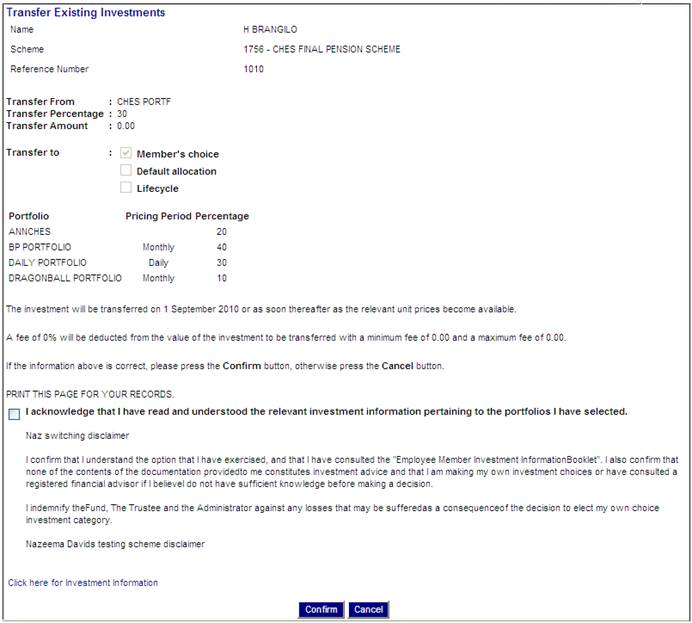
Click CONFIRM.
If you haven't ticked the check box, an error message will be displayed.

Click OK, then tick the check box.
Click CONFIRM.
A confirmation message will be displayed.
Click OK.
The Investment Balances per Portfolio screen will be displayed.
To cancel the unconfirmed switch, click the hyperlinked Cancel on the appropriate line.
A confirmation message will be displayed.
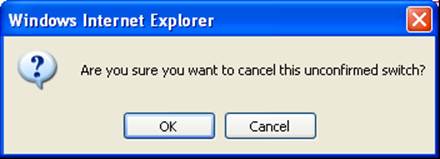
Click OK to confirm the cancellation.
Confirm allocation / switches
To confirm the allocation or switches, click ![]() below
below ![]() .
.
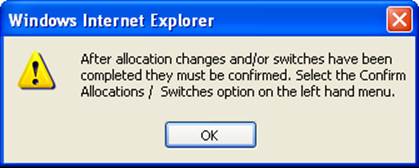
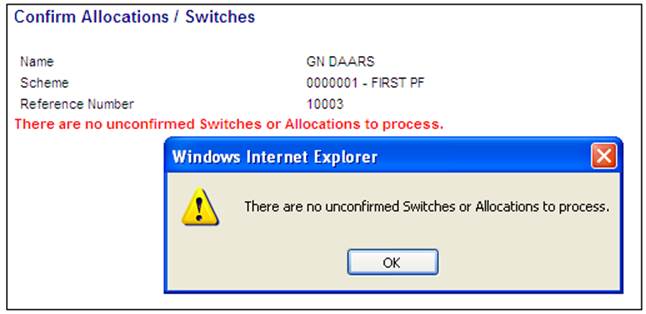
If there are no switches or allocations to be processed, a message will be displayed.
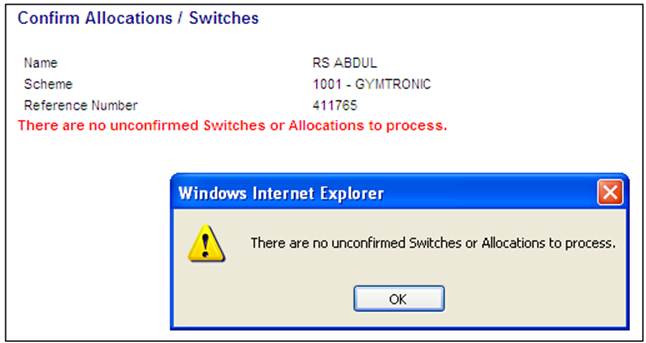
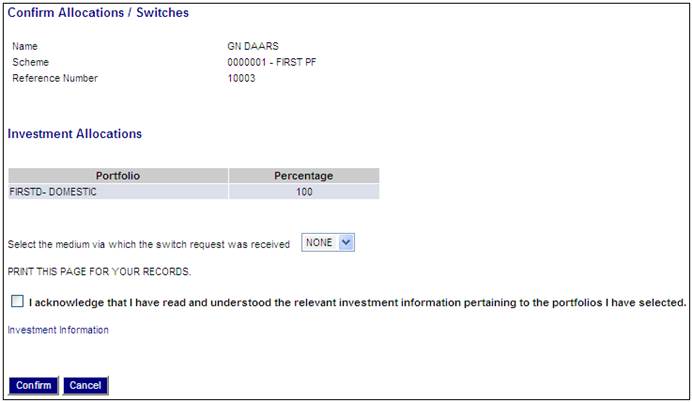
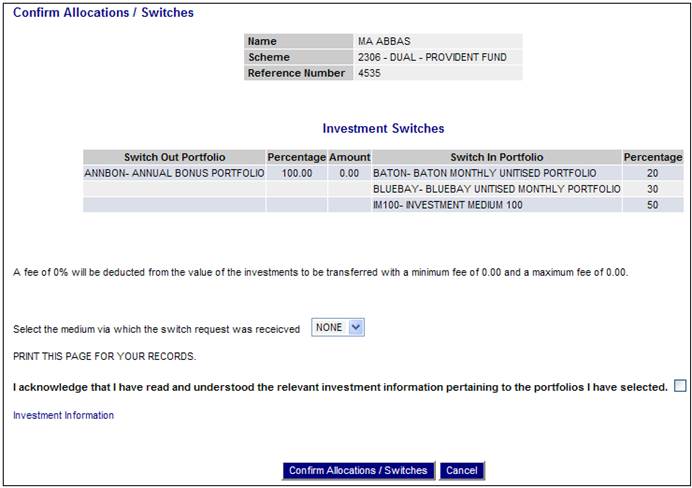
Allocations and switches available for confirmation will be displayed on the Confirm Allocations / Switches screen.
Allocations
Switches
Note:
If the scheme has Investment Choice at Income Type Level, the Confirm Allocations / Switches screen will be displayed with the Income Type.
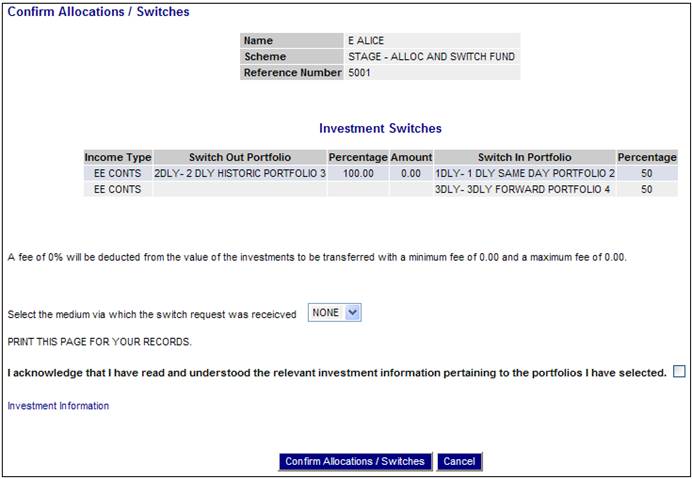
Before confirming the allocations or switches, you must acknowledge that you have read the relevant investment information pertaining to the portfolios you have selected, by ticking the check box.
In addition, the request method should be updated by selecting a value from the drop-down box.
![]()
Note:
When a switch is created via the JU3CA Bulk Switch From screen, the request method on the switching detail will be updated to BULK.
When a switch is created via the BJU3BN_LCSWI Life Cycle Switches batch job, the request method on the switching detail will be updated to LIFE CYCLE.
When a switch is captured via the Member Website the request method on the switching detail will be update to MEMBER WEB.
In the BJU3BN Life Cycle Switches batch job, when the number of years to Normal Retirement Date (NRD) is determined for a Member, the system will check if the Member has a Member Values record with a Member Value Type of PLANNED RET DTE. If found, the system will determine the Number of years to NRD based on the value for Period End Date in place of Normal Retirement Age.
Note:
To access the relevant investment information, click Investment Information. The General Information screen will be displayed. Refer to Investment information above.
To confirm the allocations or switches, click CONFIRM ALLOCATIONS/SWITCHES.
Note:
The system will check that the result of the switches and changes in allocations will not result in a portfolio from which funds will be disinvested to cover the member’s monthly annuity having a zero balance.
The balance on the member’s investment accounts will be retrieved for all of the portfolios included in the member’s Investment Allocation. If any portfolio has a zero balance, the system will check if a switch has been captured for which the portfolio is included in the portfolios to be transferred into. If not, the following error message will be displayed with a zero balance:
There is no money invested in the (name of portfolio) and therefore there will not be funds available to cover your monthly annuity. Please switch funds into this portfolio or change your allocation.
If there is a switch for which the percentage captured for the portfolio selected for switching out of is 100%, the system will check if the portfolio is included in the Member’s Investment Allocation. If it is, the following error message will be displayed:
The portfolio you are switching out of is included in the portfolios you have elected to disinvest from to cover your monthly annuity. You must change your allocation or cancel this switch.
If you haven't ticked the check box, an error message will be displayed.
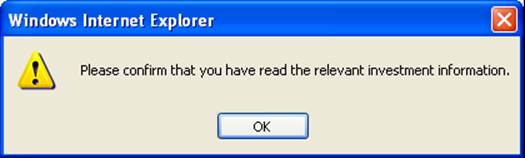
Click OK, then tick the check box.
The Confirm Allocations / Switches screen will be re-displayed for final confirmation.
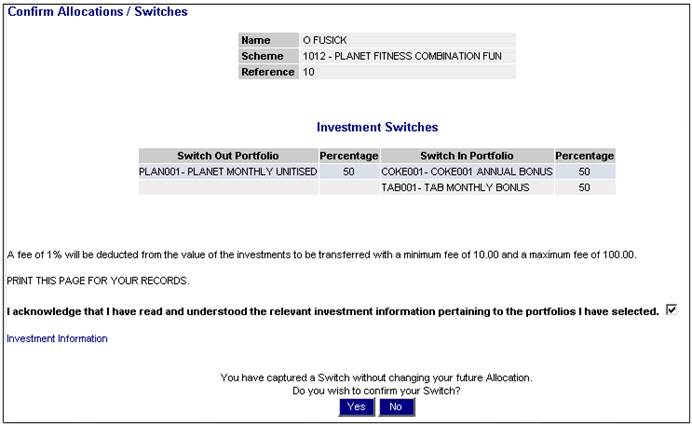
Click YES.
If the change is not permissible, an error message will be displayed on the screen.

If the scheme set up does not provide for this type of allocation or switch, an error message will be displayed on the screen.

Once the allocation or switch has been successfully confirmed, a confirmation message will be displayed on the Confirm Allocations / Switches screen.
If the member has captured switches or changes in allocation (or both), on the Member Website, an email will automatically be sent to the Administrator Team Address.
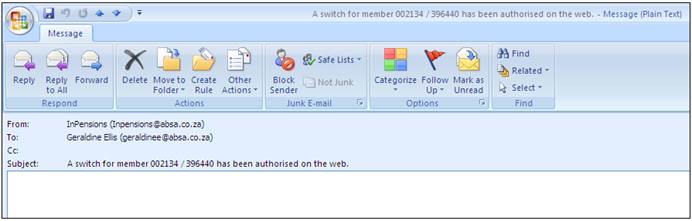
Switch captured by member
A switch for member (number) / (scheme) has been authorised on the web.
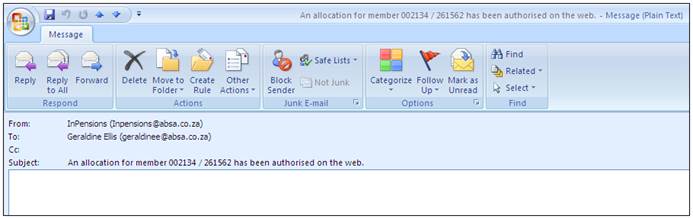
Allocation captured by member
An allocation for member (number) / (scheme) has been authorised on the web.
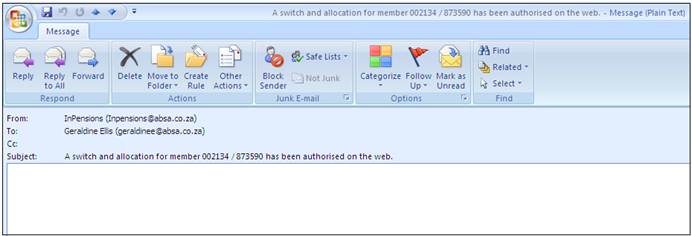
Switch and allocation captured by member
A switch and allocation for member (number) / (scheme) has been authorised on the web.
This facility enables the automatic rebalancing of investments for specified members at specified intervals, by aligning the member's monetary investment balances with his allocation split percentages.
Click ![]() below
below ![]() .
.
The Rebalance Investments screen will be displayed.

If there are no balances to be switched out, the following message will be displayed:
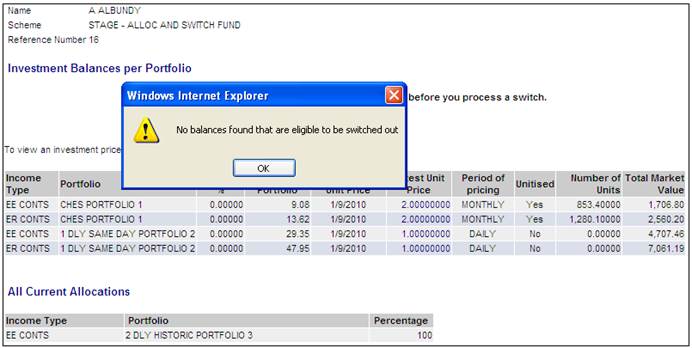
Click OK to remove the message.
This screen displays a list of the balances per income type and portfolio as per the investment balance per portfolio. Only the income types for which the value for MEMBER INVESTMENT CHOICE is Y will be displayed. If the value for investment choice at income type Level is N, the balances per portfolio will be displayed.
The member's current investment allocation will also be displayed. If the member has an individual allocation, the member's current allocation per income type (or portfolio depending on the value for INVESTMENT CHOICE AT INCOME TYPE LEVEL), will be displayed. If this does not apply, the default investment allocation per income type for the investment membership group to which the member is linked will be displayed.
If the member is not linked to an investment membership group the scheme default investment allocation will be displayed.
To rebalance investments, click REQUEST REBALANCING. The Rebalance Investments screen will be displayed.
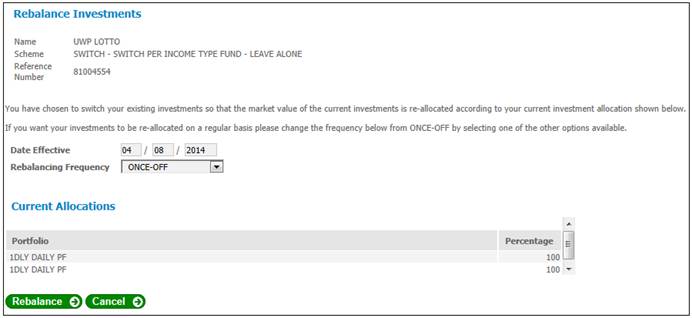
If the member has an individual allocation, the member's current allocation will be displayed.
If the member is not linked to an investment membership group the scheme default investment allocation will be displayed.
Date Effective
The Date Effective field is the first date on which the rebalancing will be processed. The system defaults this date to the current date. If a different date is required, it must be captured in this field.
Note
The DATE EFFECTIVE must be the current date or a working day in the future.
Rebalancing Frequency
This field allows for the frequency with which rebalancing must take place to be defined. Select one of the following values from the drop-down list and click REBALANCE:
- BI-ANNUAL
- MONTHLY
- ONCE-OFF
- QUARTERLY
If ONCE-OFF is selected, investments will be re-allocated on a regular basis. A warning message will be displayed.
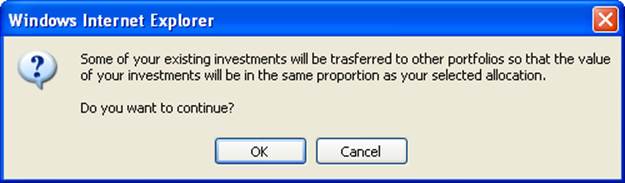
Click CANCEL to cancel the selection or click OK to continue.
The system will determine the switches required to achieve the desired investment allocation per income type as follows:
The portfolios from which units need to be switched and the number of units to be disinvested per income type and which portfolios money must be switched into and the amount to be invested will be determined.
- The unit balances on the member's INVSTMEMUNIT account per income type and portfolio and calculate the market value based on the latest unit price will be retrieved.
- The market values will be summed per income type.
- The market value that is required per portfolio in terms of the member's investment allocation will be calculated as follows:
Total market value for income type x allocation percentage for portfolio
- The difference between the required market value and the current market value will be calculated by portfolio and income type.
- If the difference is positive, this represents an amount that must be invested.
- If the difference is negative, this means that units must be disinvested. The number of units to be disinvested will be calculated as follows:
Difference / unit price (this represents the sell instruction for the switch, see below).
- The sell due date based on the pricing frequency, fixed switching dates and notice period for the portfolios for which units need to be disinvested will be determined.
Note:
If only one portfolio has a fixed switching date, the due date must be set to this date, or if one portfolio is monthly priced and all the others are daily priced, the due date must be set to the first working day of the following month.
- The percentage to be purchased will be calculated per income type as follows:
The amount to be invested by portfolio will be summed.
The percentage will be calculated as follows:
Amount to be invested per portfolio and income type (refer above) / total amount to be invested by portfolio (this represents the buy instruction for the switch, see below).
- A switching detail record for each portfolio for which units must be switched out will be created. The unit price used in the calculation of the market value will be recorded on the switching detail record.
- Buy switching detail records will be created for each portfolio to be switched into with the percentage calculated above.
If BI-ANNUALLY, MONTHLY or QUARTERLY is selected, a warning message will be displayed.
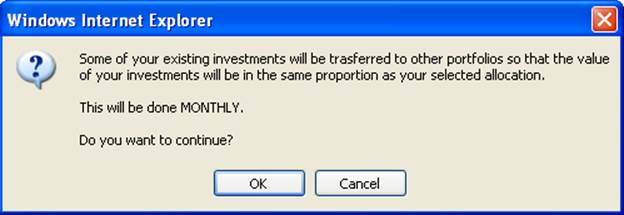
Click CANCEL to cancel the selection or click OK to continue.
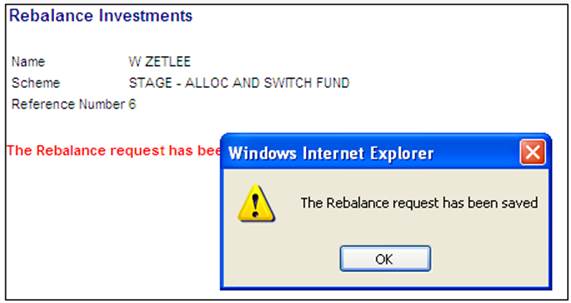
An investment rebalancing record for the member with the frequency equal to the frequency selected, and with an effective date equal to the REBALANCE BASE DATE and a date rebalanced equal to null, will be created.
A message on the Rebalance Investments screen will confirm that the rebalance request has been saved.
Note:
When the investment rebalancing batch job runs:
Unitised Portfolios
For the portfolios for which the EARNING ALLOCATION is UNITISED, the system will retrieve the unit balances on the member's INVSTMEMUNIT account per income type and portfolio for the income types for which the value for MEMBER INVESTMENT CHOICE is Y.
Bonus Portfolios
For portfolios for which the EARNING ALLOCATION is BONUS, the system will retrieve the balances on the member's INVESTMEMB account per income type and portfolio for the income types for which the value for MEMBER INVESTMENT CHOICE is Y.
The SWITCH DETAIL and BUY SWITCH DETAIL records will be created per income type.
The date rebalanced on the member's investment rebalancing record will be updated with the run date.
These switches will then be processed in the switching batch process, which will run immediately after the investment rebalancing batch run.
Click ![]() on the left menu bar.
on the left menu bar.
The Switch History screen will be displayed.
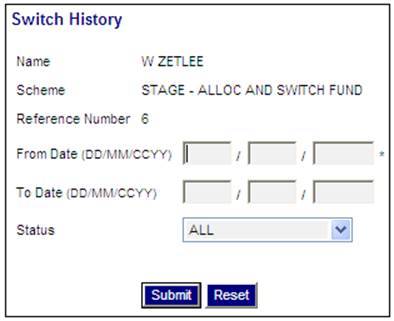
Enter a date in the FROM DATE field, and select the required status from the drop-down box, then click SUBMIT.
Note:
You can filter the results by entering a date in the TO DATE field. This is optional.
The Investment Switches information will be shown on the lower portion of the screen.
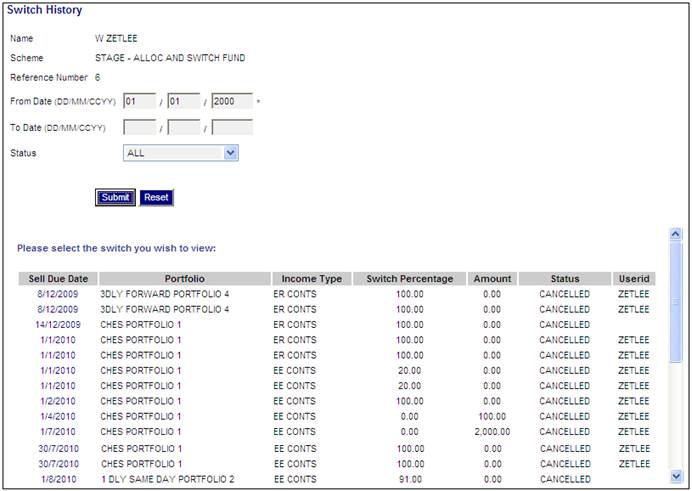
Note:
If the scheme has INVESTMENT CHOICE AT INCOME TYPE LEVEL, the Switch History screen will display the income type.
You can view details of the switch for each of the switch transactions. Click the hyperlinked date in the Sell Due Date column. The Switch History screen will be displayed on the lower portion of the screen for the selected transaction.
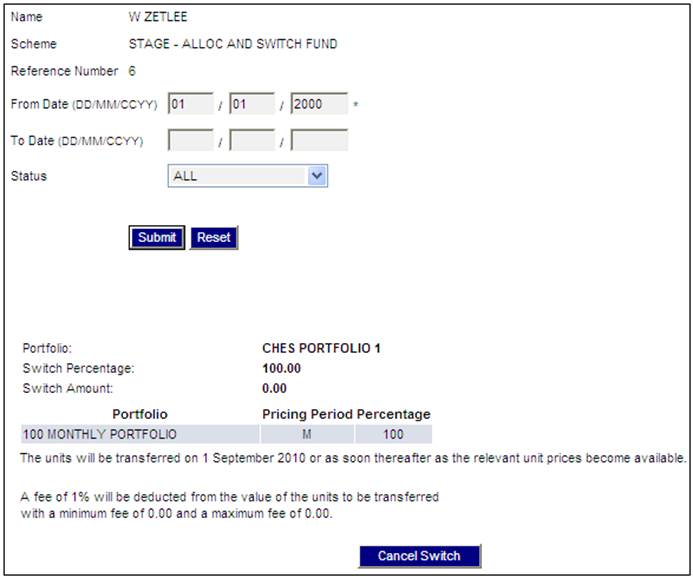
Cancel a switch
Note:
Only switches with a status of CAPTURED can be cancelled, and switches can only be cancelled by the person (i.e. user ID) who captured them. The CANCEL SWITCH button will only be displayed for selection on the Switch History screen when the switch selected has a status of CAPTURED.
To cancel a pending investment switch, click CANCEL SWITCH. A message will be displayed.
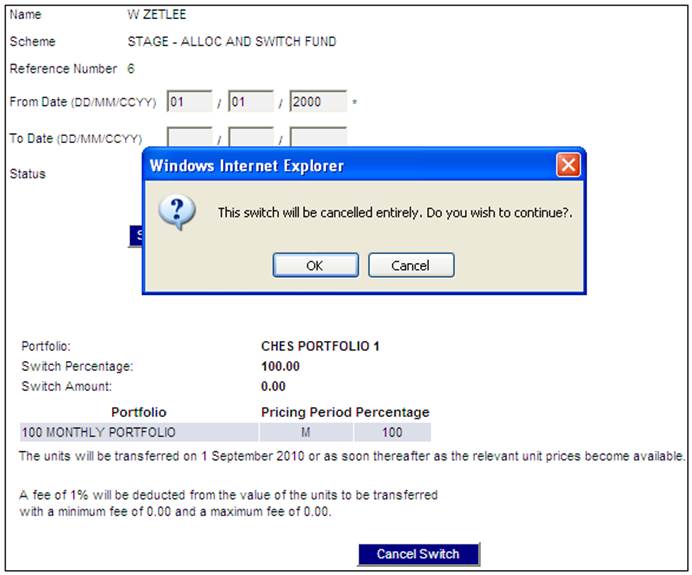
The Switch History screen will be re-displayed with a message confirming the cancellation of the switch.
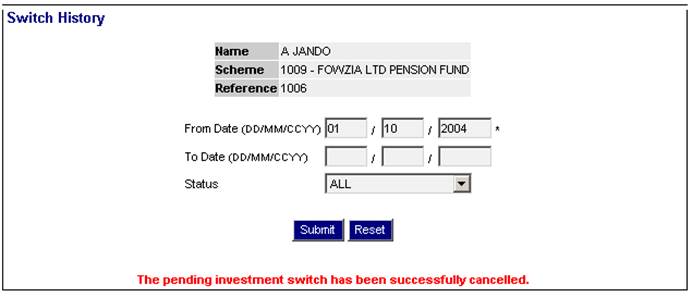
The status on the switching detail will be updated to CANCELLED.
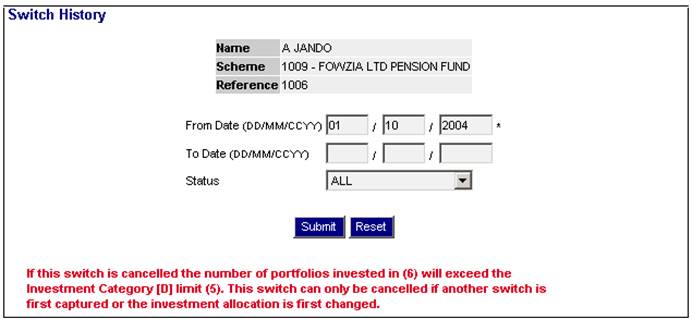
If the cancellation is unsuccessful, the Switch History screen will be re-displayed, and a message will indicate the reason for the switch not being cancelled.
Click ![]() on the left menu bar.
on the left menu bar.
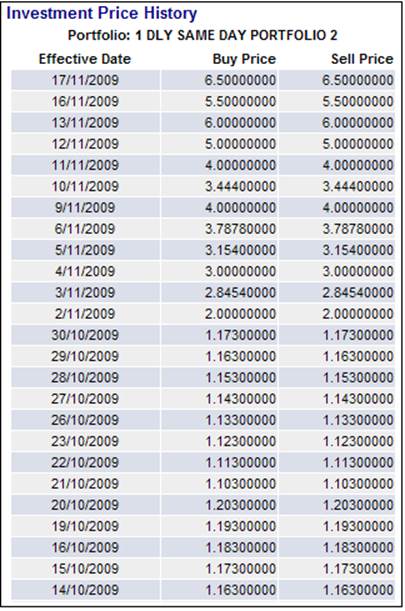
The Investment Price History screen will be displayed.
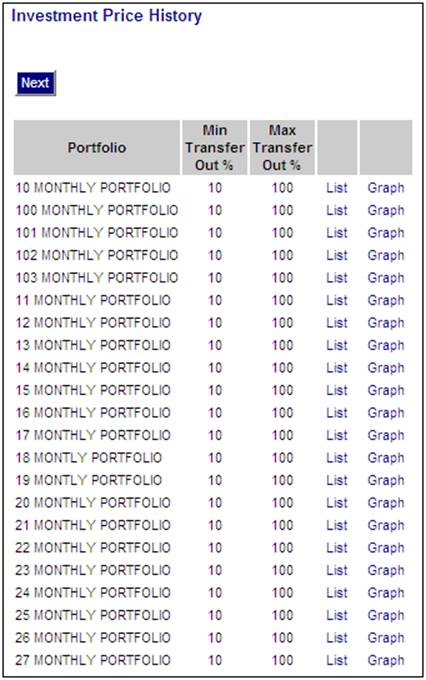
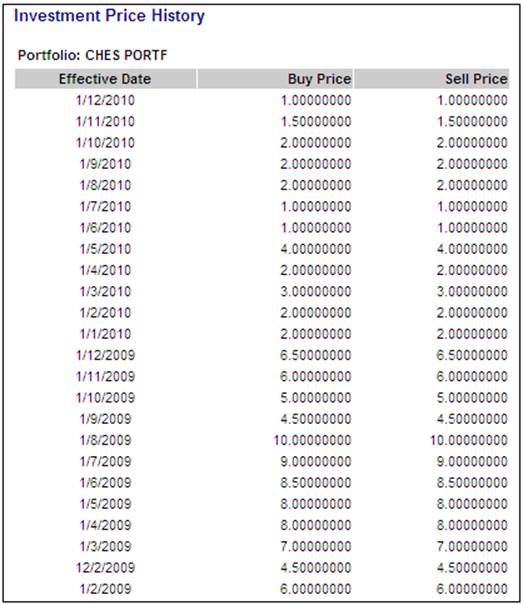
To view the price history for any of the investment mediums available to the scheme, click List alongside the required portfolio. The Investment Price History screen will be displayed. This screen shows the buying and selling prices as at previous effective dates for the selected investment medium.
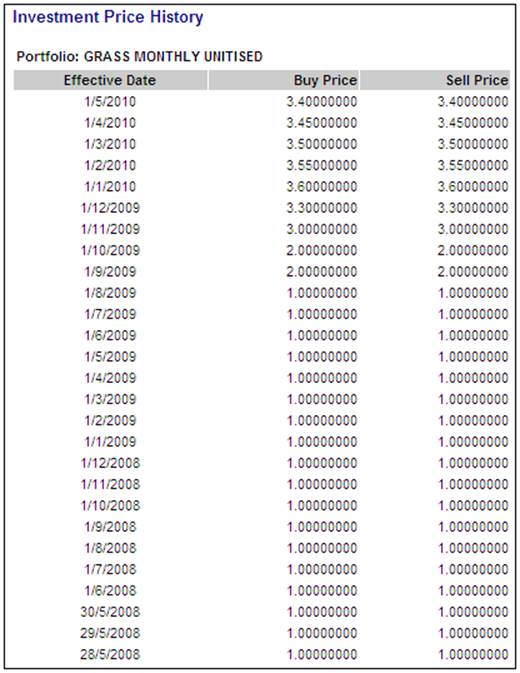
Click the hyperlinked here to return to the Investment Price History screen.
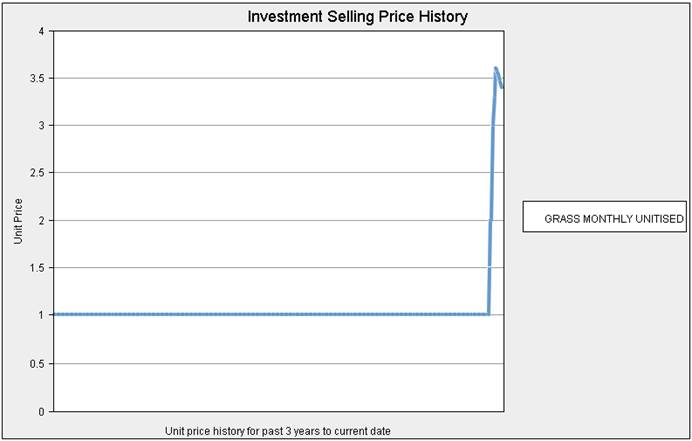
To view a graph of portfolio selling prices for any of the investment mediums available to the scheme, click Graph alongside the required portfolio. The Investment Selling Price History screen will be displayed.
This screen displays a Line Graph by Price and Portfolio over a period for the past 3 years until the current date.
Click ![]() on the left menu bar.
on the left menu bar.
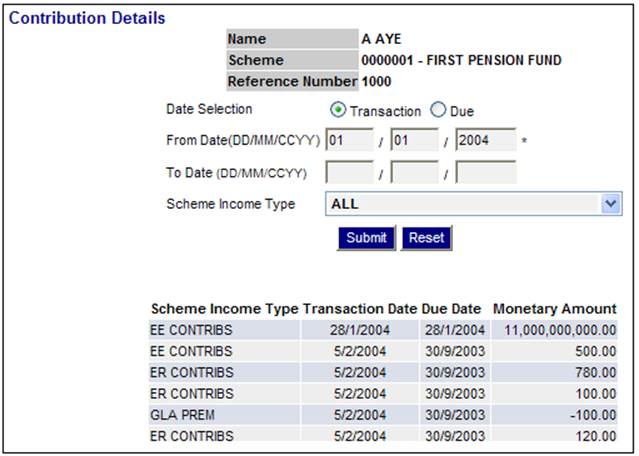
The Contribution Details screen will be displayed.
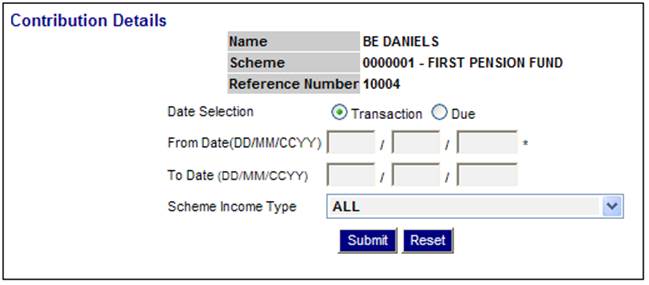
Select either Transaction Date or Due Date by clicking the appropriate radio button.
Enter a date in the FROM DATE field, and select the required Scheme Income Type from the drop-down box, then click SUBMIT.
Note:
You can filter the results by entering a date in the TO DATE field. This is optional.
The Contribution Details information will be shown on the lower portion of the screen.