This facility enables you to select batches for processing.
From the Income menu, select Select Batch from the sub-menu on the left. The Select Batch for Processing screen will be displayed.
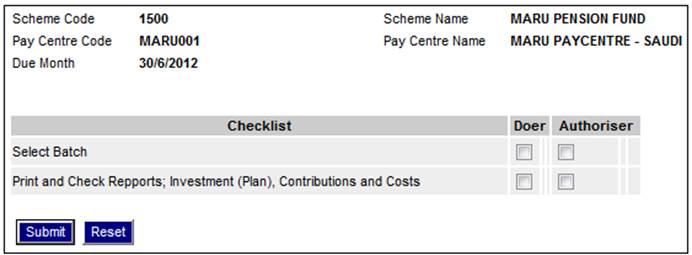
To view the Checklist, click on the tick box to select a single batch and click CHECKLIST.
The Checklist allows the user to tick off a step in the process as and when it is completed.
The following screen displays a list of Checklist items with a tick box for the Doer and the Authoriser.
If CHECKLIST is selected but none of the batch tick boxes were selected, the following message will be displayed:
No batches selected. Only one batch must be selected to continue with Checklist.

Click OK to remove the message. Select a single batch and click CHECKLIST.
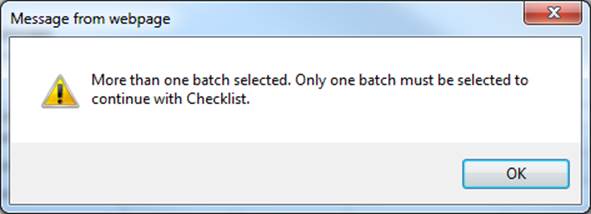
If CHECKLIST is selected and more than one of the batch tick boxes were selected, the following message will be displayed:
More than one batch selected. Only one batch must be selected tp continue with Checklist.
Checklist processing
When the Checklist screen is opened, the system will retrieve and display the data as per the Document Template, i.e. display the Heading and row per checklist item containing the text, tick box indicator, Date and Timestamp, and User ID.
If any item has been ticked previously then a value of Y will appear in the Tick column, the date and timestamp it was ticked in the Date column and the User ID of the person who ticked the item in the User ID column.
The data will be enabled for update.
Note:
If an item was ticked and then subsequently un-ticked, the Date and Timestamp will indicate that it was previously ticked and subsequently un-ticked. The Date and Timestamp will be that of the date and time it was un-ticked and the User ID will be that of the person who un-ticked it.
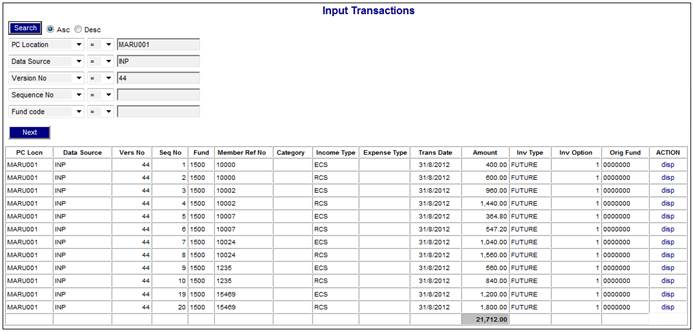
To view details of the contents of the files, click view trans in the Action column. The Input Transactions screen will be displayed.
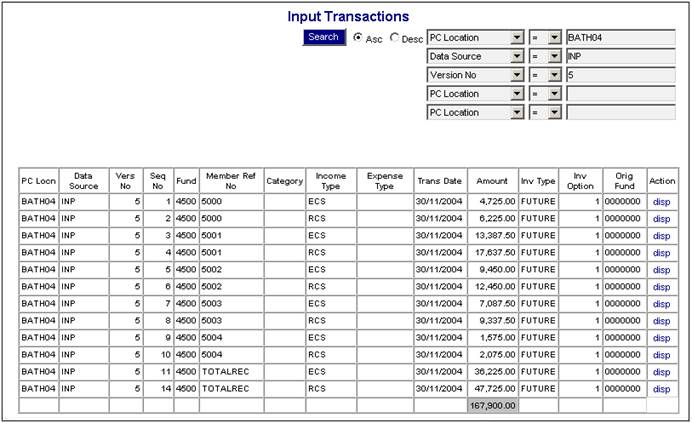
This screen displays the details of each member in the file selected.
To view a single screen display of any of the members displayed, click disp in the Action column. The Input Transactions screen (for the selected item) will be displayed.
Click here at the top of the screen to return to the previous screen.
Once the file data for the batch run has been viewed, return to the Select Batch for Processing screen.
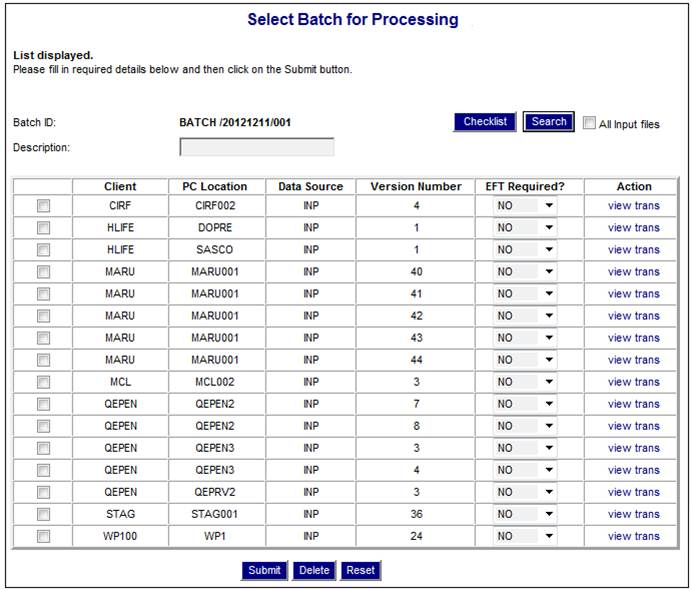
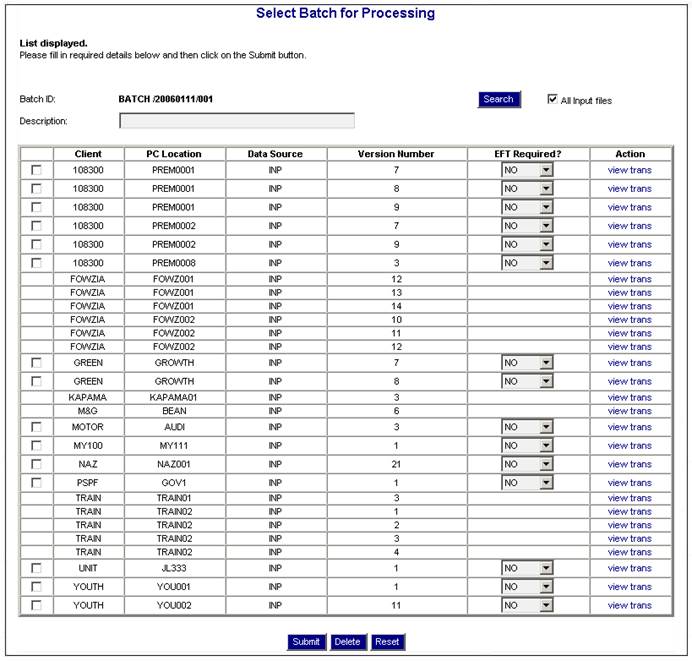
This screen only displays files to which the user has access. To display all files awaiting processing, tick the All Input files check box, then click SEARCH.
A list of all files awaiting processing will be displayed. Only those files prefixed with a tick box are available to the user for processing.
To submit the batch run:
- Tick the relevant check box to specify the client
- Enter any text into the Description field to describe the batch
- Select a value from the drop-down box in the EFT Required? column
The following options are available:
|
YES |
EFT’s are generated to transfer the income, fees and premiums from the employer's bank account to the scheme's operating account, and from the scheme's operating account to the asset managers and insurers. |
|
NO |
No EFT’s are generated. Accounting activities are generated to debit a receivable account and deposits are receipted separately. |
|
INCOME |
EFT’s are generated to transfer income from the employer's bank account to the scheme's operating account only. |
|
INVEST |
EFT’s are generated to transfer investment monies from the scheme's operating account to asset managers, but not transfers from the employer. |
Note:
Refer to
Product Launch Requirements
Product Update
Product Update Type: Investments
If the NET INVESTMENT INDICATOR is set to Y, EFT's will not be produced. This enables investments to be done at a scheme level on a monthly basis for a net amount (income less expected benefit payments).
This is typically done for schemes where there is no direct relationship between the investment return at a scheme level and the investment return allocated at a member level (bonus allocations).
Once the screen selections have been made, the following functions may be performed:
|
Delete |
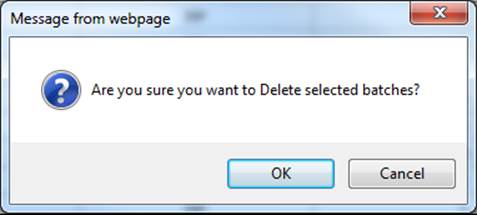
To delete a file, tick the relevant check box, then click DELETE. A confirmation message will be displayed.
Are you sure you want to Delete selected batches?
Click OK to continue. Note: For information on how to resubmit the deleted file, refer to Resubmit Batch under Processes Contributions Income Income Reload Input |
|
Reset |
To cancel any selections made on the screen, click RESET |
|
Submit |
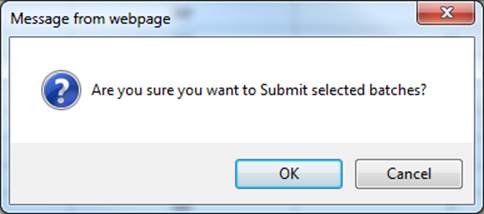
To start the batch job for the selected files, click SUBMIT. A confirmation message will be displayed.
Are you sure you want to Submit selected batches?
Click OK to continue. |
A message at the top of the screen will indicate that the batch is in progress, and the batch number will be displayed. This is the identity of the files submitted.