Automatic scheduling of the INpPatcher, in its simplest form, can be done via a standard Windows scheduled task.
To create a new scheduled task, follow these steps.
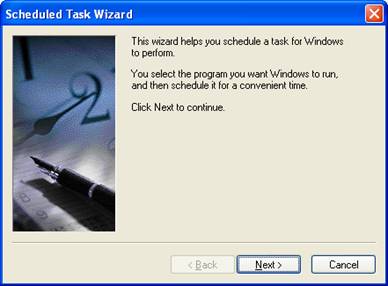
Navigate to Control Panel, Scheduled Tasks. Execute Add Scheduled Task.
Click ![]() to continue.
to continue.
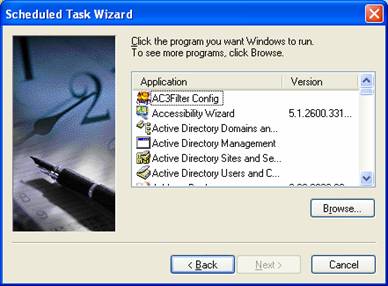
Click ![]() to navigate to the appropriate file.
to navigate to the appropriate file.
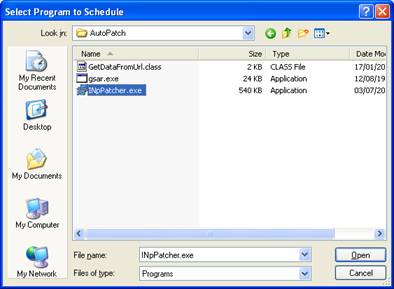
Click ![]() to choose the INpPatcher.exe file.
to choose the INpPatcher.exe file.
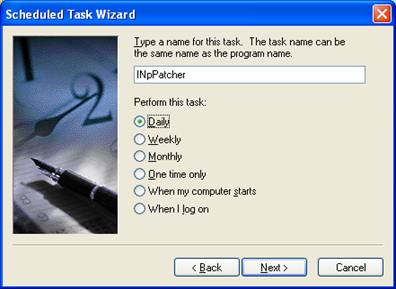
Choose whether you would like to execute the INpPatcher on a daily, weekly, etc. schedule.
Click ![]() to continue.
to continue.
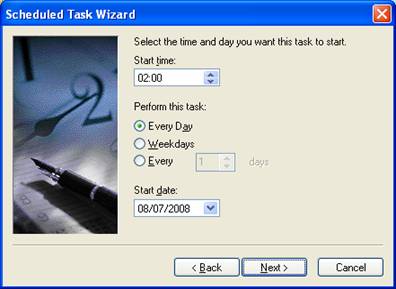
Choose a starting time and date or configure your re-occurring number of days.
Click ![]() to continue.
to continue.
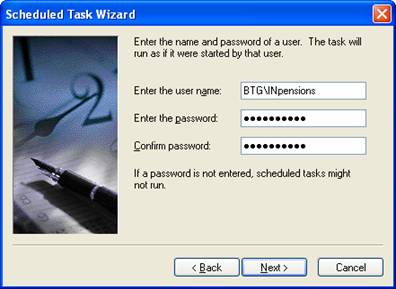
Enter the account details for the INpPatcher. This account should have write permissions on the server and should preferably also have access to the Internet.
Click ![]() to continue.
to continue.
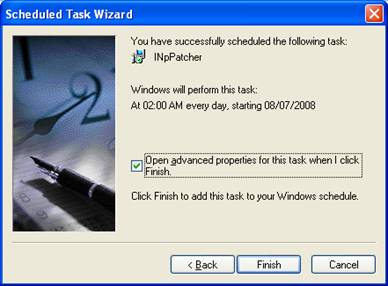
Click the option to open Advanced Properties
Click ![]() to close this part and to advance to the Advanced features.
to close this part and to advance to the Advanced features.
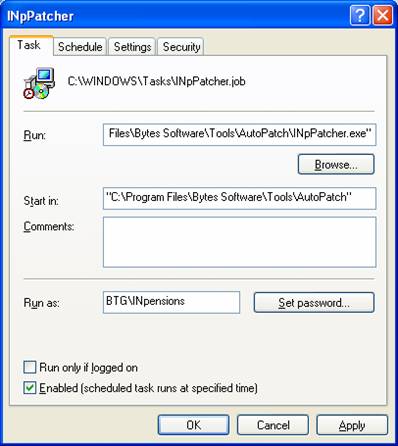
Choose the Settings tab to configure additional parameters.
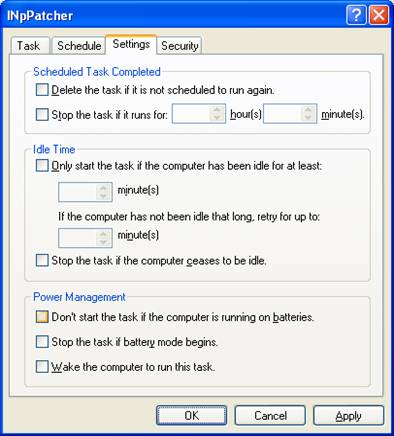
Untick STOP THE TASK IF IT RUNS FOR: __ HOUR(S) __ MINUTE(S).
Untick DON’T START THE TASK IF THE COMPUTER IS RUNNING ON BATTERIES.
Untick STOP THE TASK IF BATTERY MODE BEGINS.
This concludes the configuration of the automated INpPatcher.