In this section the batch must be rejected and the Reload Input flag must be set to a YES.
Log in to the system from the Logon page.
Click ![]() , then click
, then click ![]() .
.
Select Income from the top menu.
The following top menu will be displayed.

Select Income. The following sub-menu will be displayed.
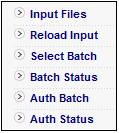
Select Auth Batch from the sub-menu on the left. The Authorise/Reject Batches screen will be displayed.
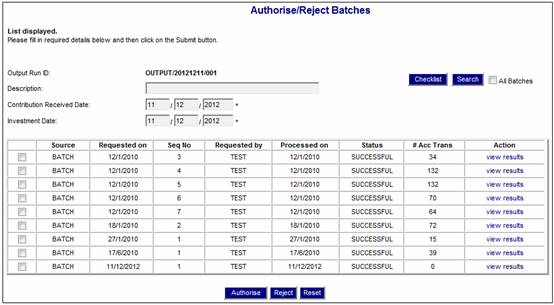
Select the batches that needs to be rejected by ticking the input boxes.
Click ![]() .
.
The following message will be displayed:
Are you sure you want to Reject selected batches?
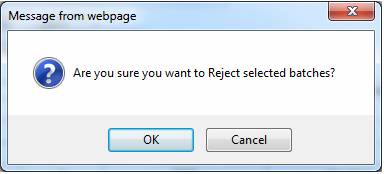
Click ![]() to cancel the rejection or click
to cancel the rejection or click ![]() to confirm.
to confirm.
Select Batch Status from the sub-menu on the left.
The Status/Results of Batch Processing screen will be displayed.
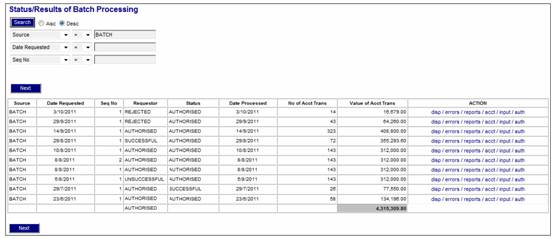
The status of the batch should display UNSUCESSFUL or REJECTED in the Status column.
Select Select Batch from the sub-menu on the left.
The Select Batch for Processing screen will be displayed.
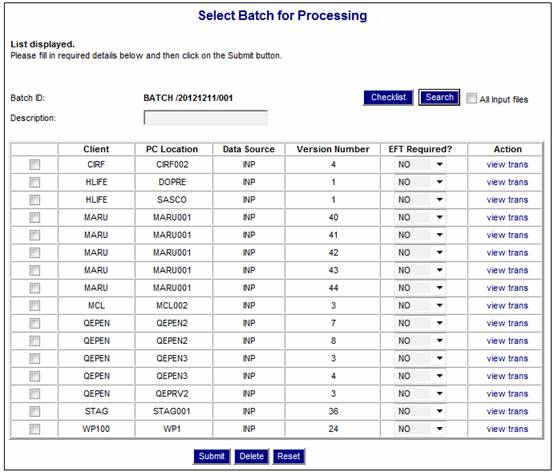
To view the Checklist, click on the tick box to select a single batch and click ![]() .
.
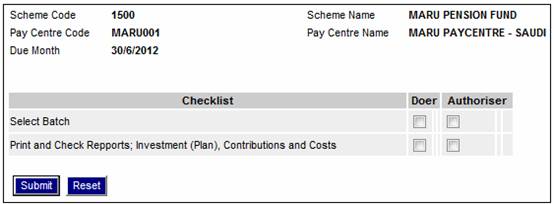
The Checklist allows the user to tick off a step in the process as and when it is completed.
The following screen displays a list of Checklist items with a tick box for the Doer and the Authoriser.
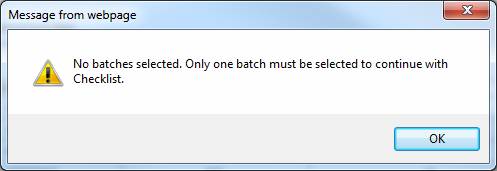
If ![]() is selected but none of the batch tick boxes were selecedt, the following message will be displayed:
is selected but none of the batch tick boxes were selecedt, the following message will be displayed:
No batches selected. Only one batch must be selected to continue with Checklist.
Click ![]() to remove the message. Select a single batch and click
to remove the message. Select a single batch and click ![]() .
.
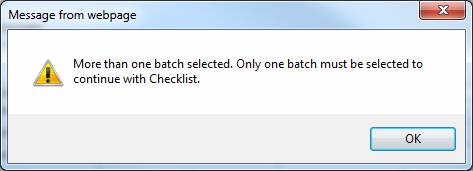
If ![]() is selected and more than one of the batch tick boxes were selected, the following message will be displayed:
is selected and more than one of the batch tick boxes were selected, the following message will be displayed:
More than one batch selected. Only one batch must be selected tp continue with Checklist.
Checklist processing
When the Checklist screen is opened, the system will retrieve and display the data as per the Document Template, i.e. display the Heading and row per checklist item containing the text, tick box indicator, Date and Timestamp, and User ID.
If any item has been ticked previously then a value of Y will appear in the Tick column, the date and timestamp it was ticked in the Date column and the User ID of the person who ticked the item in the User ID column.
The data will be enabled for update.
Note:
If an item was ticked and then subsequently un-ticked, the Date and Timestamp will indicate that it was previously ticked and subsequently un-ticked. The Date and Timestamp will be that of the date and time it was un-ticked and the User ID will be that of the person who un-ticked it.
The selected Batch(es) will be displayed on the screen.
Select Reload Input from the sub-menu on the left.
The Reload Input Files screen will be displayed.
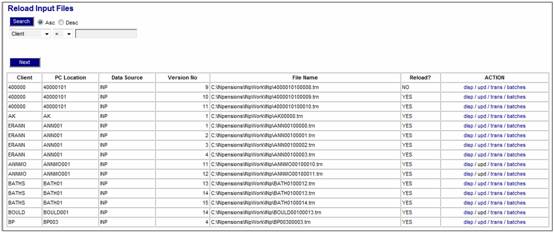
Click on the upd hyperlink (update) next to the Pay Centre that must be re-opened.
The Input Files screen will be displayed.
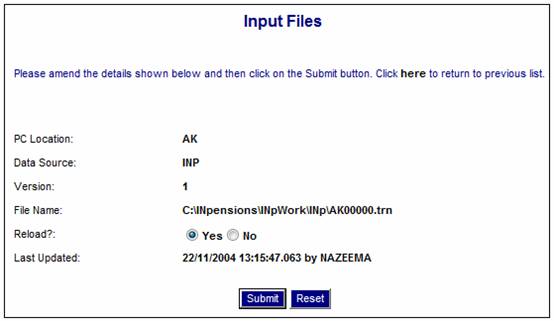
Click on the Yes radio button for the Reload? Option.
Click ![]() .
.
Select Select Batch from the sub-menu on the left.
Your pay centre should not be listed any longer on the Select Batch for Processing screen.
For more information on this functionality, refer to
Processes
Contributions
Income
In this section the latest cycle must be deleted and the original month re-opened.
Log in to the system from the Logon page.
Click ![]() , then click
, then click ![]() .
.
Select Payroll from the top menu.
The following top menu will be displayed.
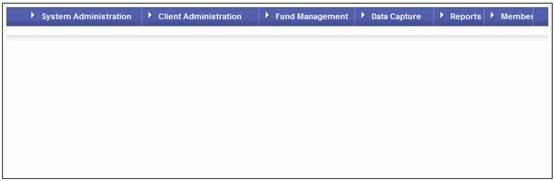
Select Client Administration from the top menu. The following sub-menu will be displayed.
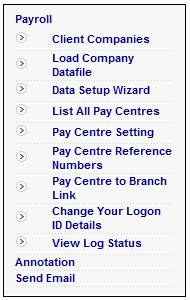
Select List All Pay Centres from the sub-menu on the left. The List All Pay Centres screen will be displayed.
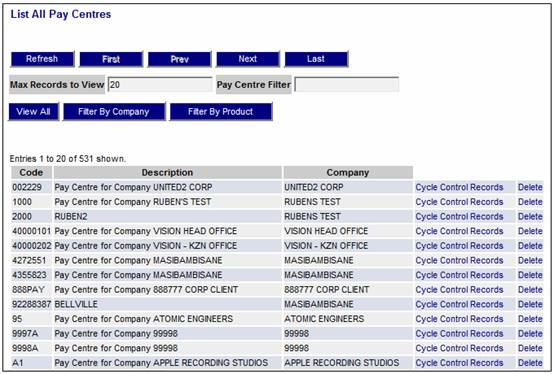
Click on the Cycle Control Records hyperlink next to the pay centre that must be opened. The Cycle Control Record Administration screen will be displayed.
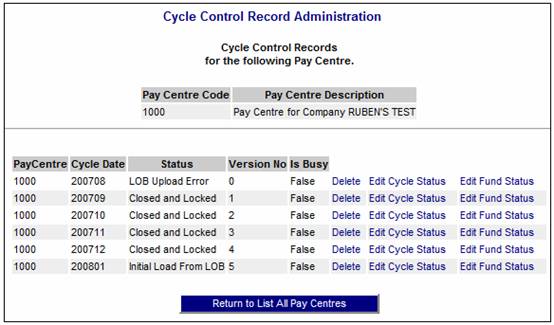
Click on the Delete hyperlink for the OPEN cycle.
Click on the Edit Cycle Status hyperlink next to the month that needs to be opened.
The Edit Cycle Control Record screen will be displayed.
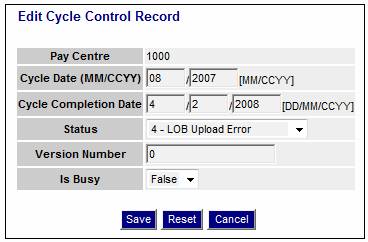
Remove the date for the Cycle Completion Date field and select 0 – Open from the drop-down list for the Status field.
Click ![]() .
.
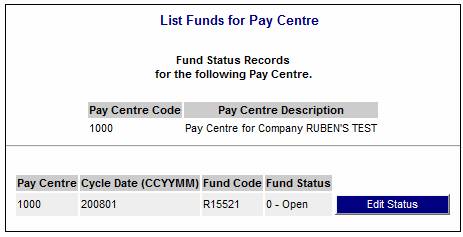
On the Cycle Control Record Administration screen, click the Edit Fund Status hyperlink next to the month that needs to be opened.
The List Funds for Pay Centre screen will be displayed.
Click ![]() .
.
The Edit PayCentre Plan Control Record screen will be displayed.

Select 0 - Open from the drop-down list for the Fund Status field. Click ![]() .
.
Your pay centre is now open.
For more information on this functionality, refer to
Processes
Contributions
Payroll
Auxiliary Activities
Adding a new pay centre