This facility allows the ad-hoc contribution process to be made available on My Work.
This process is usually used for the uploading of transfer values or the loading of backdated contributions that do not take place through a normal payroll cycle.
The user can manually create a Service Request (SR) for the process or an email box can be created for the Ad-hoc Income Process from where information can be forwarded to in order for a SR to be created automatically.
The system will read the mailbox and automatically create a SR to be processed in My Work. The email attachments to the mailbox will be loaded.
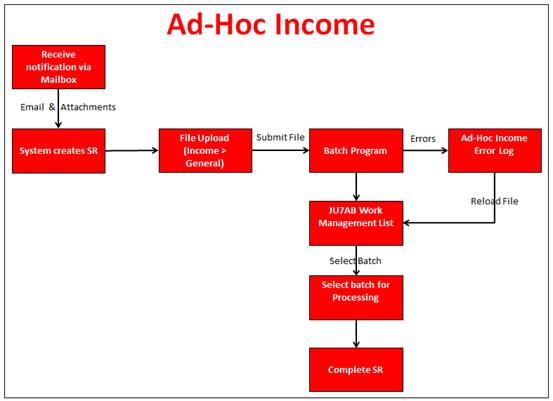
High Level Process Flow
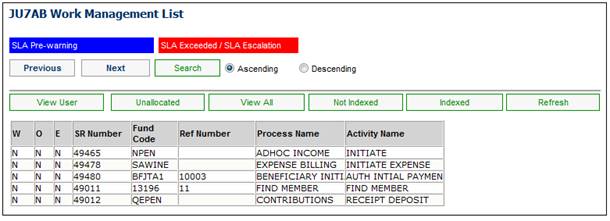
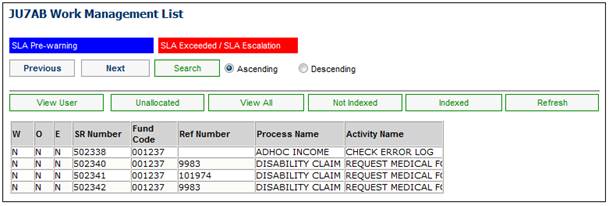
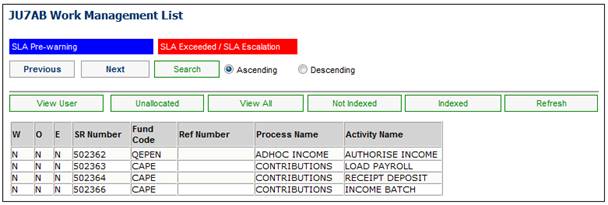
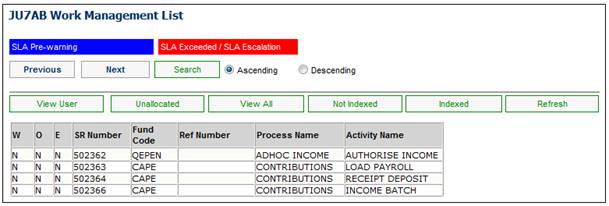
When you select my work from the main functionality menu, the JU7AB Work Management List screen will be displayed.
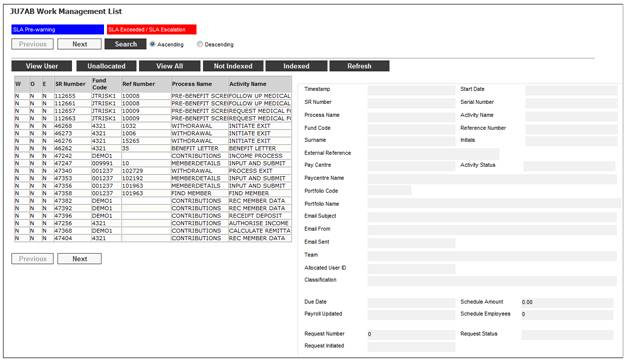
This screen displays a list of the SRs allocated to you.
For detailed information on the JU7AB Work Management List screen and the functionality of the action buttons, refer to Service Requests.
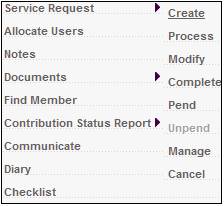
The System will drive the user through the steps necessary to complete the processing of contributions. Select Service Request from the sub-menu on the left. When the drop-down list is displayed, select Process.
Select Service Request from the sub-menu on the left. When the drop-down list is displayed, select Process.
The system will display the screens requiring processing and return to the JU7AB Work Management List screen once processing has been completed. Selecting the Process menu item again will flow to the next Process Step and display the next set of screens requiring processing until the processing of contributions has been completed.
Each step of the Process is indicated by the Activity Name. The following Process steps are generated:
|
Step No. |
Processing |
Service Request Activity Name |
|
1 |
The polar program accesses the Ad-hoc Income email box and automatically creates a Service with a Scheme Code linked to it. |
INITIATE |
|
2 |
The service request has been modified to update the Pay centre OR The Reload Action buttons have been selected on the Ad-hoc Income Error Log Detail screen (refer to 3 below). |
LOAD INCOME. |
|
3 |
If there are errors when the Service Request is processed and the Upload Files page under Processes > Contributions > Income > General is displayed and the Submit File button has been selected. |
CHECK ERROR LOG |
|
4 |
When the Service Request is processed and the Upload Files page under Processes > Contributions > Income > General is displayed and the Submit File button has been selected, the batch program will automatically be kicked off. OR The Income Batch has been rejected. |
INCOME BATCH |
|
5 |
When the Service Request is processed and the Select Batch for Processing screen is displayed under Income > Income > Select Batch, and the Income Batch has been selected and submitted.
Note: When the Service Request has been processed and the Income Batch has been authorised, the Status of the Service Request will be updated to COMPLETED. |
AUTHORISE INCOME |
When a Pay Centre number has been added to the JU7AB Create/Update New Service Request screen for an Ad-hoc Income SR, the Activity Name of the SR will be updated to LOAD INCOME.
When the SR is processed, the system will flow to the File Upload screen under Processes>Contributions>Income>General.
For more information refer to
Processes
Contributions
Income
General
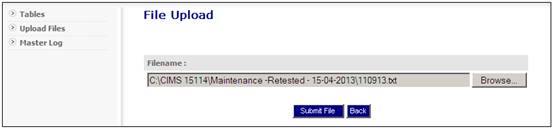
Upload Files
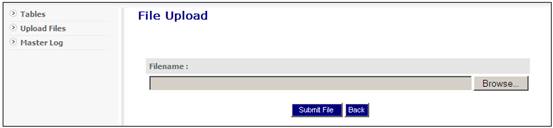
Select a Filename and click SUBMIT FILE to kick-off the BJU3AR Batch Job.
If the upload has completed successfully, the following message will be displayed:
File upload complete. File busy processing …
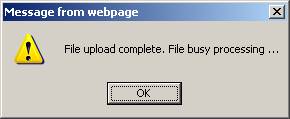
Click OK to remove the message.
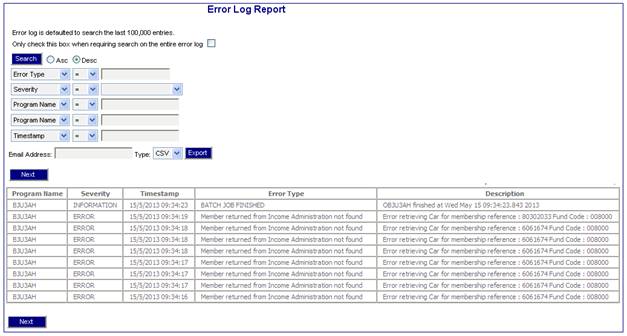
If there are errors, the Activity Name of the SR will be updated to CHECK ERROR LOG on the JU7AB Work Management List screen.
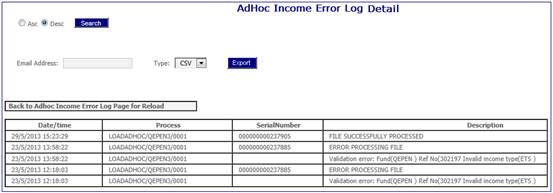
When the SR is selected and Process is selected from the sub-menu on the left, the AdHoc Income Error Log screen will be displayed.

display
To display the description that appears in the error log, click the display hyperlink in the ACTION column alongside the appropriate selection. The AdHoc Income Error Log Detail screen will be displayed.
reload
To reload a file, click on the reload hyperlink in the ACTION column of the AdHoc Income Error Log screen alongside the appropriate selection.
The following message will be displayed to confirm that the reload of the file is in progress:
Reload in progress. Click OK to close this window.
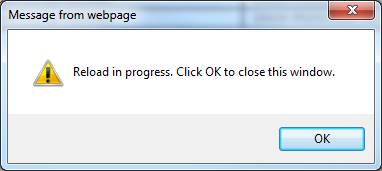
Click OK to remove the message.
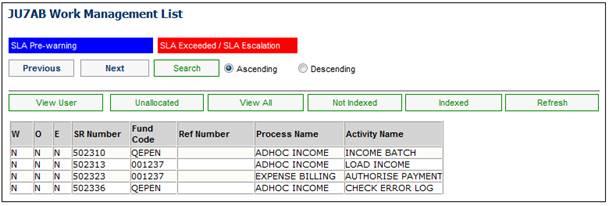
The Activity Name on the on the JU7AB Work Management List screen will be changed to LOAD INCOME to reload the file.
If there are no errors and the OK action button is selected, the system will flow back to the JU7AB Work Management List screen and display the SR being processed. The Activity Name of the SR will be updated to INCOME BATCH.
When the SR is selected and Process is selected from the sub-menu on the left, the Select Batch for Processing screen will be displayed under Processes > Contributions > Income > Select Batch.
For more information refer to
Reports
General
Error Log Report
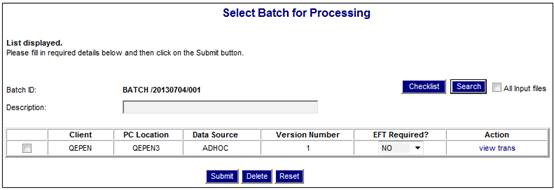
To submit the batch run, tick the relevant check box to specify the client and select a value from the EFT Required? drop-down box.
Once the screen selections have been made, click SUBMIT on the screen. The following message will display
Are you sure you want to Submit selected batches?
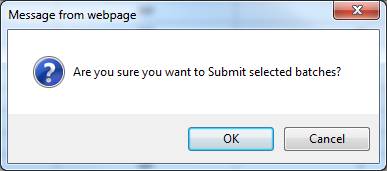
Click OK to continue.
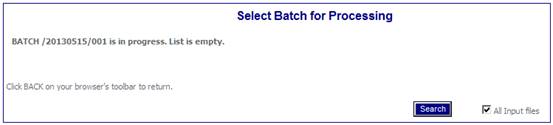
The Select Batch for Processing screen will be displayed.
For more information refer to
Supplements
Processes
Income Processing
When the Income Batch has been selected and submitted, the Activity Name of the SR will be updated to AUTHORISE INCOME.
When the SR is selected and Process is selected from the sub-menu on the left, the system will flow to the Authorise / Reject Batches screen.
For more information refer to
Processes
Contributions
Income
Income
Authorising Batches
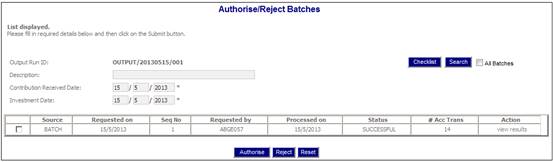
If the batch is incorrect, clickREJECT. The status for the batch will become REJECTED.
To cancel any selections made on the screen, click RESET.
To authorise the batch, tick the relevant check box, then click AUTHORISE.
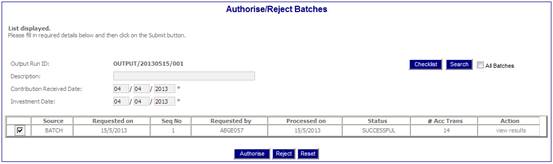
The following confirmation message will be displayed.
Are you sure you want to Authorise selected batches?
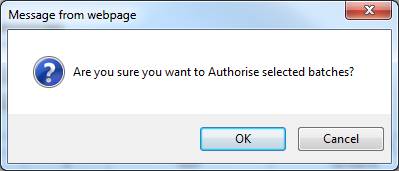
Click OK to continue.
The following message will be displayed:
This will result in backdated Income transactions. Are you sure you want to Authorise/Reject the selected batches?

Click OK to remove the message.
The Authorise / Reject Batches screen will be displayed.
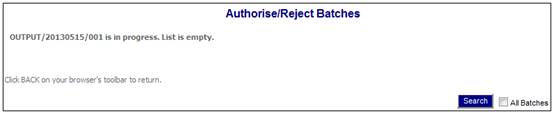
The Process Name of the SR will remain as AUTHORISE INCOME but the Activity Status will change to COMPLETED and the SR will be removed from the My Work items for the relevant user.
The BJU3AH Batch Job will run.
Transactions will appear on the member records under the Clients > Members menu.
For more information refer to
Clients
Member Contribution Enquiries
Processes
Contributions
Income
Income
Authorising Batches
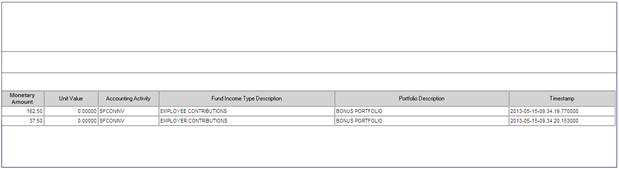
Verifying Money Movements for Members
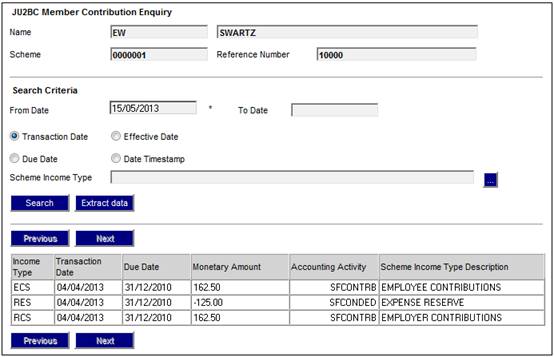
The following details will be displayed on the JU2BC Member Contribution Enquiry screen.
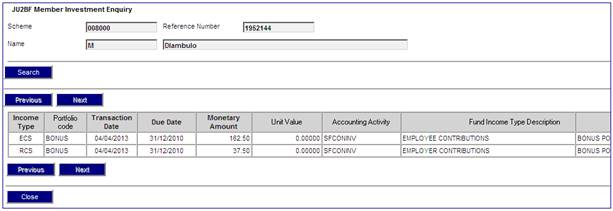
The following details will be displayed on the JU2BF Member Investment Enquiry screen.
For more information refer to
Clients
Member Investment Enquiries
Tab to the right