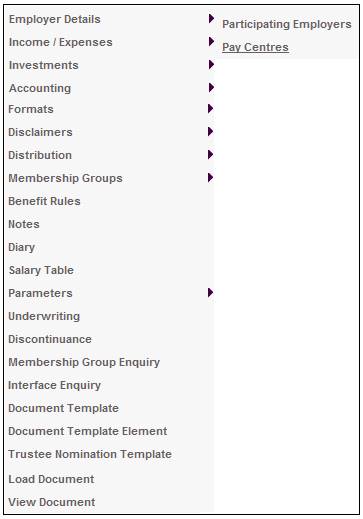
From the JU1BK List screen, select a product, then select Employer Details > Pay Centres from the sub-menu.
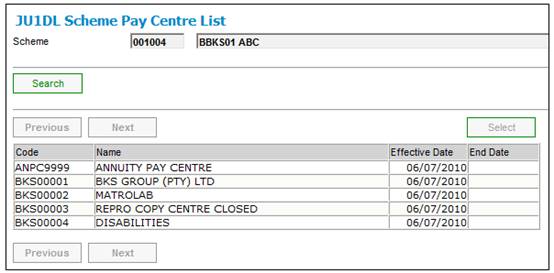
The JU1DL Scheme Pay Centre List screen will be displayed.
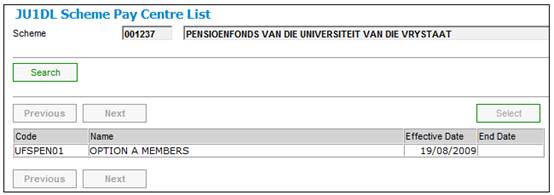
This screen displays a list of pay centres that are linked to the product selected.
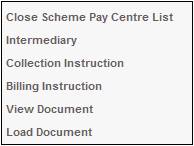
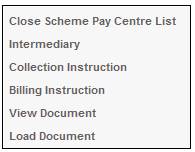
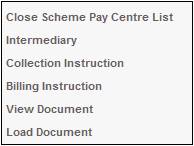
The following selections are enabled for selection from the sub-menu on the left when a line is selected on the JU1DL Scheme Pay Centre List screen:
From the JU1BK List screen, select the required product and then select Pay Centres from the sub-menu on the left.
The JU1DL Scheme Pay Centre List screen will be displayed.

Highlight the required pay centre, then select Intermediary from the sub-menu on the left.
The JU1AY Group Allocations screen will be displayed.
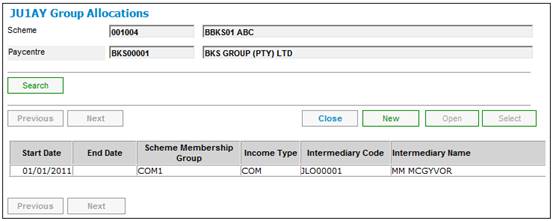
To add new intermediary details, click NEW. The JU1AY Group Allocation Details screen will be displayed.
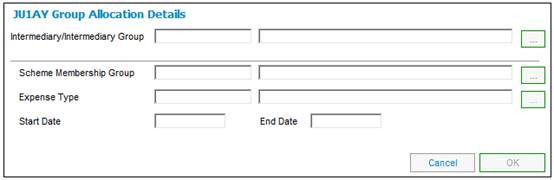
Descriptions of the input fields on this screen appear below.
|
Intermediary / Intermediary Group |
Select the required intermediary or intermediary group. Click the LIST button at the end of the line. This links to the JU1AX Intermediary Client List screen, which displays a list of intermediaries for selection. |
|
Scheme Membership Group |
Select the required fund membership group. Click the LIST button at the end of the line. This links to the JU1EM Scheme Commission screen, which displays a list of membership groups for selection.
The selection of a Scheme Membership Group is optional. |
|
Expense Income Type |
Select the required expense income type. Click the LIST button at the end of the line. This links to the JU1EN Expense Type Commission screen, which displays a list of income types for selection. |
|
Start Date |
The effective date of the intermediary's association to the product. |
|
End Date |
The end date of the intermediary's association to the product. |
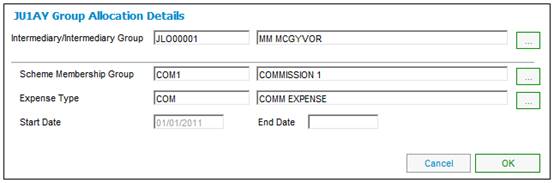
Once all the necessary details have been added, click OK.
The JU1AY Group Allocation Details screen will be re-displayed, and the details just added will be listed.
To view details of an existing intermediary, from the JU1AY Group Allocations screen, highlight the required intermediary, then click OPEN. The JU1AY Group Allocations Details screen will be displayed.
For more details on Intermediary refer to Associate to participating employer under
Product Launch Requirements
Product Update Type: Participating Employer
Details regarding the method of collection of contributions must be captured.
Refer to Product Update Type: Participating Employer under
Product Launch Requirements
Product Launch
Product Update
For details on Collection Instruction, refer to Creating Collection Instructions under
Processes
Debit Orders
Add a new collection instruction
Navigation: Products > Employer Details > Pay Centres > Collection Instruction
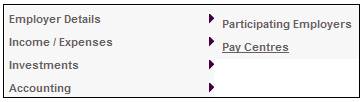
Select a product from the JU1BK List screen.
Select Employer Details from the sub-menu on the left, then select Pay Centres from the drop down list.
![]()
The JU1DL Scheme Pay Centre List screen will be displayed.
Highlight a Pay Centre.
SelectCollection Instruction from the sub-menu on the left.
The JU1CD Collection Instruction Maintain screen will be displayed.
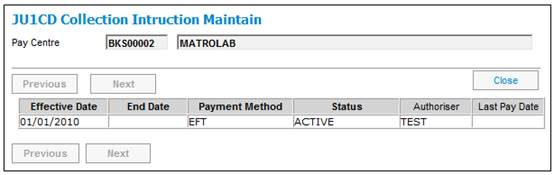
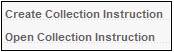
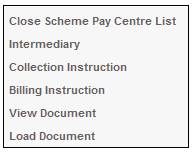
To add a new instruction, select Create Collection Instruction from the sub-menu on the left.
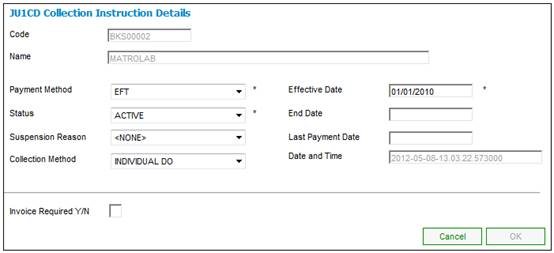
The JU1CD Collection Instruction Details screen will be displayed.

Descriptions of the input fields on this screen appear below.
|
Payment Method |
The method of payment. Select the required method from the drop-down box, i.e. - EFT - CHEQUE |
|
Status |
The status of the collection instruction. Select the required status from the drop-down box, i.e. - ACTIVE - CLOSED - SUSPENDED |
|
Suspension Reason |
The reason the collection instruction was suspended. Select the required reason from the drop-down box (e.g. BANK ACC CLOSED). |
|
Collection Method |
Select a method of collection from the drop-down list. The following values may be selected: INDIVIDUAL DO (Individual debit order) ER DEBIT ORDER (Employer debit order) PAYROLL (Payroll) |
|
Invoice Required |
Enter a Y in this box if an invoice required. |
|
Effective Date |
The date that the instruction becomes effective. |
|
End Date |
The date that the instruction ends. |
|
Last Payment Date |
The date that the last payment was made. This date is automatically updated when the debit order run is processed. |
|
Date and Time |
The latest date and time that the instruction was created or updated. |
Once all the necessary details have been added, click OK.
Note:
If there is a Collection Instruction record linked to the Pay Centre, the Pay Centre data will not be passed to Payroll when the Product Update is authorised.
The JU1CD Collection Instruction Maintain screen will be displayed.
View or amend instruction
To view or amend an existing collection instruction, from the JU1CD Collection Instruction Maintain screen, highlight the required instruction and select Open Collection Instruction from the sub-menu on the left.
The Collection Instruction Details screen will be displayed.
Backdated income collection
The start date of the membership determines when the payment is to start, and the LAST PAYMENT DATE shows the last time that money was collected. Therefore, in order to collect income for more than one month, if the start date is backdated, the amount collected will be from the backdated start date until the run date. If a payment is suspended or end-dated, and then re-inserted, the LAST PAYMENT DATE will be used to determine how many outstanding contributions to collect.
On theJU1DL Scheme Pay Centre List screen, highlight a pay centre and select Billing Instruction from the sub-menu on the left.
The JU1FQ Billing Instruction Maintain screen will be displayed.
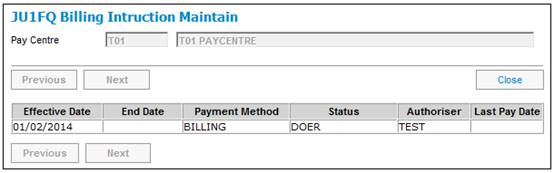
To view details of the billing instruction, highlight a billing instruction and select Open Billing Instruction from the sub-menu on the left.
The JU1FQ Billing Instruction Details screen will be displayed.
The following fields are enabled for update on this screen:
- End Date
- Billing Letter Required Y/N
- Reminder Email Date and Time
- Reminder Frequency
Click OK once data has been captured for any of these fields.
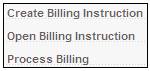
To create a new billing instruction, select Create Billing Instruction from the sub-menu on the left.
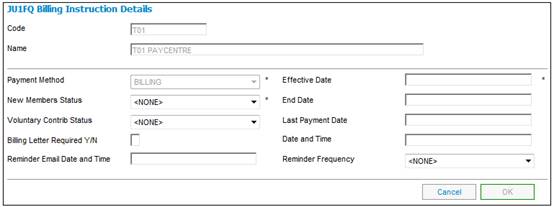
The JU1FQ Billing Instruction Details screen will be displayed.
Capture data as follows:
|
Payment Method |
The method by which payment must be made. Click on the drop-down box and select a payment method from the list, e.g. BILLING BANK TRANSFER CHEQUE EFT etc. |
|
Effective Date |
The effective date of a billing instruction. |
|
New Members Status |
Click on the drop-down box and select a new member status from the list, e.g. Authorised Doer Rejected |
|
End Date |
The date on which a billing instruction must end. |
|
Voluntary Contrib Status |
Click on the drop-down box and select a voluntary contribution status from the list, e.g. Authorised Doer Rejected |
|
Last Payment Date |
The date on which the last payment was made. |
|
Billing Letter Required Y/N |
Capture Y for yes or N for No to indicate whether or not a billing letter must be generated. |
|
Date and Time |
The date timestamp generated by the system. |
|
Reminder Email Date and Time |
The date and time on which a reminder email must be generated as a reminder of the billing process that must be initiated. |
|
Reminder Frequency |
The frequency with which a reminder email must be generated as a reminder of the billing process that must be initiated.
|
Click OK. The JU1FQ Billing Instruction Maintain screen will be re-displayed, with the captured data.
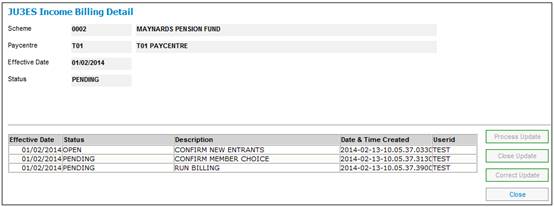
To process billing, select Process Billing from the sub-menu on the left.
The JU3ES Income Billing Detail screen will be displayed.
For detailed information, refer to Interface 2 Billing Process and Process Income Billing under
Client Specific
ACA
SAP