Before membership details can be added, a valid range of reference numbers must exist for the pay centre.
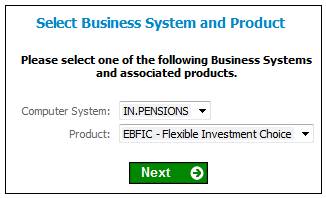
From the Client Administration menu, select Pay Centre Reference Numbers from the sub-menu on the left. The Select Business System and Product screen will be displayed.
Select the required computer system and product, then click NEXT.
The Reference Number Allocation for Pay Centres screen will be displayed.
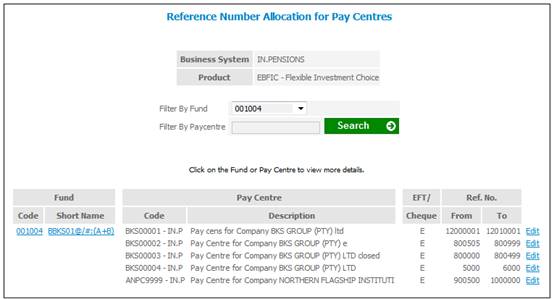
Click Edit at the end of the line alongside the pay centre you wish to access. The Edit Reference Number Allocation and Payment Method for a Pay Centre screen will be displayed.
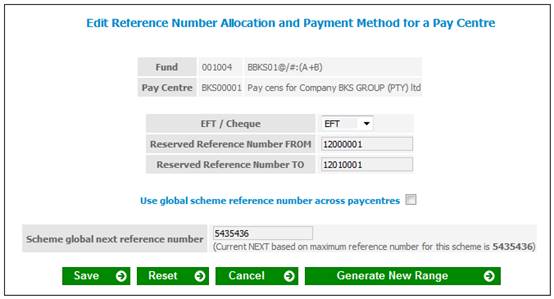
Descriptions of the input fields on this screen appear below.
|
EFT / Cheque |
Select the method of payment for the pay centre |
|
Reserved Reference Number FROM |
Provide the first number in the range |
|
Reserved Reference Number TO |
Provide the last number in the range |
Click SAVE.
Note:
Refer to Data setup wizard Step 2.
- If the activation threshold is inactive (i.e. if it has been coded as 0), then the GENERATE NEW RANGE button will be greyed out.
- If the activation threshold is active (i.e. if one of the values has been selected) then the GENERATE NEW RANGE button will be available. When this button is clicked, the range of numbers changes as follows:
- Reserved Reference Number FROM becomes the next available number for the product and pay centre.
- Reserved Reference Number TO becomes 10000 more than the FROM number. This number can then be changed manually, if required.
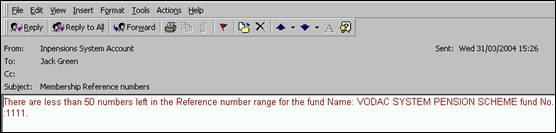
- When the difference between the FROM and TO numbers reaches the value selected in the activation threshold, an e-mail is generated and sent to the administrator. If the activation threshold is inactive, then this e-mail is generated when there are 50 numbers left (example below).
Note:
The above process will also apply to products that have an alternate product code. Refer to Company Structure Setup.