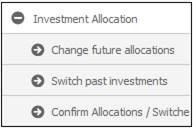
To view or capture investment allocations, click ![]() alongside INVESTMENT ALLOCATION on the sub-menu on the left. Additional options will be displayed.
alongside INVESTMENT ALLOCATION on the sub-menu on the left. Additional options will be displayed.
Note:
For information on the Living Annuity Payment Batch process, refer to Living annuity payment batch processing below.
To change the allocation of future contributions, click CHANGE FUTURE ALLOCATIONS below IVEWSTMENT ALLOCATION.
The Investment Allocations screen will be displayed.
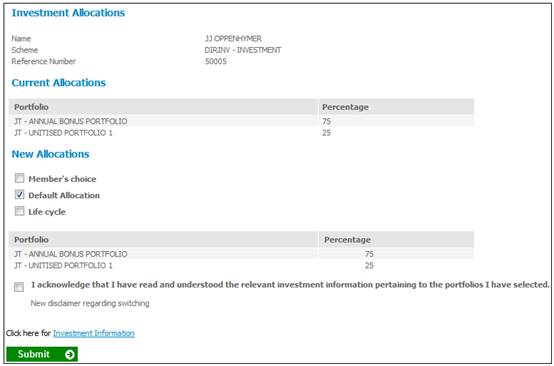
Tick the appropriate box below New Allocations. If Member's choice has been selected, enter a percentage for each portfolio in which the money should be invested, by entering a figure in the Percentage box alongside the applicable portfolio. You may choose to invest in more than one portfolio.
The System will not enable a Portfolio to be selected if the value for the Closed From Date field on the JU1BV Scheme Portfolio Details screen is less than or equal to the Effective Date of the Product Update.
Note:
The system will read the value for Fixed Term Investment on the Investment Linked to each Portfolio selected. If it is Y, the unit balance on the Member’s INVSTMEMUNIT account will be retrieved if the Earning Allocation Basis on the Investment Medium is UNITISED or on the Member’s INVESTMEMB account if the Earning Allocation Basis is BONUS. If the balance is zero the system will check if there is a Switch Buy in process for the Portfolio. If not, the following error message will be displayed:
You may only select this Portfolio if you have money invested in it. If you want to invest future contributions in this Portfolio please transfer money into it by capturing a switch.
Before updating the allocations, you must acknowledge that you have read the relevant investment information pertaining to the portfolios you have selected, by ticking the check box.
Click SUBMIT.
The sum of your allocations must add up to 100%. If not, an error message will be displayed.
The percentages must add up to 100%.
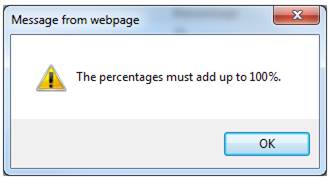
Click OK and change the percentages so that they total 100%.
If the product rules provide for switching on a specific date only, a message will be displayed.
Example:
Changes to the allocations are only permitted on 11/18/2005. The change will be effective from this date.
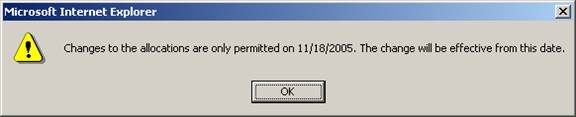
Click OK to continue.
Click SUBMIT.
If you haven't ticked the check box, an error message will be displayed.
Please confirm your acceptance of the conditions before proceeding.
Click OK, then tick the check box.
Click SUBMIT.
A confirmation message will be displayed.
Are you sure you want to change the allocation details?
After allocation changes and / or switches have been completed they must be confirmed. Select the Confirm Allocations / Switches option on the left hand menu.

Click OK. A confirmation message will be displayed.
Changes have been captured and will only take effect once confirmed.
Click OK to remove the message.
Once you have updated the screen, the Investment Allocations screen will be re-displayed, showing the new allocation.
To switch investments of past contributions, click SWITCH PAST INVESTMENTS below INVESTMENT ALLOCATION.
Note:
If the member is not allowed to switch then the Investment Balances per Portfolio screen will display the following message:
Member is not allowed to Switch.

If no portfolios are available to switch, the following message will be displayed:
There are currently no investment portfolios from which switching may be done.
Click OK to remove the message.
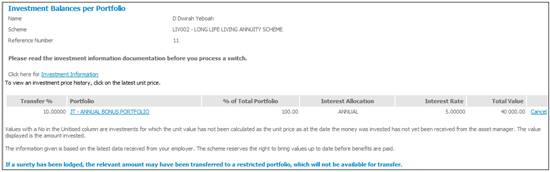
The Investment Balances per Portfolio screen will be displayed.
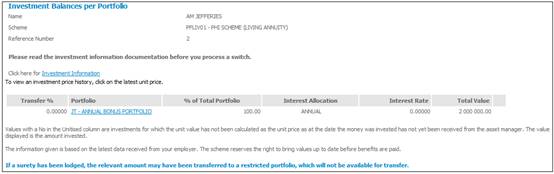
This screen displays both the unitised and non-unitised portfolios in which the member has invested, the percentages that have been allocated to each portfolio, and the market value of the investment in each portfolio.
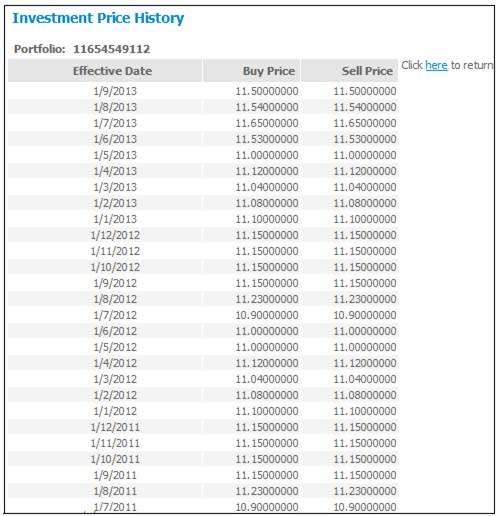
Click the hyperlinked here to return to the Investment Balances per Portfolio screen.
To perform a switch, click on the hyperlinked investment medium name in the Portfolio column.
The Transfer Existing Investments screen will be displayed.
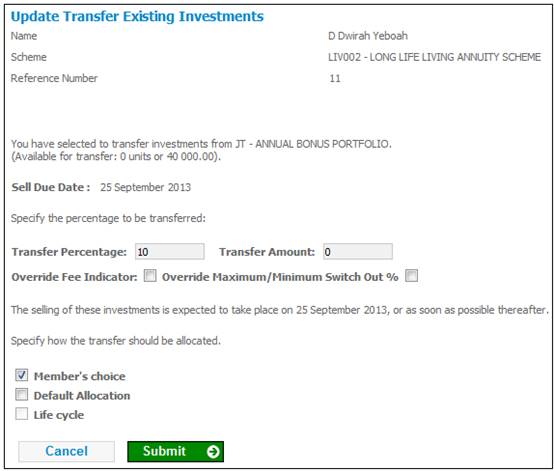
If you want to use the default investment allocation, tick the box alongside Default Allocation.
If you want to specify a different percentage, tick the box alongside Member's choice.
In the Transfer Percentage box, enter the percentage of the total units that you want to transfer.
Click SUBMIT.
The Transfer to Available Investments screen will be displayed.
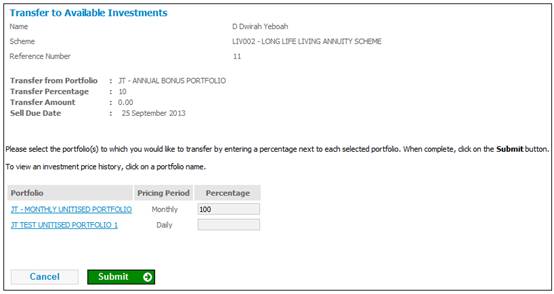
You can view the investment price history for each of the available portfolios. Click the hyperlinked name in the Portfolio column. The Investment Price History screen will be displayed for the selected investment medium.
Enter a percentage for the portfolio(s) in which you would like the money invested, by entering a figure in the Percentage box alongside the applicable portfolio. You may choose to invest in more than one portfolio.
Click SUBMIT.
The sum of your switch percentage must add up to 100%. If not, the following error message will be displayed:
Sum of percentages entered must equal 100
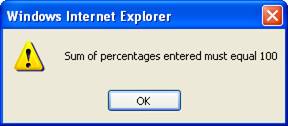
Click OK and change the percentages so that they total 100%.
The Transfer Existing Investments screen will be re-displayed.

Click CONFIRM.
If you haven't ticked the check box, the following error message will be displayed:
Please confirm your acceptance of the conditions before proceeding.
Click OK, then tick the check box.
Click CONFIRM.
The following confirmation message will be displayed:
After allocation changes and / or switches have been completed they must be confirmed. Select the Confirm Allocations / Switches menu to continue.
Click OK.
The Investment Balances per Portfolio screen will be displayed.
Note:
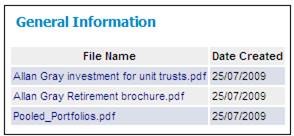
To access the relevant investment information, click the Investment Information hyperlink. The General Information screen will be displayed. Refer to Investment Information.
On the Transfer Existing Investments screen, click CONFIRM.
If you haven't ticked the check box, the following error message will be displayed:
Please confirm your acceptance of the conditions before proceeding.
Click OK and then tick the check box.
Click CONFIRM.
The following confirmation message will be displayed:
After allocation changes and / or switches have been completed they must be confirmed. Select the Confirm Allocations / Switches menu to continue.
Click OK.
The Investment Balances per Portfolio screen will be displayed.

To cancel the unconfirmed switch, click the hyperlinked Cancel on the appropriate line.

The following confirmation message will be displayed:
Are you sure you want to cancel this unconfirmed switch?
Click OK to confirm the cancellation.
To confirm the allocation or switches, click CONFIRM ALLOCATIONS below INVESTMENT ALLOCATION.
If there are no switches or allocations to be processed, the following message will be displayed.
There are no unconfirmed Switches or Allocations to process.
Click OK to remove the message.
Allocations and switches available for confirmation will be displayed on the Confirm Allocations / Switches screen.

Before confirming the allocations or switches, you must acknowledge that you have read the relevant investment information pertaining to the portfolios you have selected, by ticking the check box.
In addition, the request method should be updated by selecting a value from the drop-down box.
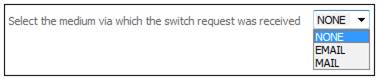
Note:
When a switch is created via the JU3CA Bulk Switch From screen, the request method on the switching detail will be updated to BULK.
When a switch is created via the BJU3BN_LCSWI Life Cycle Switches batch job, the request method on the switching detail will be updated to LIFE CYCLE.
When a switch is captured via the Member Website the request method on the switching detail will be update to MEMBER WEB.
In the BJU3BN Life Cycle Switches batch job, when the number of years to Normal Retirement Date (NRD) is determined for a Member, the system will check if the Member has a Member Values record with a Member Value Type of PLANNED RET DTE. If found, the system will determine the Number of years to NRD based on the value for Period End Date in place of Normal Retirement Age.
To confirm the allocations or switches, click CONFIRM.
If you haven't ticked the check box, the following error message will be displayed:
Please confirm your acceptance of the conditions before proceeding.
Click OK and then tick the check box.
The Confirm Allocations / Switches screen will be re-displayed for final confirmation.
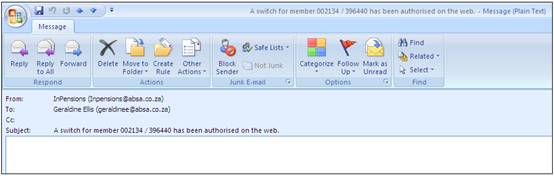
If the member has captured switches or changes in allocation (or both), on the Member Website, an email will automatically be sent to the Administrator Team Address.
Switch captured by member
A switch for member (number) / (scheme) has been authorised on the web.
Allocation captured by member
An allocation for member (number) / (scheme) has been authorised on the web.

Switch and allocation captured by member
A switch and allocation for member (number) / (scheme) has been authorised on the web.
