This functionality enables a file to be uploaded to a Staging Area. Once the file has been loaded, the details can be viewed and deleted if required.
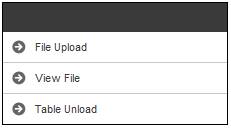
Select FILE from the top menu. The following sub-menu options will be displayed for selection on the left.
To upload a file, select File Upload from the sub-menu on the left.
The Archive File Upload screen will be displayed.
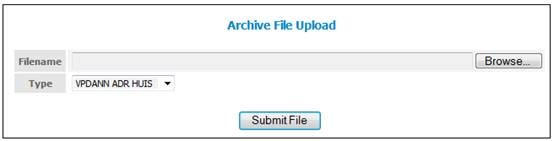
ClickBROWSE. This will allow you to search the available drives (user network or local) for the file to be uploaded.
Select a Mask from the Type drop-down list.
ClickSUBMIT FILE.
The BYU9AA Batch Run will automatically run in the background.
To view all files to be uploaded, select View File from the sub-menu on the left.
The Staging Header screen will be displayed.

The following details are displayed on this screen:
|
Type |
The Load Type for the file. |
||||
|
File Name |
The name of the file loaded to the Staging Area. |
||||
|
Batch Run |
The batch Run number. |
||||
|
Scheme |
The code identifying the scheme. |
||||
|
Status |
The Status of the data load. The Status may be:
|
||||
|
Total Rows Loaded |
The total number of rows that were loaded. |
||||
|
Total Rows Deleted |
The total number of rows that were deleted. |
||||
|
Timestamp |
The timestamp of the file. |
||||
|
Deleted |
Indicates whether or not a File has been deleted. A “Y” in the Deleted column indicates that the File has been deleted. |
||||
|
Deleted Timestamp |
The timestamp of the deleted file. |
To view details, click on the hyperlinked File Details at the end of the line. The Staging Detail screen will be displayed.
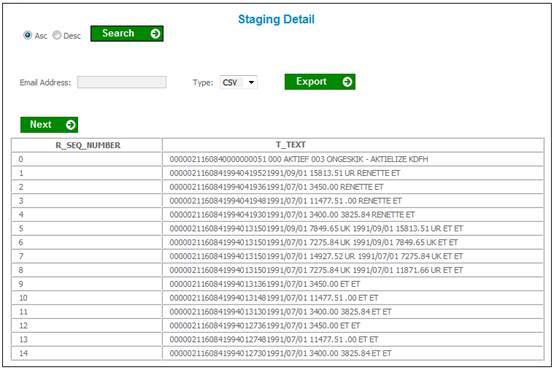
This screen displays the file that was uploaded. Each line of data in the file is displayed with its sequence number.
To unload a table, select Table Unload from the sub-menu on the left.
The Table Upload screen will be displayed.
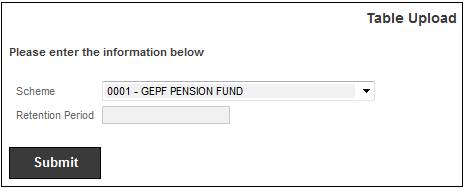
Select the scheme from the drop-down list, capture the required Retention Period and click SUBMIT.
The system will display a message confirming that the job has been submitted successfully.
The job has been submitted successfully.
