If the user needs access to the functionality under the role of PAYROLL, that user must be linked to a pay centre (if this has not already been done) by the Superuser.
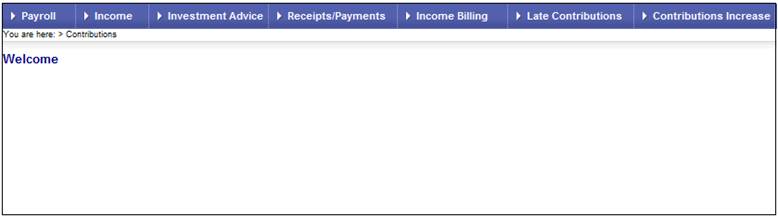
Log in to the system from the Logon page.
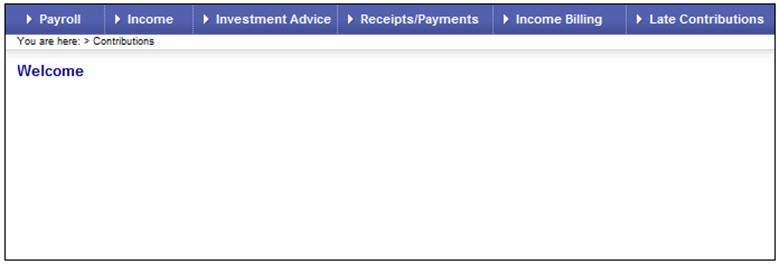
Click processes, then click contributions.
The Welcome screen will be displayed.
From the main menu on the top, select Payroll. The Payroll screen will be displayed.
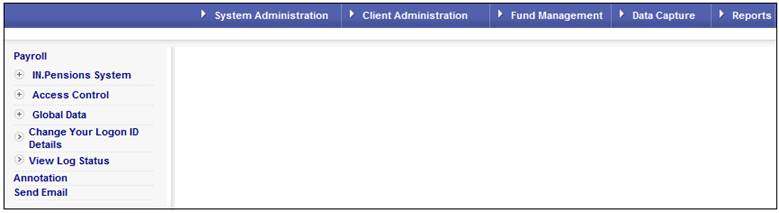
From the main menu on the top, select System Administration. A sub-menu will be displayed on the left.
Click ![]() alongside Access Control. Additional options will be displayed.
alongside Access Control. Additional options will be displayed.
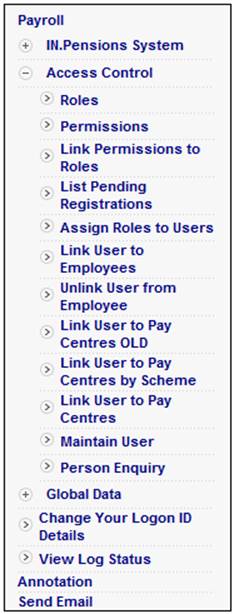
Select Link User to Pay Centres from the menu. The Link User to Paycentres screen will be displayed.

This screen is used to search for the Pay Centres linked to the User.
Capture a User ID in the Enter User field, and click the Show Paycentre button.
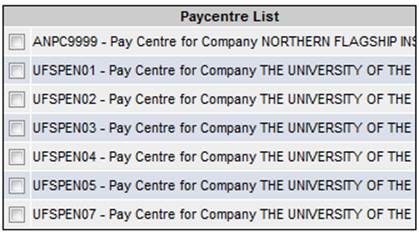
A list of paycentres will be displayed.
Note:
Select the Show Linked ONLY tick-box to only display the Pay Centres to which the User is linked.
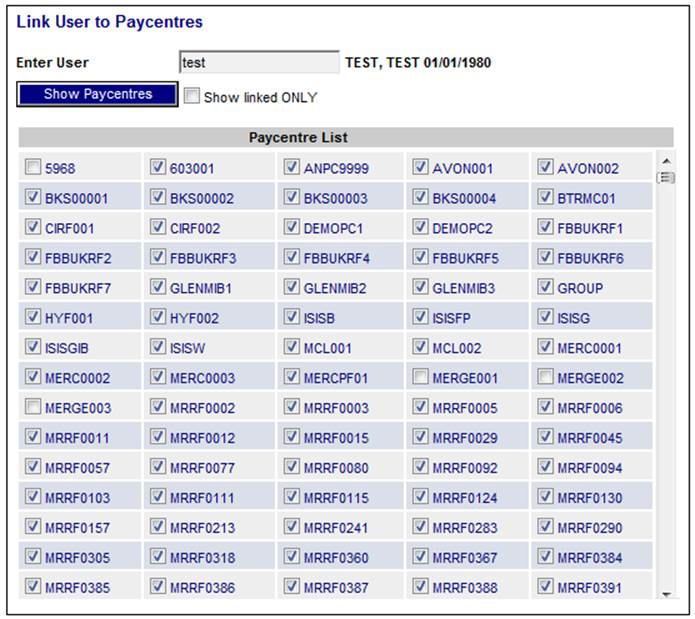
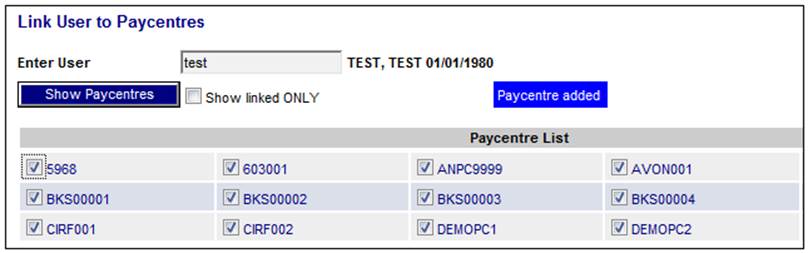
All Paycentres that are ticked are already linked to the User. To add a new Paycentre click the tick- box. A message on the screen will indicate that the Paycentre has been added.
![]()
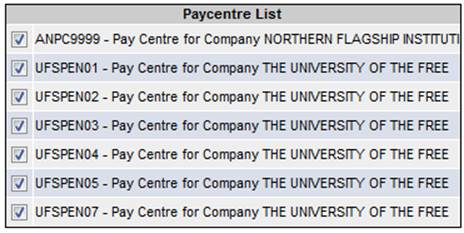
To remove an existing Paycentre that is linked, click the tick- box to remove the tick. A message on the screen will indicate that the Paycentre has been removed.
![]()

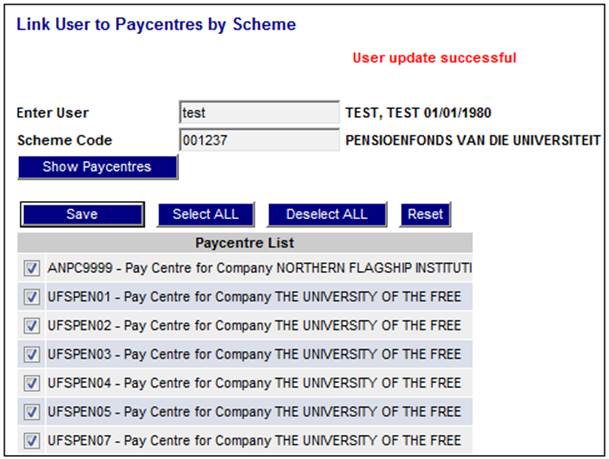
If the user needs access to the functionality under the role of PAYROLL, that user must be linked to a pay centre (if this has not already been done) by the Superuser. The Link User to Pay Centres by Scheme option allows for linking to more than one Pay Centre at once.
Click ![]() alongside Access Control. Additional options will be displayed.
alongside Access Control. Additional options will be displayed.
Select Link User to Pay Centres by Scheme from the menu. The Link User to Pay Centres by Scheme screen will be displayed.
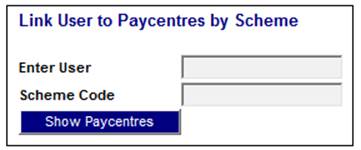
Capture the User ID and Scheme Code and click SHOW PAYCENTRES.
The Link User to Paycentres by Scheme screen will be displayed.
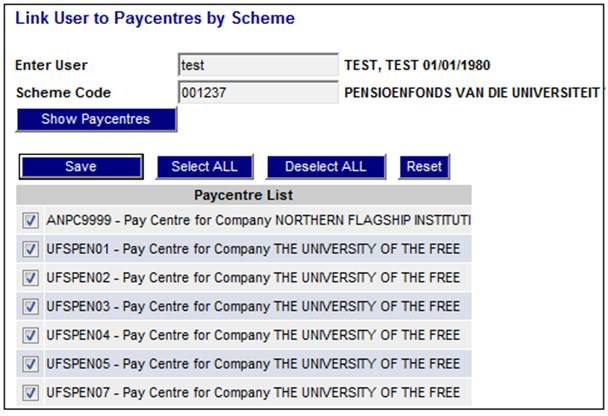
This screen displays a list of Pay Centres available under the Scheme Code captured.
To deselect a Pay Centre, click on the tick-box to remove the tick. E.g.

To deselect all Pay Centres, click DESELECT ALL. The tick will be removed from all Pay Centres. E.g.
To select a Pay Centre, click on the tick-box to add a tick. E.g.

To select all Pay Centres, click SELECT ALL. A tick will be added for all Pay Centres. E.g.
To reset all changes made on the screen to their original values, click RESET.
Once all of the necessary changes have been made, click SAVE.
The message User update successful will be displayed on the screen.
If the user's role is INCOME, the Superuser must grant access to the Income Administration System so as to enable the user to perform transactions.
Log in to the system from the Logon page.
Click processes, then click contributions.
The Welcome screen will be displayed.
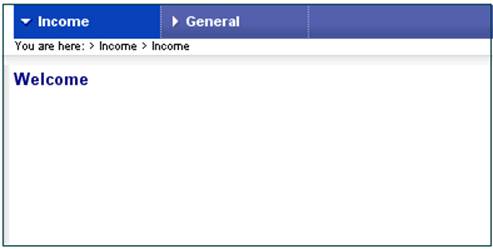
From the main menu on the top, select Income.
The Welcome screen will be displayed.
From the main menu on the top, select General. A sub-menu will be displayed on the left.

Select Tables from the menu. The Tables Menu screen will be displayed.

From the System Tables listed, select Users. The Users screen will be displayed. This screen displays all users who have been assigned a role of INCOME.
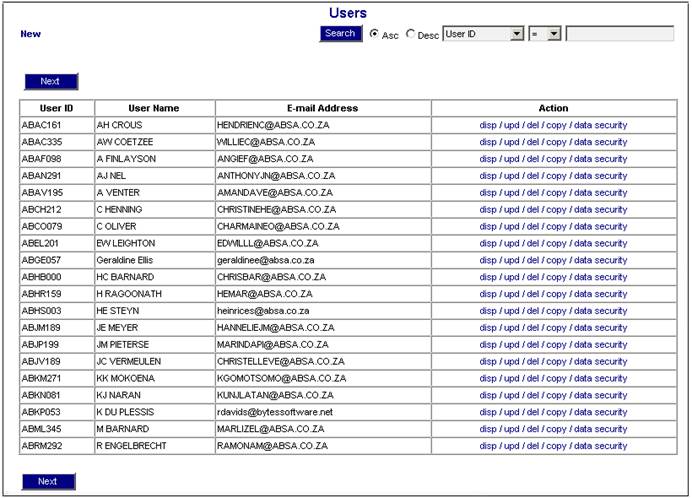
To amend the details of an existing user, click upd alongside the relevant user. The Users screen will display the user's details.
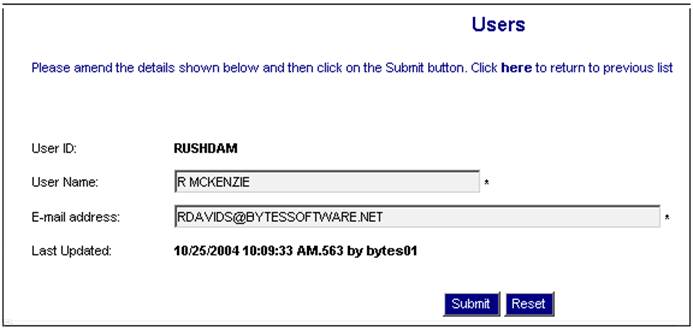
The USER NAME and E-MAIL ADDRESS fields may be updated. Once any changes have been made, click SUBMIT.
To add a new user for income administration, click New at the top of the screen. The Users screen will display a blank form.
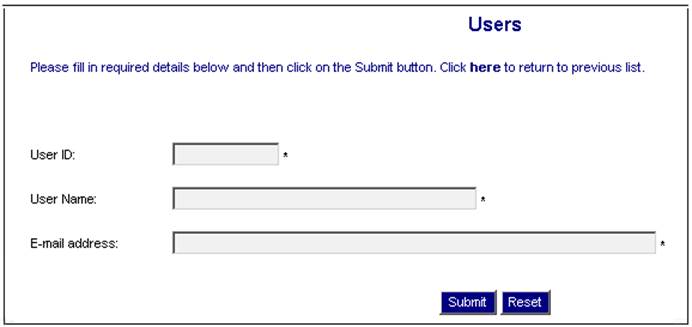
Fill in the required details and click SUBMIT.
The user has now been registered for access to the income administration system.
If the user's role is INCOME, and the user has been given access to the Income Administration System (see above), the Superuser must grant the user data-level security access to the client and / or the fund.
Note:
Granting access to the client automatically enables the user to have access to the fund as well.
Log in to Income Administration and access the Tables Menu as described under Set up access to income admin above.
From the System Tables listed, select User Data-level Security . The User Data-level Security screen will be displayed.
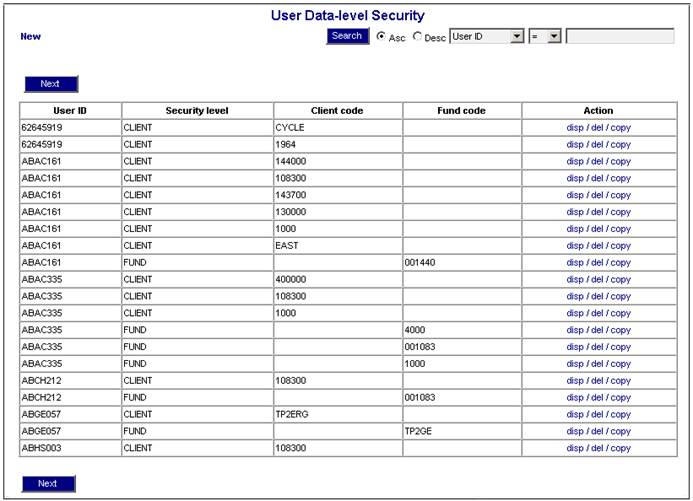
This screen displays all users who have been assigned the INCOME role, and who have data-level security for CLIENT or FUND.
To view details of a user, click disp alongside the relevant user. The User Data-level Security screen will be displayed.
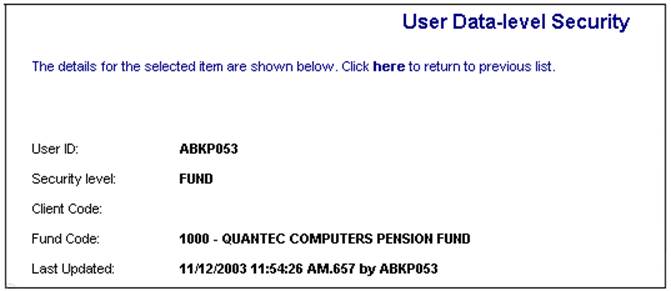
The screen displays the following details:
|
User ID |
The user identification code of the user. |
|
Security level |
The data-level security which the user has. |
|
Client or Fund |
|
|
Client Code |
If the data-level security for the user is CLIENT, then this is the client code |
|
Fund Code |
If the data-level security for the user is FUND, then this is the fund code |
|
Last Updated |
Details of when this user’s data-level security was last updated. Displays date, time and the user ID of the user who updated. |
Click here to return to the previous User Data-level Security screen.
To remove a user from the current data-level security, click del (delete). The User Data-level Security screen will be displayed. To confirm deletion of the user, click SUBMIT. Click here to return to the previous User Data-level Security screen.
To add a new user, click New at the top of the screen. The User Data-level Security screen will be displayed.

Capture details as follows:
|
User ID |
Select a user ID from the drop-down box. |
|
Security Level |
Select a security level from the drop-down box. Possible values are CLIENT or FUND. |
|
Client Code |
If the security level selected is CLIENT, select a client code from the drop-down box. |
|
Fund Code |
If the security level selected is FUND, select a fund code from the drop-down box. |
Click SUBMIT.
If the user's role is BENEFITS, the user must be set up as a contact person (if this has not already been done) by the Superuser.
Log in to the system from the Logon page.
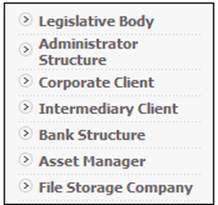
Select Infrastructure.
The Welcome screen will be displayed.
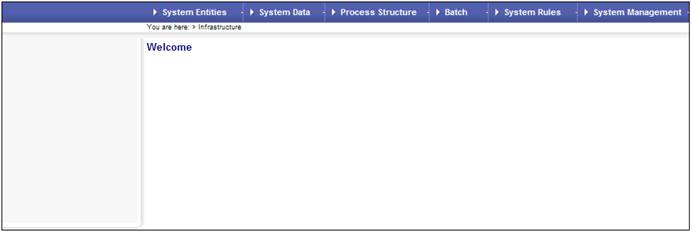
From the main menu on top, select System Entities. The following screen will be displayed.
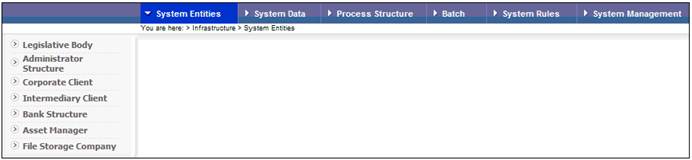
A sub-menu will be displayed on the left.
Select Corporate Client from the menu. The JU1AP Corporate Client screen will be displayed.
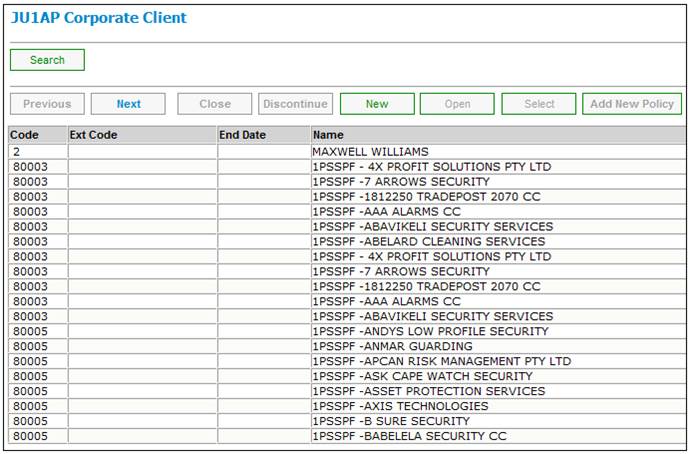
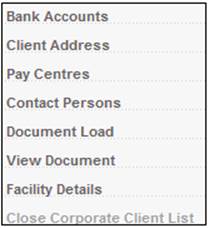
Select the required corporate client, then select Contact Persons from the menu on the left.
The JU1CP Contact Person screen will be displayed.
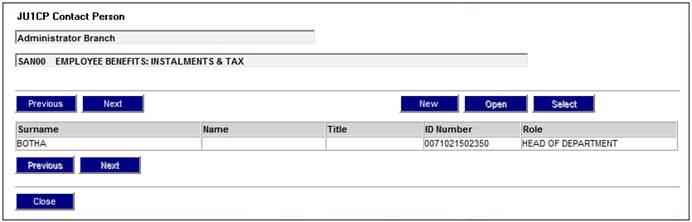
A list of all existing contact persons will be displayed. Find the user on the list and ensure that BENEFITS appears in the Role column.
To view more details, select the contact person, then click OPEN.
If the user does not appear on the JU1CP Contact Person screen, then the user must be created as a contact person for the corporate client.
To add a new contact person, click NEW. The JU1CP Contact Person Details screen will be displayed.
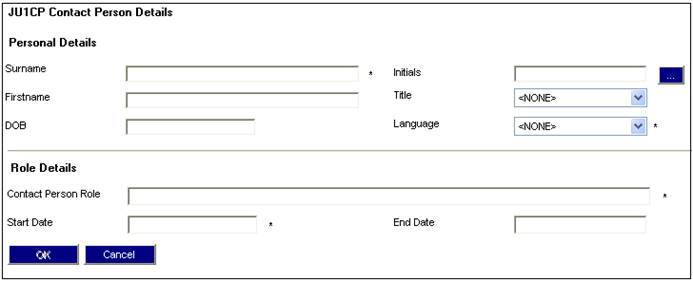
Capture the details of the new user and click OK.
Note:
The Contact Person Role field must have the role of BENEFITS captured.
For more details on the capturing of corporate client contact persons, refer to
Product launch Requirements
Infrastructure Requirements
Once a user has been registered, the user can be assigned to a team. Security access is defined for a team. Each user assigned to the team inherits that access. Refer to Assign user to a team under
Security
Access and Team Definition