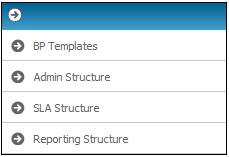
From the main menu on the top, click Business Process, then select BP Templates from the sub-menu on the left.
The Business Process Templates screen will be displayed. Templates already created will be listed.
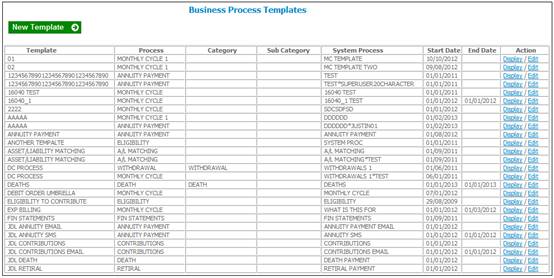
The following columns are displayed:
- Template
- Process
- Category
- Sub Category
- System Process
- Start Date
- End Date
- Action
To create a new template, click NEW TEMPLATE. Input fields will be displayed for the capture of the necessary information.
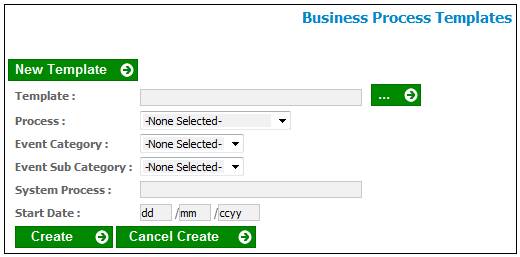
Field notes:
|
Template |
The name for the new template or the name of an existing template.
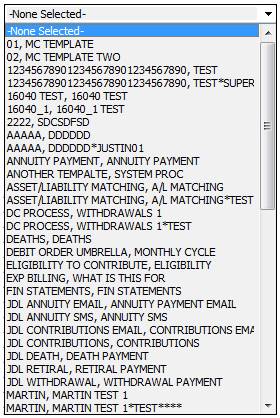
Click the LIST button to display a list from which to select.
|
|
Process |
Select the required process from the drop-down list.
|
|
Event Category |
Select the required event category from the drop-down list. The options available depend on the selected process above. |
|
Event Sub Category |
Select the required event sub category from the drop-down list. The options available depend on the selected event category above. |
|
System Process |
The name of the System Process.
This will automatically be populated when the Template is selected above. |
|
Start Date |
The date on which this template becomes effective. |
|
End Date |
The date on which this template is no longer effective. |
Enter the relevant information, then click CREATE. The Business Process Templates screen will be displayed.
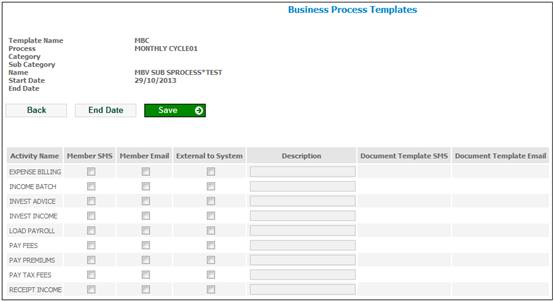
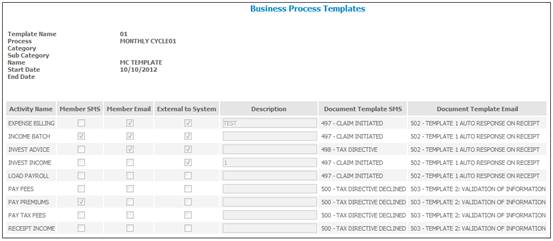
This screen enables you to associate system processes to the business process template.
Field notes:
|
Activity Name |
The name of the Activity. |
|
Member SMS |
Indicates whether an SMS must be sent to the member for the Sub-Processes Activity Name when the Activity Name is selected.
The tick box indicates the point when the application will automatically send an SMS to the member.
Note: The member’s preferred method of communication on the Client Address Detail screen is referenced to ensure that the correct communication method is used. |
|
Member Email |
Indicates whether an Email must be sent to the member for the Sub-Processes Activity Name when the Activity Name is selected.
The tick box indicates the point when the application will automatically send an Email to the member.
Note: The member’s preferred method of communication on the Client Address Detail screen is referenced to ensure that the correct communication method is used. |
|
External to System |
Indicates if the Sub-Processes Activity is not performed on the system.
|
|
Description |
A description of the process |
|
Document Template SMS |
Select an SMS Document Template from a list.
For more information refer to Selecting a Document Template below. |
|
Document Template Email |
Select an Email Document Template from a list.
For more information refer to Selecting a Document Template below. |
Selecting a Document Template
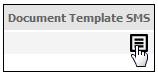
To select a Document Template, place the cursor on the blank space in the Document Template SMS or Document Template Email column. A File icon will be displayed.
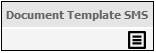
Move the cursor onto the File icon and click.
A screen displays a list of the appropriate Document Templates for selection.
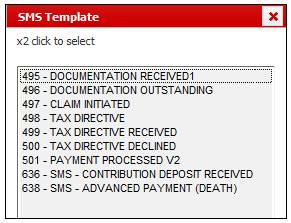
Double-click on the required Document Template. The selected Document Template will be displayed in the Document Template SMS or Document Template Email column
Once the necessary information has been captured, click SAVE.
To return to the Business Process Templates screen that displays Templates already created, click BACK.
To end date a template, click END DATE and capture the date in the fields provided.
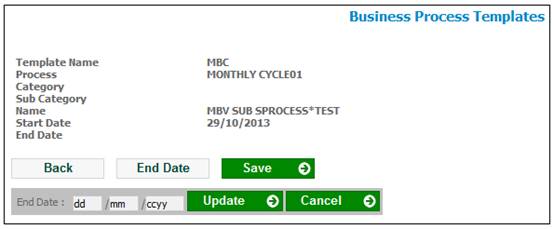
Click UPDATE.
Click the hyperlinked Display in the Action column alongside the required template. The Business Process Templates screen will be displayed.
Information previously captured will be displayed, but cannot be changed here.
Click the hyperlinked Edit in the Action column alongside the required template. The Business Process Templates screen will be displayed. Refer to Create a new template above.