There are 7 steps to be followed in the Bulk Claims Process:
- Create MS Excel file
- Upload File
- Process Claims
- Calculate late interest
- Authorise Claims
- View Claims
- Bulk payment
The columns must be updated as follows:
|
Column Name |
Example |
|
Scheme |
0007674 |
|
Reference |
1 (member number) |
|
Date of Exit |
20100131 |
|
Date of Realisation |
20100429 |
|
Benefit Event |
Bulk Transfer or Section 14 Transfer or Fund Dissolution |
|
Payee Name |
Sanlam Pension Fund |
|
Payment Method |
Group Payment (Refer to Payment Method below). |
|
Account type |
Leave Blank |
|
Bank Account |
Leave Blank |
|
Branch Code |
Leave Blank |
Payment Method
Where payments are to be made to one payee for the total of all of the members’ benefits, or separate payments are to be made to several different payees but for the totals of a subset of the overall group of members, then the Payment Method must be GROUP PAYMENT.
Where payments are to be made to different payees for each of the members’ benefits in the file, the Payment Method must be EFT or CHEQUE.
Event Category
If the Event Category for the Benefit Event is BULK TRANSFER, these will be enabled to be processed automatically up to authorization stage. If the Event Category is anything else, then individual benefit payments will be created up to CLIENT AUTH stage which will then be processed individually in the same way as all other benefit payments
The file can be saved in excel format.
The file to upload must be saved in txt format.
From the main Menu select Processes > File Transfer.
Select a scheme, and then select File Transfer from the top menu.
![]()
Select Bulk Payment Upload from the sub-menu on the left.
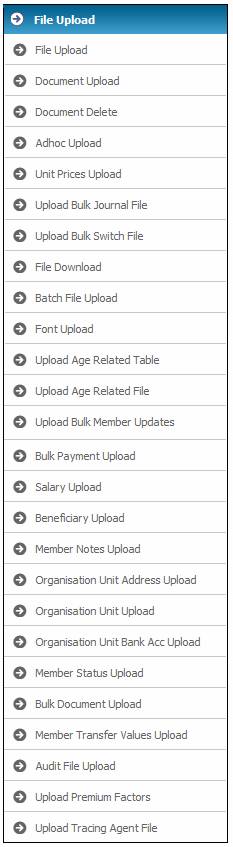
The Bulk Payment Upload screen will be displayed.
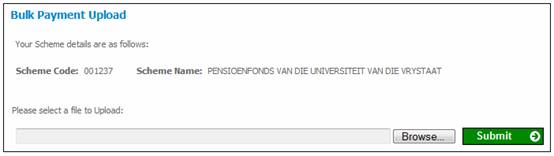
Click BROWSE and select a txt file for uploading, and click SUBMIT.
Once the file has been uploaded, the BJU3EN batch job called will automatically be kicked off.
The progress of the BJU3EN batch job can be viewed by selecting Scheme Reports> General>Error log Report.
The Error Log Report screen is displayed.
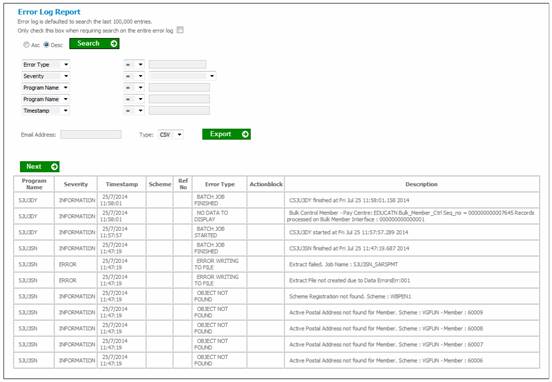
If the BJU3EN batch job has been successful, BATCH JOB STARTED and BATCH JOB FINISHED will be displayed in the Error Type column.
Once the BJU3EN batch job has completed successfully, make the following menu selections:
Processes>Benefits>Bulk Claims
Select BULK CLAIMS from the top menu. The following options will be displayed in the sub-menu on the left.
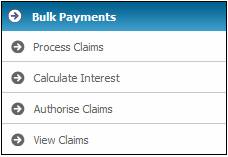
The order of the menu items is similar to the process followed for individual claims.
Select Process Claims from the sub-menu on the left.
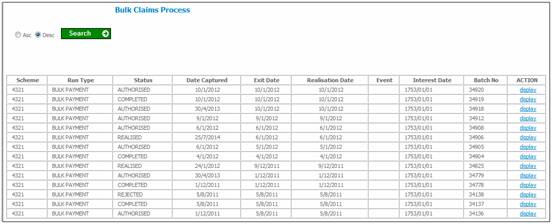
The Bulk Claims Process screen will be displayed.

Select a scheme from the drop-down box.
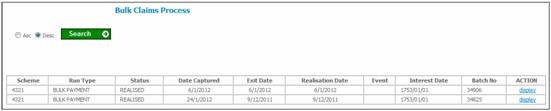
The following screen is displayed.

Select the display hyperlink in the Action column on the right.
The following screen is displayed.
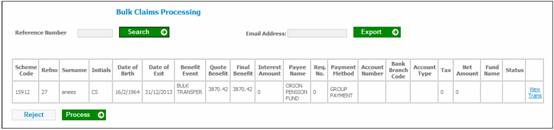
All the benefit requests that have been uploaded will now be displayed.
To view the transaction details at member level, select the View Trans hyperlink in the Action column on the right.
You can process and reject the claims.
If process is selected, the following warning message will be displayed:
Are you sure you want to process the selected claims?
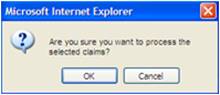
Click OK to confirm that the selected claims must be processed.
Once claims have been processed, all member statuses will change to EXIT IN PROCESS.
The accounting for realisation will also have created. This can be checked by viewing member investment transactions.
Return to Bulk Claims to continue with the process.
Late interest must now be calculated on the claim amounts. Select Calculate Interest from the sub-menu on the left.
The Bulk Claims Process screen will be displayed.
Select a scheme from the drop-down box.
The following screen will be displayed.
If you select the display hyperlink in the Action column, the Bulk Claims Processing screen will be displayed.
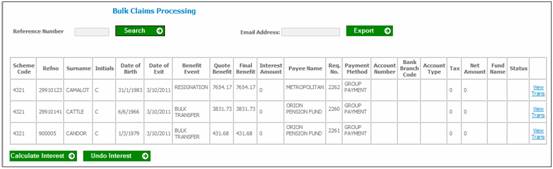
To view details of transactions, click on the hyperlinked View Trans in the last column. The Bulk Claims Transactions screen will be displayed.
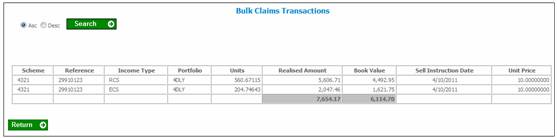
Click RETURN to go back to the Bulk Claims Processing screen.
Select the CALCULATE INTEREST button.
The following screen will be displayed.
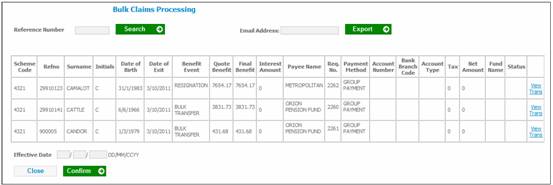
Capture the effective up to which you do want late interest to be calculated in the Effective Date field and click CONFIRM.
The following warning message will be displayed:
Are you sure you want to Calculate Interest?
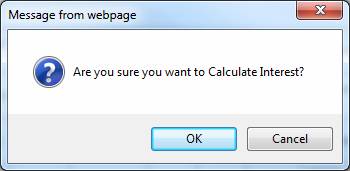
Click OK to confirm that interest must be calculated.
To undo interest that has already been added, select the UNDO INTEREST button.
The following message will be displayed.
Are you sure you want to Undo Interest calculation?
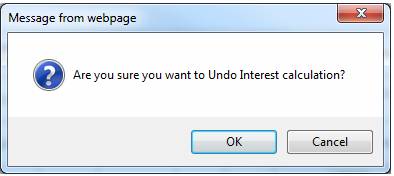
Click OK to confirm that interest must be undone.
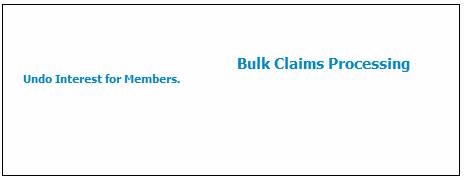
The screen will display the following message confirming the undone interest:
Undo Interest for Members.
The claims must now be authorised.
Authorisation will not result in any payment, but will change the member records to exit finalised. The records are now ready for final payment.
Select Authorise Claims from the sub-menu on the left.
The Bulk Claims Process screen will be displayed.
Select a scheme from the drop-down box.
The Bulk Claims Process screen will be displayed.

Select the display hyperlink in the Action column. The Bulk Claims Processing screen will be displayed.
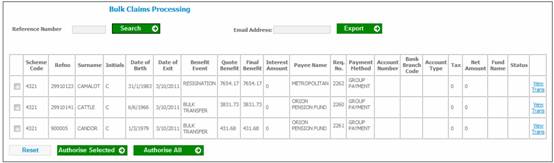
You have the option to authorise all claims or select individual payments. The following warning message will be displayed to ensure that the correct details are being authorised:
Are you sure you want to Authorise this selection?
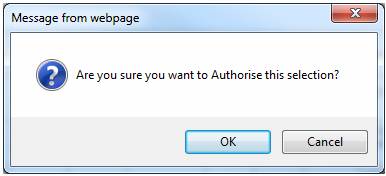
OR
Are you sure you want to Authorise the selected claims?
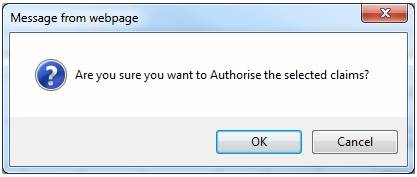
Click OK to confirm that the selection/s must be authorised.
At this point, membership statuses will be updated to’ Exit Finalised’ and the payment accounting transactions will be created.
The claims that have been authorised will have benefit control records linked to them. This information can be extracted and emailed.
Select View Claims from the sub-menu on the left.
The Bulk Claims Process screen will be displayed.
Select a scheme from the drop-down box.
The Bulk Claims Process screen will be displayed.
Select the display hyperlink in the Action column. The Bulk Claims Processing screen will be displayed.

If the payment method is Group Payment, the total payment to the transferee fund must be processed via Bulk Payment Allocation.
Once the bulk payments of a Group Payment have been authorised, make the following menu selections:
From the main Menu select Accounting and select Transaction Capture from the top menu.
![]()
Select Bulk Payments from the sub-menu on the left.
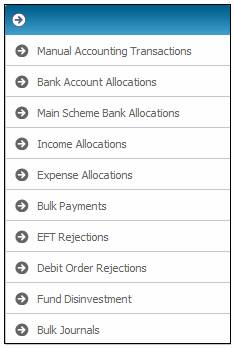
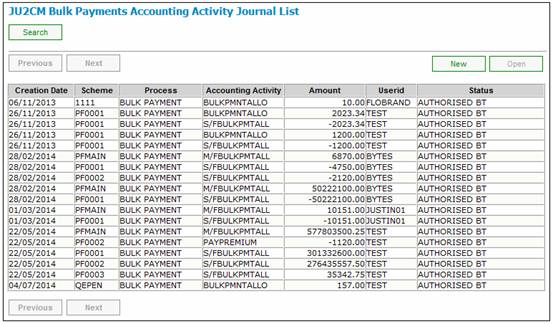
The JU2CM Bulk Payments Accounting Activity Journal List screen will be displayed.
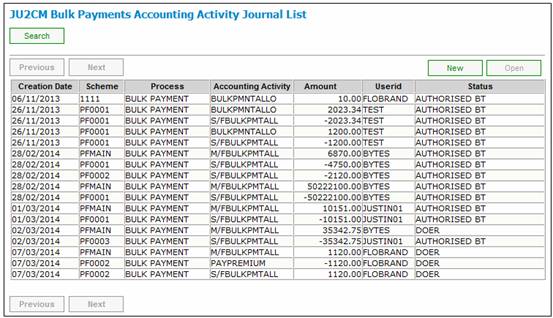
Click NEW to create a new payment.
The JU2CM Bulk Payments - Select Payable Records screen will be displayed.

Searching
In order to display a list of claims that have been authorised via Bulk Claims, capture the following details:
|
Account |
Select BENPAYBLBULK from dropdown list. |
|
Scheme Code |
Select the relevant scheme code from dropdown list. |
Click SEARCH. Select Claims with a Status of Authorised BT and click OK.
A list of claims that you have authorised via Bulk Claims, will display
The results can checked against the report that has have exported under Bulk Claims. The only difference in amounts should be the late interest calculated.
Click on ACCEPT if you agree with the results
Click TRANSACTION DETAILS (top left of screen).
The JU2CM Bulk Payments - Transaction Details screen will be displayed.
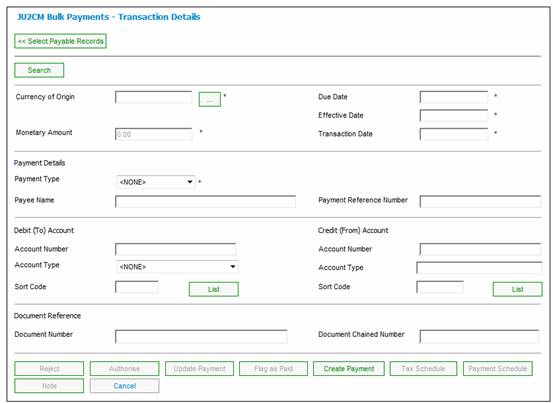
Data capture notes:
|
Currency of Origin |
Usually ZAR for RSA schemes. |
|
Due Date |
The claim event date. |
|
Effective Date |
The claim event date. |
|
Transaction Date |
The current date. |
|
Payment Type |
EFT, CHEQUE or OLP. The system will display a default value of NONE. |
|
Payee Name |
The name of the Payee. |
|
Sort Code |
Click LIST to select debit and credit account. |
Note:
Bank Account details must be updated at Scheme level prior to creating the Bulk Payment.
To create a Payment Schedule, click PAYMENT SCHEDULE. This will extract a list of payments that can be sent to the payee together with proof of payment.
Click CREATE PAYMENT.
If the Account Number Format specified for the selected Bank is numeric and text characters have been captured in the Account Number fields, the following error message will be displayed:
The Account number is not numeric.
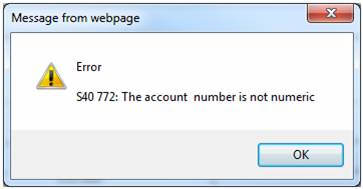
Click OK to remove the message and capture numeric Account Numbers.
Note:
For foreign bank accounts, the bank account number field must allow for text characters.
For more information refer to
Infrastructure
Systems Entities
Bank Structure
Capturing a Transaction on a Saturday
When CREATE PAYMENT is selected and one of the Accounts in the Accounting Rule linked to the Accounting Activity selected is INVESTMEMB or INVSTMEMUNIT, or if the Money Movement Indicator on the Accounting Activity is Y and the Payment Method is EFT, the existing Transaction Date validation will be applied, i.e. if the Status of the Date on the Calendar is WEEKEND or PUBLIC HOLIDAY, an error message will be displayed.
For all other Accounting Activities, the system will read the Status on the Calendar for the Date equal to the Transaction Date, and if it is WEEKEND, will check if the Date is a Saturday. If it is, then the CREATE PAYMENT button will be enabled.
When CREATE PAYMENT is selected and all validation requirements have been met, the following confirmation message will be displayed:
Do you want to create this Accounting Activity Journal?
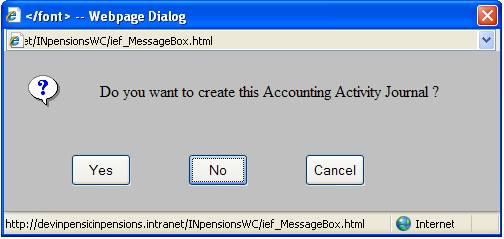
Click YES to create the payment, or click NO or CANCEL to stay on the same screen.
A payment will be created that can be authorised. Authorisation Limits will be applied at this point.
Once the transactions have been created, the JU2CM Bulk Payments Accounting Activity Journal List screen will be re-displayed, and the transactions just created will be shown with a status of DOER.
