Log in to the system from the Logon page.
Click processes, then click contributions.
Note:
This will only be available to users with PAYROLL or SUPER USER security access.
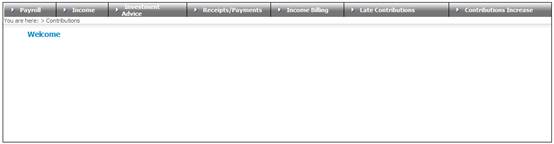
The Welcome screen will be displayed.
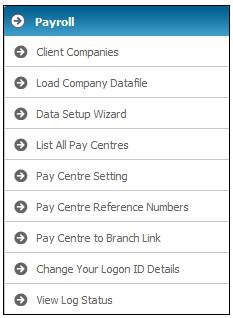
From the main menu on the top, select Payroll. The Payroll screen will be displayed.
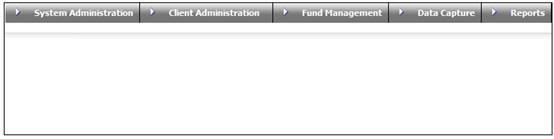
From the Client Administration menu, select Pay Centre Setting from the sub-menu on the left.
The Select Company Node (Principal Employers) screen will be displayed, listing all the principal employers.
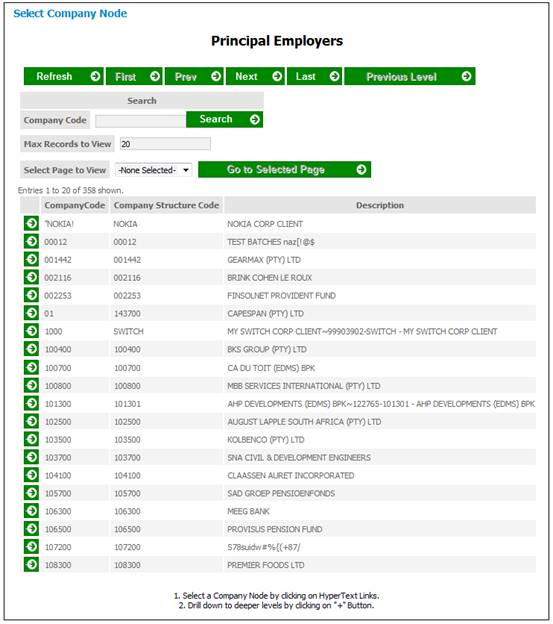
Click ![]() to drill down to the next level. The Select Company Node (Participating Employer Structures) screen will be displayed, listing all the participating employers for the selected principal employer.
to drill down to the next level. The Select Company Node (Participating Employer Structures) screen will be displayed, listing all the participating employers for the selected principal employer.

Select the participating employer to which the pay centre is to be associated, by clicking the name in the Description column alongside the required employer.
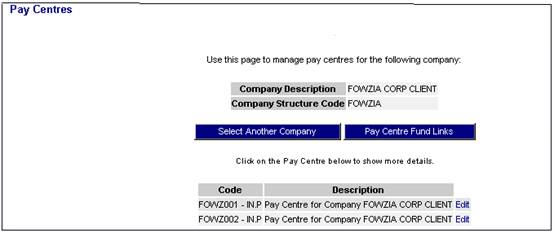
The Pay Centres screen will be displayed, listing the pay centres for the selected participating employer.
Click Edit at the end of the line alongside the pay centre you wish to access.
The Edit a Pay Centre screen will be displayed.

Update the Data Capture field to Payroll or Manual – depending on whether a file upload or manual keyboard is going to be used. Click SAVE.
For an explanation of the fields to be completed, refer to Initial Load under
Product Launch Requirements
Company Structure and Initial Load
Enter the pay centre settings, then click SAVE.
The Pay Centres screen will be re-displayed.
Note:
To edit existing pay centre settings, click PAY CENTRE FUND LINKS. The Link Pay Centres and Funds screen will be displayed.
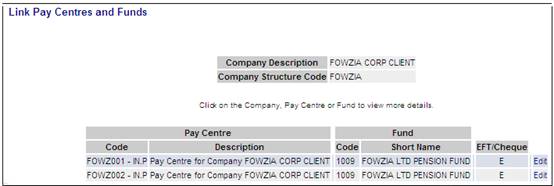
Click Edit at the end of the line alongside the relevant pay centre. The Edit Reference Number Allocation and Payment Method for a Pay Centre screen will be displayed.
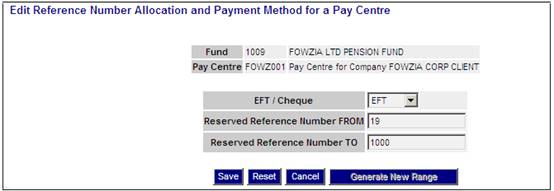
For an explanation of the fields to be completed, refer to Pay centre reference numbers and payment method in Initial Load under
Product Launch Requirements
Company Structure and Initial Load
Select Pay Centre to Branch Link from the sub-menu on the left.
The Pay Centre Company Links - Principal Employer screen will be displayed.
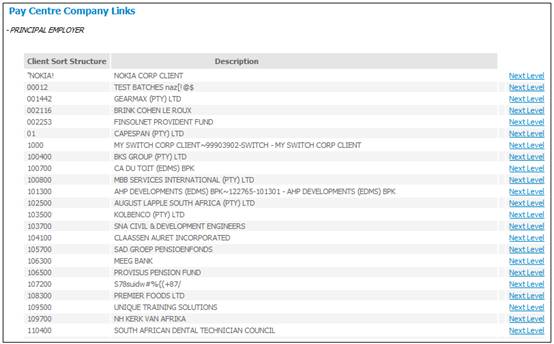
Click Next Level>> alongside the required participating employer.
The Pay Centre Company Links - PARTICIPATING EMPLOYERS for (xxx) CORP CLIENT (xxx) screen will be displayed, showing the participating employers for the pay centre.
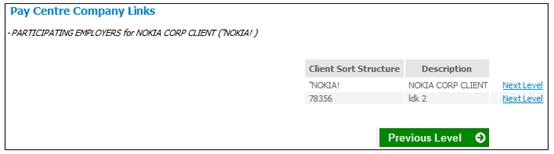
Click Next Level>> alongside the required participating employer to which the pay centre is to be associated.
The Pay Centre Company Links - BRANCH for (xxx) CORP CLIENT (xxx) screen will be displayed, showing the branches for the selected participating employer.
Note:
If the pay centre is being linked to a new branch, that branch will not be available for linking until it has been set up within the company structure. Refer to
Product Launch Requirements
Company Structure and Initial Load
Company Structure Setup
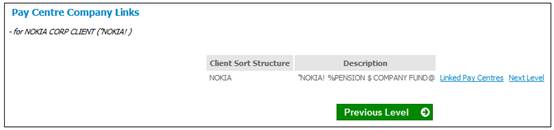
Click Linked Pay Centres>> alongside the required client structure to which the pay centres will be associated.
The Pay Centre Company Links - LINKED PAY CENTRES for (xxx) screen will be displayed, showing the linked pay centres.
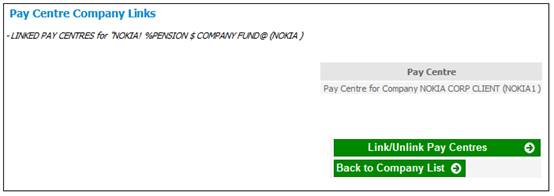
Click LINK / UNLINK PAY CENTRES.
The Pay Centres Company Links - LINK/UNLINK PAY CENTRE to COMPANY (xxx) screen will be displayed, showing the pay centres available for linking, and the pay centres already linked.
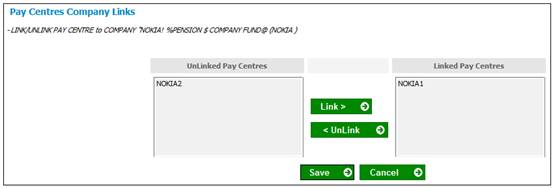
The UnLinked Pay Centres pane on the left will display a list for selection.
In order to link a pay centre to the branch, highlight the required pay centre in the UnLinked Pay Centres pane, then click LINK. The selected pay centre will be displayed in the Linked Pay Centres pane on the right.
To remove previously selected pay centres, highlight the relevant pay centre in the Linked Pay Centre pane on the right, then click UNLINK.
Once the pay centres have been linked, click SAVE. The Pay Centre Company Links - LINKED PAY CENTRES for (xxx) screen will be re-displayed. The pay centres just linked will be listed.
Once this has been completed, user access to the pay centre needs to be granted. Refer to Data level Security under
Product Launch Requirements
Access and Team Definition
If the load status for any of the other pay centres for the scheme was affected when the new pay centre was loaded, a possible error message could be displayed, i.e. "Error : Cannot have an open plan in a closed cycle".
In order to rectify this, the following must be done for all the pay centres affected:
From the Client Administration menu, select List All Pay Centres from the sub-menu on the left.
The List All Pay Centres screen will be displayed.
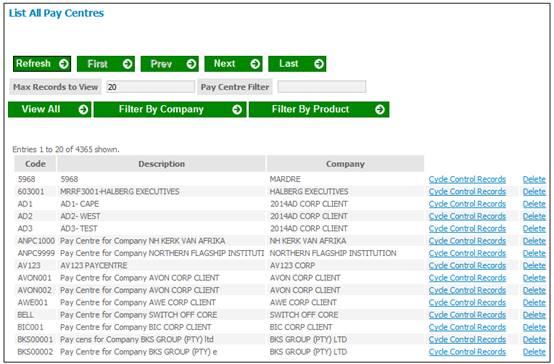
For each of the affected pay centres, click Cycle Control Records on the right.
The Cycle Control Record Administration screen will be displayed.
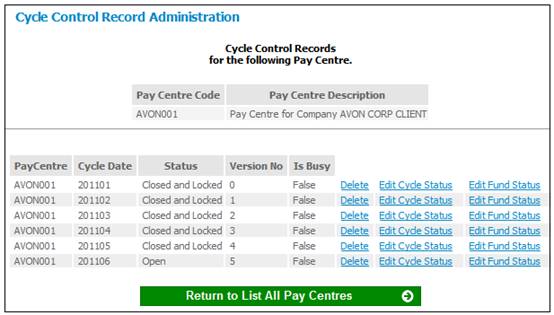
Click Edit Cycle Status for the applicable pay centre.
The Edit Cycle Control Record will be displayed.
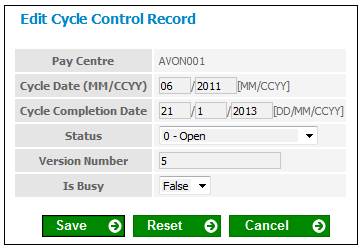
Click ![]() from the drop-down box alongside Status, and set the cycle status to 0 – Open.
from the drop-down box alongside Status, and set the cycle status to 0 – Open.
Click SAVE.
No other data would have been affected by the import of the new pay centre.
Note:
If a pay centre is inactive, SAVE will be greyed out.
Note:
Only users with the appropriate security will be allowed to perform these functions.